
Intota: Library-Specific (Library-Managed) Holdings Database
- Product: Intota
How do I create and manage a custom database for resources that are not in the Knowledgebase?
Background information on why you would want to use a library-specific holdings database can be found here.
The process for creating and then maintaining a library-specific holdings database is covered in the remaining sections.
Creating a New Library-Specific Holdings Database
-
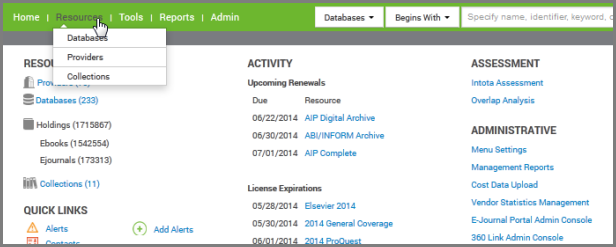
Access your list of databases in Intota by clicking Resources on the menu bar and then selecting Databases in the submenu.
-
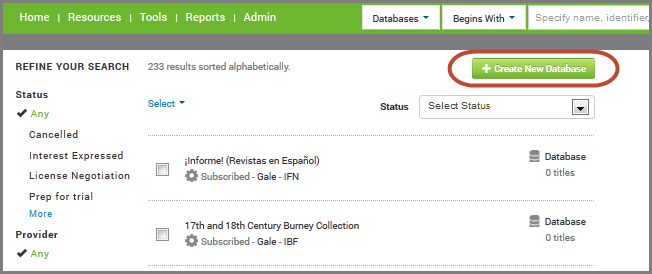
Above your list of databases, click the Create New Database button on the right side of the page. Note if you cannot see the button, then your account does not have the correct permissions for local holdings management.
-
On the Add Custom Database page, enter the appropriate information into the fields provided.
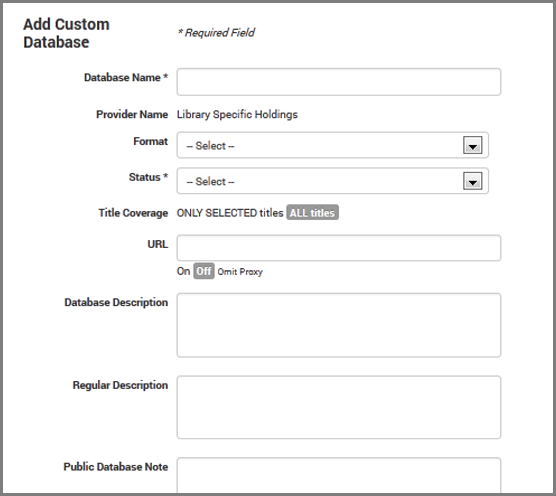
Note that Database Name and Status are the two required fields. Additional notes:
-
Provider Name is always set to "Library Specific Holdings"
-
Database Name field has a limit of 200 characters
-
Format allows you to specify whether the new database contains print, online, microform or CD-ROM resources. The default setting is "Online" unless you specify another format
-
The URL must be fully formed
-
Database Description has a limit of 1,000 characters
-
Regular Description is available for you to add additional notes if necessary for internal use, and does not appear in discovery services
-
Public Database Note is a note you can enter that will display next to the database name link on your E-Journal Portal. Be sure to select ON if you do add a note and want it to display to your users.
-
Public All Titles Note appears in the E-Journal Portal next to each title that appears in the database with which you are working. Be sure to select ON if you do add a note and want it to display to your users.
-
-
When you are finished, click Save and you are taken to the Database Details page for your new custom collection, and you can begin to add titles either by entering them manually or by uploading them (see next section: Adding Titles to your New Library-Specific Database). On the Database Details page you can also further configure your new database, such as using the Discovery section of Database Details to adjust which patron-facing services the resource displays in.
Adding Titles to your New Library-Specific Database
You can add individual titles one at a time or you can upload titles.
Adding Individual Titles
-
On the Database Details page for your custom collection, click View All on the right side:
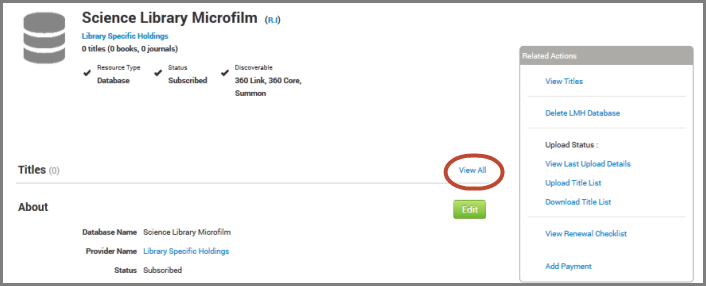
You then have the Create Title button to add a title (and you also have the Upload and Download buttons to add titles in bulk (see Uploading Titles section below).
-
Clicking on Create Title takes you to the Add Title page.
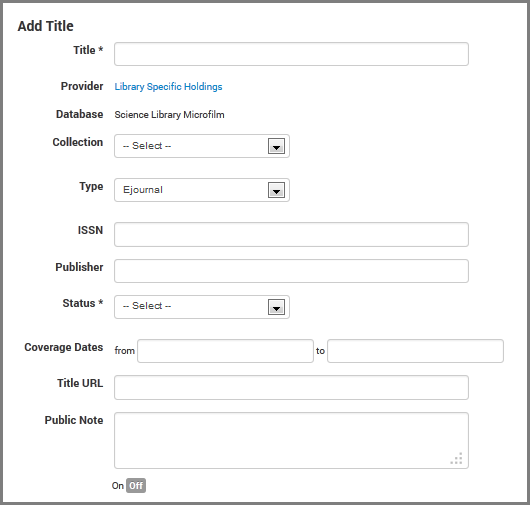
-
Enter the appropriate information, the fields change slightly whether you select Type as Book or Journal. Title and Status are the only required fields (and Title URL if you want your users to be able to click directly from a title to the resource itself).
if you choose to add dates in the Coverage Dates fields, they must conform to the valid date formats. This requirement ensures that link resolvers (like 360 Link) will recognize the dates, and it also ensures other aspects of your management and discovery products, such as accurate results from Overlap Analysis reports.
Uploading Titles
-
On the Database Details page for your custom collection, click Upload Title List in the Related Actions pane.
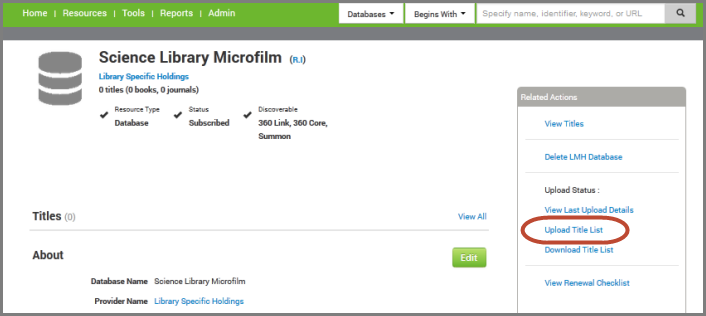
If there are already some titles in your custom collection, you should use the information in the below Updating Your Library-Specific Holdings Database section.
-
The Upload File window displays where you can click the Download Template button to save a text file with columns, it should be used as your template in which to enter your data.
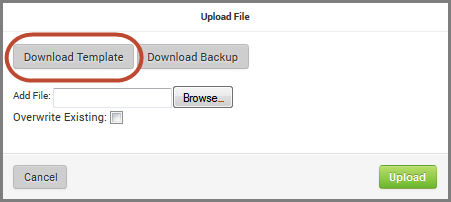
-
You can enter your data into the file using any kind of text editor, but most libraries choose to enter their data in a spreadsheet. Do this by opening a spreadsheet application such as Microsoft Excel, and then from within the spreadsheet application, open your saved text file. You may need to change "Files of Type..." to All Files in order to see the text file and open it up.
-
Some libraries choose to create their own Excel spreadsheet, or modify one that is output from another ERM system, for uploading. If you wish to do that, follow these instructions.
If you use Excel, it will start the Text Import Wizard. Accept all the default suggestions (in other words, it's a delimited file, importing from row 1, and the delimiter is a Tab), until you get to the step that allows you to select the data format for each column: Here you need to change the default for the first column -- Title -- to Text format. The remaining columns may stay as General:
When you add new titles to the file, each title gets its own row (line), with the different columns available for all the information about that title. The only column that must be filled is the Title column and the Type column (Book, Journal). If you want your patrons to be able to click directly from a title to the resource itself, you'll also need to provide a URL in the Default URL column.
-
If you choose to add dates in the Coverage Dates or Publication Dates columns, they must conform to the valid date formats. This requirement ensures that link resolvers (like 360 Link) will recognize the dates, and it also ensures other aspects of your management and discovery products, such as accurate results from Overlap Analysis reports.
-
If you want to add titles with Japanese, Korean, or Chinese (Simplified or Traditional) characters, you may use the two right-most columns (Language ID and Alphabetization) to indicate how the titles should be sorted. See Chinese, Japanese, and Korean Alphabetization in E-Journal Portal for details.
-
-
After adding all the new titles, Save the file as a text document (.txt) again.
-
If your file contains any titles that have non-Latin characters, you must save the file as a Unicode text document (.txt).
-
While our uploading system can handle large files, there is a limit to how large the file can be. You may need to split the file into multiple, smaller files.
-
-
Return to the Upload File window (screenshot in Step 2 above) and click Browse to locate the file you have saved to your computer.
-
Before uploading, notice that there is an Overwrite Existing checkbox. The box is selected by default, meaning your newly uploaded file will automatically overwrite any existing files. Leave this box checked since you do not have any existing titles you want to retain in the collection.
-
Once you have selected the file to upload, click Upload.

-
You will see confirmation that the file has been uploaded. Please note that this does not necessarily mean the file has been successfully imported.
-
Shortly following the upload, you will receive an email message confirming the file has been received. The message will inform you if errors have occurred.
-
Viewing your Upload Status
To check to make sure your file has imported successfully and to view any potential warnings or errors:
On the Database Details page for your custom collection, click on View Last Upload Details on the right side Related Actions pane:
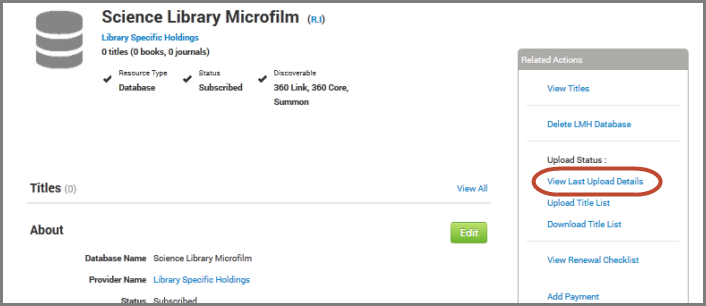
If the upload failed, the Upload Status window will display the line number(s) of the items that failed (items with a Red 'X' in the Type column) and the items that did upload but the system wanted to warn you about (items with a Yellow '!' in the Type column). The error and the column containing the bad data are also displayed.
-
An explanation of the error codes is available in the error list.
Updating your Library-Specific Holdings Database
The below information is in two sections, changing or adding one title and changing or adding multiple titles. Note that if you want to temporarily change the Status of several titles (for example, changing some to "Not Tracked" rather than completely deleting them from the database), use the procedure for including select titles.
Changing/Adding One Title
On the Database Details page for your custom collection, click View All to the right of Titles, and the title list for your custom collection will display.
-
To edit an existing title, click on the title to display its Holding Details page where you can make your updates.
-
To add a new title, use the Create Title button.
Changing/Adding Multiple Titles
The process is the same as the Uploading Titles information in the above Adding Titles to your New Library-Specific Database section, except that we suggest you download the existing titles in the collection and use that file to make your changes and additions.
-
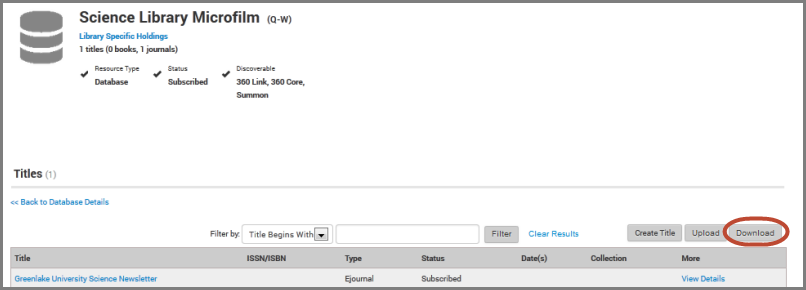
On the Database Details page for your custom collection, click the Download button to save the text file to your computer.
-
After you have saved the text file, make your changes and additions by starting from Step 3 in the Uploading Titles sub-section within the above Adding Titles to your New Library-Specific Database section.
Deleting Titles
If you want to delete many titles at once, use the instructions above for updating your library-specific holdings database.
To remove a single title:
On the Database Details page for your custom collection, click View All to the right of Titles, and the title list for your custom collection will display.
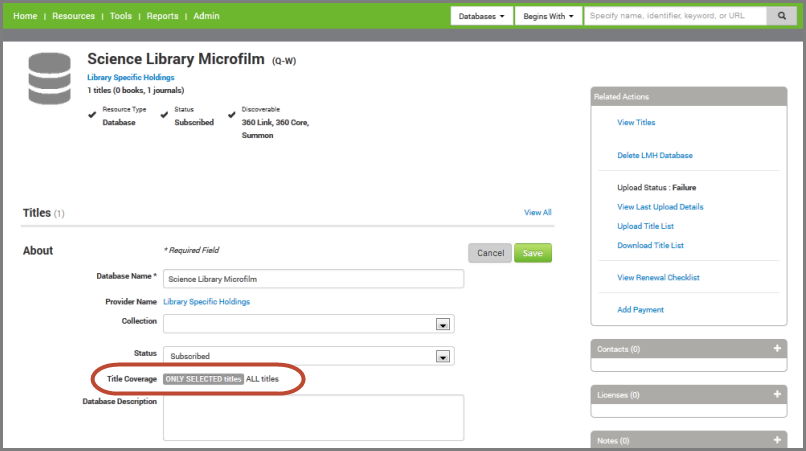
Click on the title to display its Holding Details page where you can click Edit next to the Holding Details section and change the Status to Not Tracked to remove the title from the collection.
-
Note that your collection needs to be set up for individual title changes such as this. Such setup is done by selecting ONLY SELECTED titles for the Title Coverage setting on the Database Details page.
- Date Created: 2-Jun-2014
- Last Edited Date: 26-Aug-2015
- Old Article Number: 10843