Configuring the Location Filter List for Get It
The Primo View Mapped into Alma Libraries page enables you to filter the locations that initially appear in Primo Get It when presenting availability information for a record in Primo VE. If libraries are configured, these libraries initially appear for the item. In addition, the availability statement in the brief display reflects the status of displayed locations only.
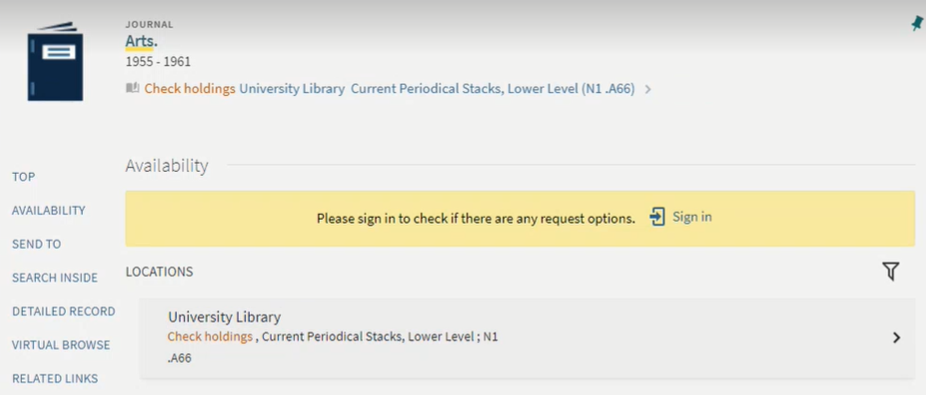
In the following example, University Library has available items, but it has been filtered from the list of locations because one or more libraries other than the University Library were configured on the Primo View Mapped into Alma Libraries page.

Example of Filtered Libraries in Get It
When the user removes the filter by selecting Unfilter, all locations appear in Get It, and the availability statement reflects the title's availability at all locations.

Example of Unfiltered Libraries in Get It
This functionality is not applicable to Alma-Summon environments.
To add libraries to the list of unfiltered libraries in Get It:
-
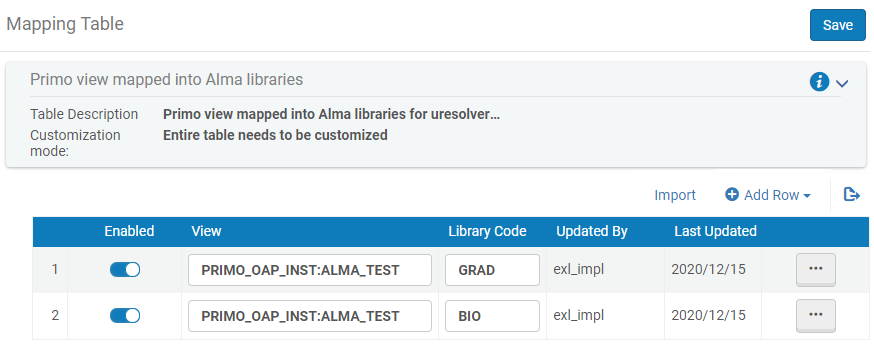
Open the Primo View Mapped into Alma Libraries page (Configuration Menu > Discovery > GetIt Configuration > Primo View to Libraries).
 Primo VE View Mapped into Alma Libraries Mapping Table
 -
Add a library to the list:
-
Select Add Row to open the dialog box.
-
Specify the following fields:
-
View – Specify the Primo/Primo VE view code.
-
Library Code – Specify an Alma library code. To find library names and codes, see Adding/Editing Institution Libraries.
-
-
Select Add Row in the dialog box to save the library to the default list.
-
-
When you are done adding libraries, select Save or Customize (first time only) to save your changes to the list.

