
Cart Template Management
You can create and apply customized templates to the items in your shopping cart. Customized templates hold a set of predefined values for the fields in the Cart page, so that a single template can be applied instead of applying values for every field, thus saving you time and effort. You can choose to apply a template to a specific cart item, or to the entire cart.
You can create a new template from scratch, or you can create it by duplicating another template and making changes to it, in order to save time when creating many templates at once.
You can create private templates for your personal use, or share templates to be used by others in your institution.
For instructions on how to apply the template to the cart, see Filling In the Cart Options.
For more information, see Templates.
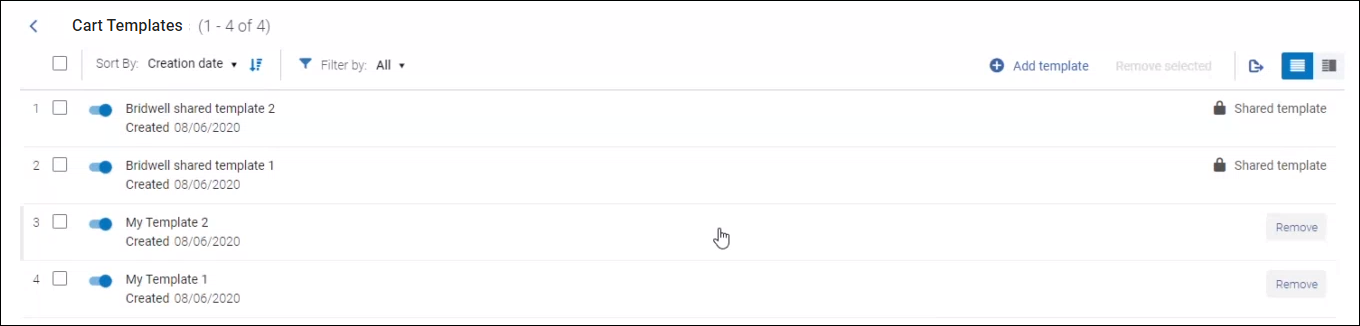
You can create and manage the cart templates on the Cart Templates page (Market > Orders > Cart Templates).
All the selections made on this page are saved automatically.
On the Cart Templates page (Market > Orders > Cart Templates), click Add Template.
Rialto creates a new template, which appears as a new line in the Manage Templates page.
Alternatively, to create a new template from an existing template, select that template and click Duplicate in the row actions.
Rialto creates a new template, whose name is the name of the previous template + "copy". All the other values are taken from the source template.
Unless you have the Rialto Admin role, you can only duplicate a template that you created.
-
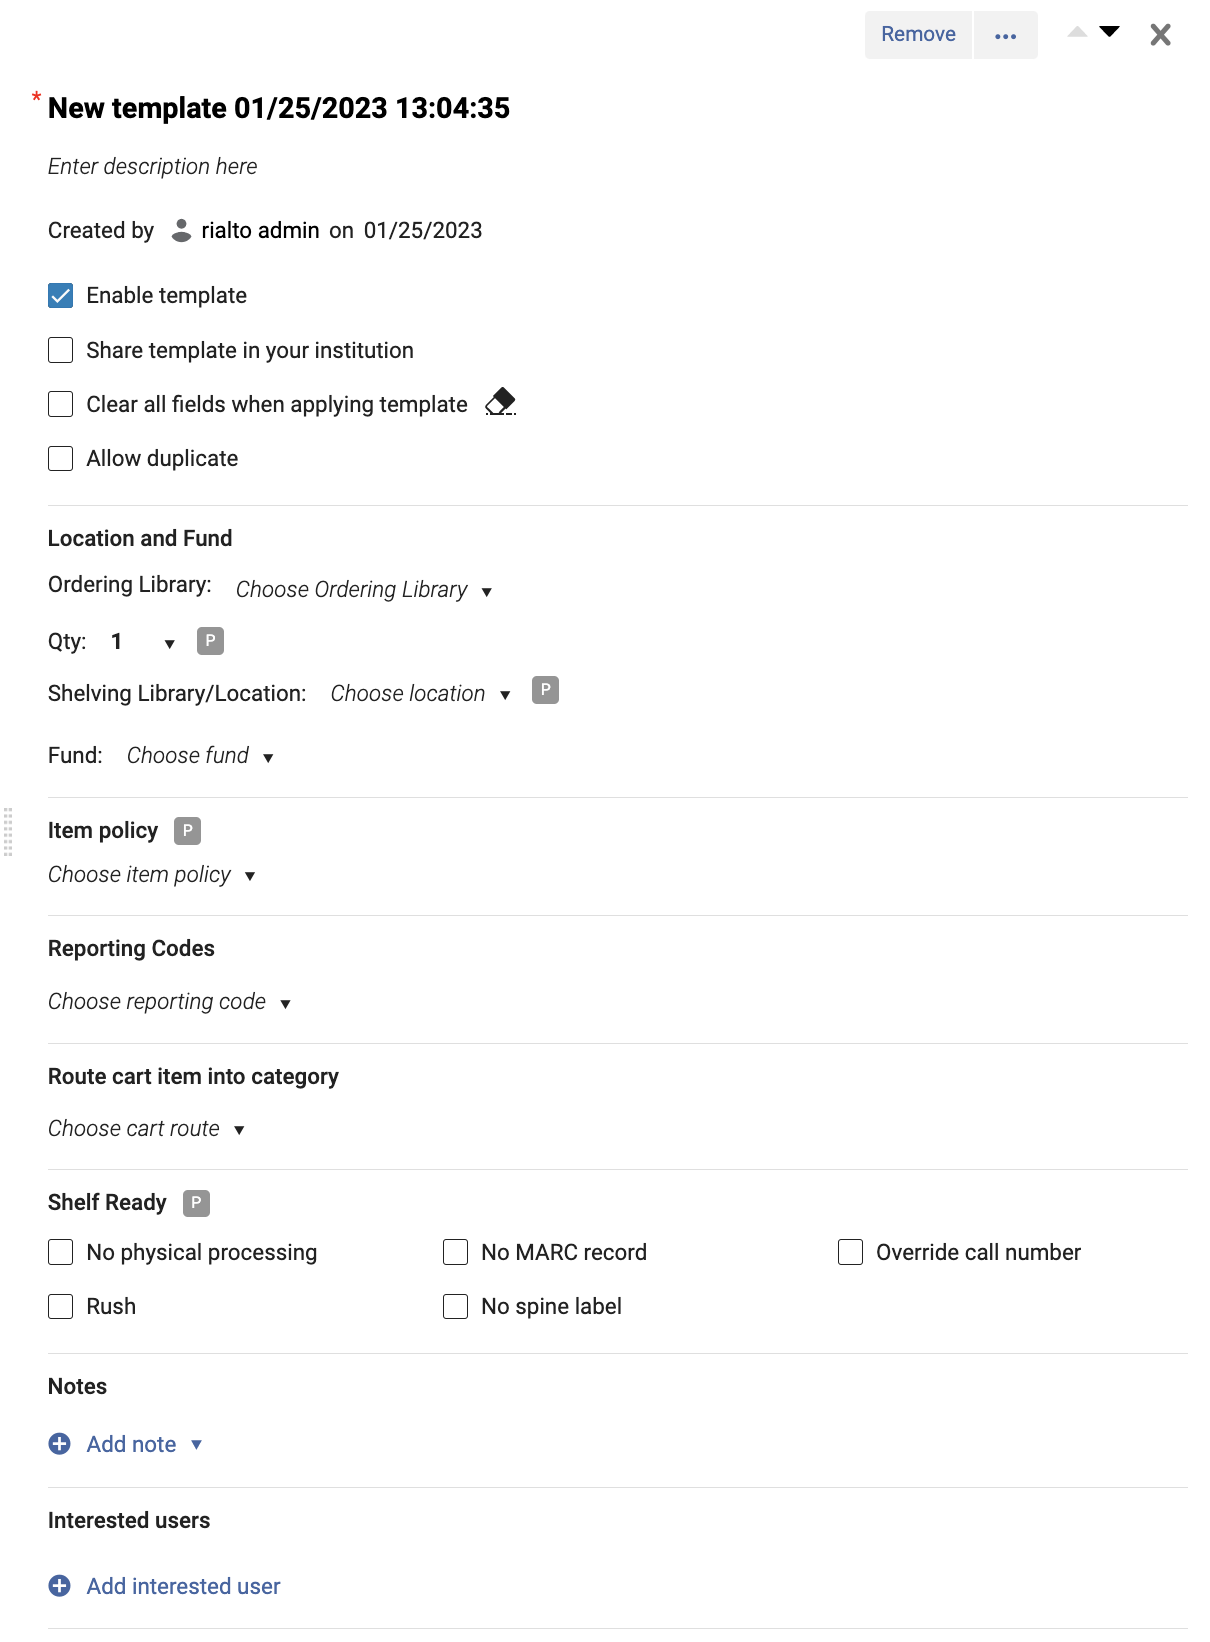
Double-click the template you just created.
The template options open in a right-side pane.
-
Modify the name of the template. Try to provide a name that would describe the situations in which this specific template should be applied to the cart. Each template must have a unique name.
The list of templates is sorted alphabetically to enable customers with large number of templates finding the right template. You can use naming conventions to help sort more common templates up at the top, i.e. using the "AAA - My template" to sort it to the top. -
Select Share Template in Your Institution if this is an institution-level template that you want to share with other users. The next time other users open Rialto, they will see this template in their Manage Templates page and will be able to apply it to carts. If you don't select this option, only you will have access to this template.
Other users cannot edit a shared template, but they can disable it on their own Manage Templates page. See Filling in the Cart Options.
Once the template is applied to the cart, it makes no difference if it was a shared or private template. -
Select Clear all fields when applying a template if you want blank values in a template to override any existing cart values. If left unselected, then pre-existing values in the cart are left as is and will not be overwritten by blank template values. Leaving this option unselected ensures information entered by other staff is not lost after applying a template.
If a template contains an ordering library but no location and/or fund, the blank location and fund may override pre-existing cart values regardless of whether "Clear all fields when applying a template" is selected. This is because the pre-existing location and funds may not rollup to the newly applied ordering library.
-
If enabled by your system administrator, the Allow duplicate box is present. Select this option to bypass any checks for known holdings when processing your order. For more information, please see shopping cart options.
-
Fill in the rest of the fields as per the Cart Options table.
-
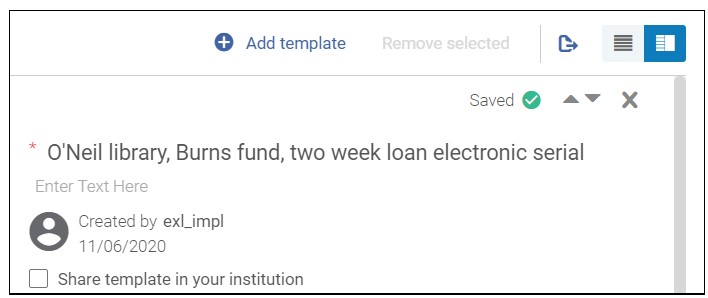
Click anywhere outside of the panel to save your changes. The Saved notification appears for 10 seconds on the top-left corner of the template and then disappears.
-
Upon creation, the template is enabled. Only enabled templates can be applied to carts.
If you do not want to use the template immediately, you can disable it. You can do so by selecting the "Enable template" checkbox in the template, or by selecting the toggle by the template name in the list of templates.
Deleting Templates
Deleting a template has no effect on the carts to which this template was already applied - the selections made in these carts remain as they were.
You can delete or edit your personal templates at any time.
Only the template creator or administrator can delete (or edit) a shared template.
If a template was shared with a you, and you wish to no longer see it, you can disable it from your view by selecting the toggle next to the template name in the list of templates. This toggle will read "disable for me" on hover.
Disabled templates are not visible to users when they apply templates to cart.
- On the Cart Templates page (Market > Orders > Cart Templates), select Remove in the row list actions.