
Outlook 365
![]()
Overview
Outlook 365 product integration integrates campusM with Microsoft Outlook 365 and allows users to manage their email accounts directly from campusM.
User Experience
The following section describes aspects of the user experience.
Logging In to Microsoft
The first time a user selects the Outlook tile, the Microsoft login page appears:
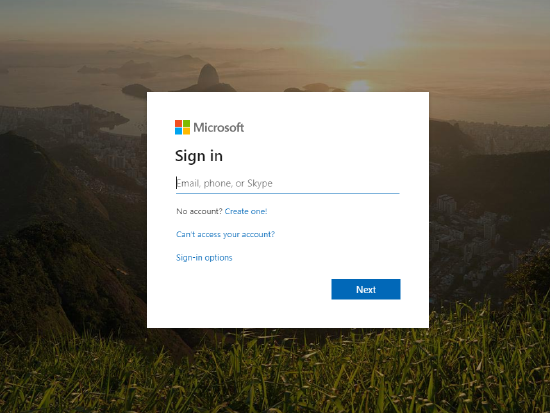
The user enter the institution’s email address and password. After logging in, the user is redirected back to the outlook main screen. There is no need to login again to Microsoft if the user is still logged in to campusM.
Screenshots
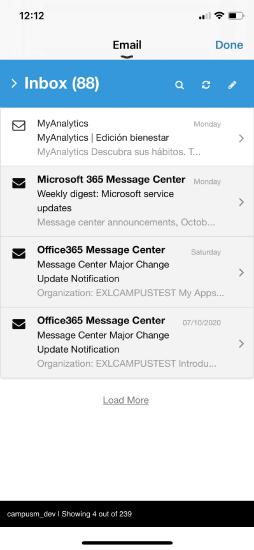
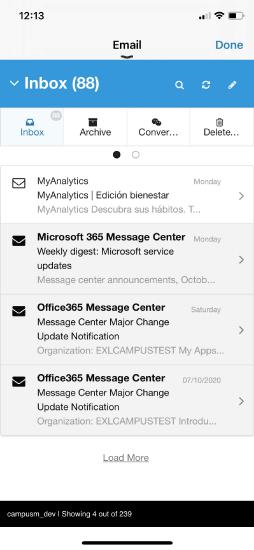
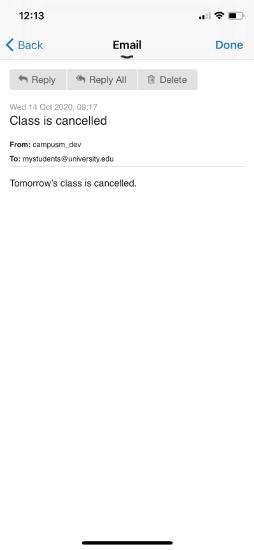
| The Live Tile indicates number of unread emails | After selecting the Outlook tile, the user's Inbox appears: | Select the title bar to display the email boxes: |
 |
 |
 |
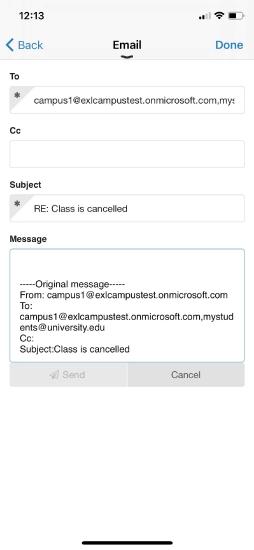
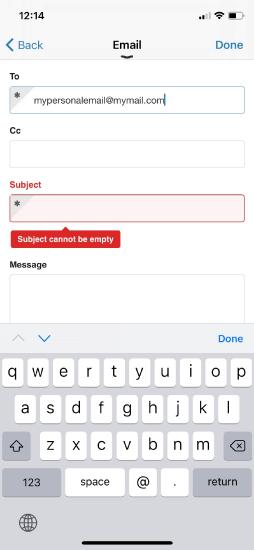
| Select an email to open it: | Select Reply to reply to the sender: | Enter a subject in the Subject box: |
 |
 |
 |
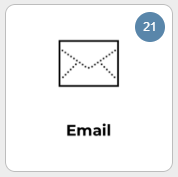
Live Tile
It is possible to use the live tile either with full product integration (OTB behavior) or with a linkout to an external website, app or any other tile. For more information, see Configuring Live Tile Linking.
Technical Overview
Prerequisites
The following are the prerequisites for the Outlook 365 product integration:
- Configure an OAuth Integration Profile (App Manager > App Settings> Integration Profile). For more information, see OAuth Integration Profile Configuration.
- Configure a redirect URI in the Azure settings > Authentication section. The Redirect URI should be the following: <App URL>/cmauth/oauth/callback.
For example: https://university.campusm.exlibrisgroup.com/cmauth/oauth/callback - Verify on the Azure side that permissions that are updated in campusM (see OAuth Scope in the Configuration section) are configured in Azure as well (Azure settings > API Permissions section).
- Configure Microsoft Graph API permissions. For more information, see Microsoft Graph API Permissions and campusM Product Integrations.
Authentication
The following is the authentication workflow:
- campusM sends Integration Profile information to Microsoft Login API.
- Microsort send a response with user's access token.
- campusM sends the access token to Microsoft Graph API to get all relevant data for the logged in user.
Configuration
To configure the Outlook 365 Product Integration, first configure an authentication integration profile (subtype OAuth) that you then select in the Product Integration configuration section.
OAuth Integration Profile Configuration
You add and edit integration profiles from App Settings > Integration Profile > Add Integration Profile.
The following table describes the configuration options available on this page. You can find most of the information in your Azure portal; under App registrations, Endpoints and Certificate and Secrets sections.
| Configuration Option | Description |
|---|---|
| Type | Authentication |
| Subtype | OAuth |
| OAuth Client ID | The Application ID that the registration portal assigned your app. |
| OAuth Client Secret | The application secret that you generated for your app in the app registration portal |
| Authorization Endpoint | https://login.microsoftonline.com/{tenant}/oauth2/v2.0/authorize |
| Access Token Endpoint | https://login.microsoftonline.com/{tenant}/oauth2/v2.0/token |
| Token Endpoint Auth | Post |
| OAuth Scope | A space-separated list of the Microsoft Graph permissions that to which you want the user to consent. This can also include OpenID scopes. You need to have at least the following scopes: offline_access user.read mail.read mail.send Mail.ReadWrite |
| Logout URL | https://login.microsoftonline.com/{tenant}/oauth2/logout?client_id={OAuth Client ID}&post_logout_redirect_uri={logout url} |
| Extract OAuth Tokens | True |
| Username Mapping | unique_name |
| Mail Mapping | upn |
| First Name Mapping | given_name |
| Last Name Mapping | family_name |
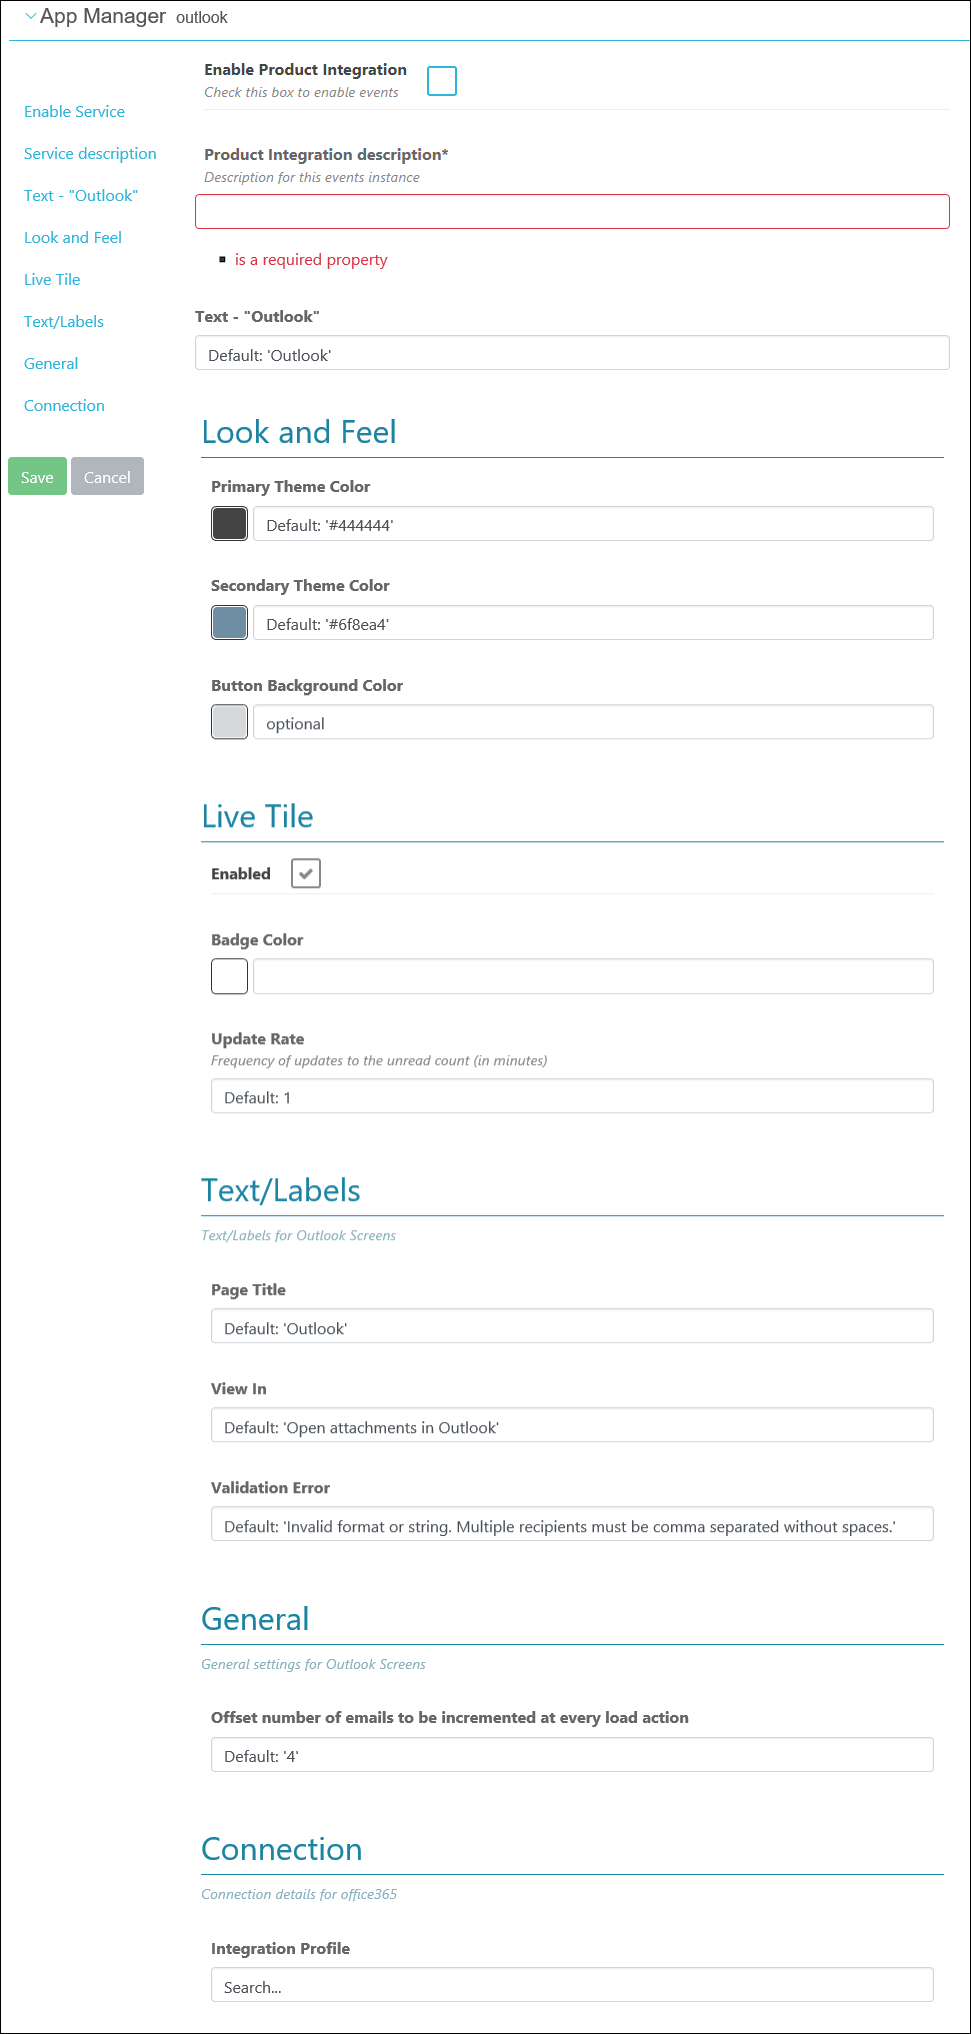
Product Integration Configuration
| Configuration Option | Description |
|---|---|
| Enable Product Integration | Select to enable the product integration on the user's campusM app. |
| Product Integration Description | A description of the product integration for internal use |
| Screen Title | The title that appears in the top header of the service |
| Look and Feel | |
| Primary Theme Color | Select a color for the main elements on the page |
| Secondary Theme Color | Select a color for the secondary elements on the page |
| Button Background Color | The background color of the buttons |
| Live Tile | |
| Enabled | Select to enable the number of unread emails indicator on the Outlook tile |
| Badge Color | The color of the badge indicator |
| Update Rate | Enter the frequency of updates to the unread count (in minutes) |
| Text / Labels | Enter replacement text for the default titles and labels |
| General | |
| Offset number of emails to be incremented at every load action | The number of emails displayed each time the user selects Load more |
| Connection | |
| Integration Profile | The integration profile campusM uses to integrate with Outlook 365. See the Authentications section above for more information. |