
Setting Up SSL for Local Primo Customers
This topic describes the instructions to set up and configure SSL/HTTPS in local Primo installations. The instructions provide a guideline for setting up SSL and depend on your specific network topology. The network configuration instructions are based on the common network elements that are used in Ex Libris cloud. You may need to modify the instructions to fit your specific network elements and topology.
These instructions are relevant to customers who are running the following version of Primo:
-
Classic UI – Primo April 2015 release and later releases.
-
New UI – Primo August 2016 release and later releases.
Introduction
Secure Sockets Layer (SSL) is a cryptographic protocol that is designed to provide communication security over the Internet using X.509 certificates. Once the SSL certificates are approved, all communication between the browser and the server are encrypted. In addition, the browser verifies that the certificates are compatible with the domain site with which they are communicating. HTTPS is a secure communication protocol that is layered over SSL. This document refers to both as SSL.
Prerequisites
To implement SSL, it is required that Primo use a load balancer (LB) that supports HTTPS offloading and hostname switching. For customers who integrate Primo with any product that does not support SSL (such as a non-hosted SFX environment), it is not recommended to configure SSL with your Primo FE to prevent interoperability issues.
High Level Solution
You can configure SSL on any of the HTTP communication channels (FE, BE, and PDS). The solution is based on load balancing (LB) hostname switching. To configure SSL to access Primo, you should define two separate DNS names: one for FE and BE and another for PDS. The LB will
identify the URL and forward requests to the correct server and port according to the hostname in the URL.
identify the URL and forward requests to the correct server and port according to the hostname in the URL.
After you configure SSL:
-
FE and PDS communication between the customer and Primo will use HTTPS on port 443. Any incoming requests on port 80 will be redirected to port 443 (using SSL).
-
BE communication between the customer and Primo will use HTTPS on port 1443. Any incoming requests on port 1601 will be redirected to port 1443 (using SSL)
-
Port 8991 will not respond.
Naming Convention
As mentioned previously, you should create two separate DNS names: one for the FE and BE and another for PDS:
-
FE and BE: primo-<custID>
-
PDS: pds-primo-<custID>
The following table contains examples and descriptions:
| Server | Format | Example | Type | DNS Points to (Example) |
|---|---|---|---|---|
|
FE/ BE
|
<Selected by customer>
|
primo.myInst.edu
|
DNS A-Record
|
VIP (virtual IP)
|
|
PDS
|
pds-<Selected by customer>
|
pds-primo.myInst.edu
|
CNAME to the A-Record
|
primo.myInst.edu
|
Ports and Communication
The following table describes the ports used by each type of server:
| Server | Port |
|---|---|
|
Primo Front End
|
Use port 443. The LB will forward the messages to server port 1701.
|
|
Primo Back Office
|
Use port 1443. The LB will forward messages to server port 1601. (Any requests to HTTP/1601 will be redirected to HTTPS/1443).
|
|
PDS/ Shibboleth
|
Use port 443. The LB will forward messages to server port 8991.
|
General Configuration for Primo
Back Office Configuration
Before starting the Back Office configuration:
-
You must be running the Primo April 2015 release or a later release for the classic UI and the Primo August 2016 release or later for the new UI.
-
You should have defined two DNS names: one for the FE and BE and another for the PDS.
For each server listed in the table above, you must specify the external DNS name prefixed with https (instead of http), such as the following:
-
https://pds-primo.myInst.edu
-
https://primo.myInst.edu
To configure SSL in the BE:
-
Open the General Configuration Wizard (Primo Home > Advanced Configuration > General Configuration Wizard) and select Installation from the Sub System drop-down list.
-
Refer to the following table to update the necessary parameters under the Installation subsystem:
Parameter Description Registration URLChange the prefix of the URL to https. For example:https://registration.service.exlibrisgroup.comReporting Base URLChange the prefix of the URL to https and specify the new DNS name. For example:https://primo.myInst.edu:1443/birt/frameset?report=Report/Help Base URLDeprecated. No change is needed.reporting_baseChange the prefix of the URL to https and specify the new DNS name. For example:https://primo.myInst.edu:1443/birt/primo_admin_baseChange the prefix of the URL to https and specify the new DNS name. For example:https://primo.myInst.edu:1443/primo_publishing/admin/primo_baseUsed internally. Do not update this URL.Search Statistics Report URLNot used. Do not update this URL.MFE_MASTERUsed for internal calls (internal server names). Do not update this URL.MFE_FRONTENDSUsed for internal calls (internal server names). Do not update this URL.Console Status URLUsed for internal calls in MaxThreadsFilter. Do not update this URL. -
Click Save & Continue.
-
On the All Mapping Tables page (Primo Home > Advanced Configuration > All Mapping Tables), select Adaptors from the Sub System drop-down list and edit the Pushto Adaptors Configuration mapping table.
-
For the RefWorks adaptor, change the prefix in the URL to https.
-
Click Save.
-
On the Institution Wizard page (Primo Home > Ongoing Configuration Wizards > Institution Wizard), edit each institution that requires SSL.
-
In the Delivery Base URLs section, change the prefix for each URL to https.
-
On the Login Profiles page (Primo Home > Ongoing Configuration Wizards > User Authentication Wizard), edit each institution's PDS profile:
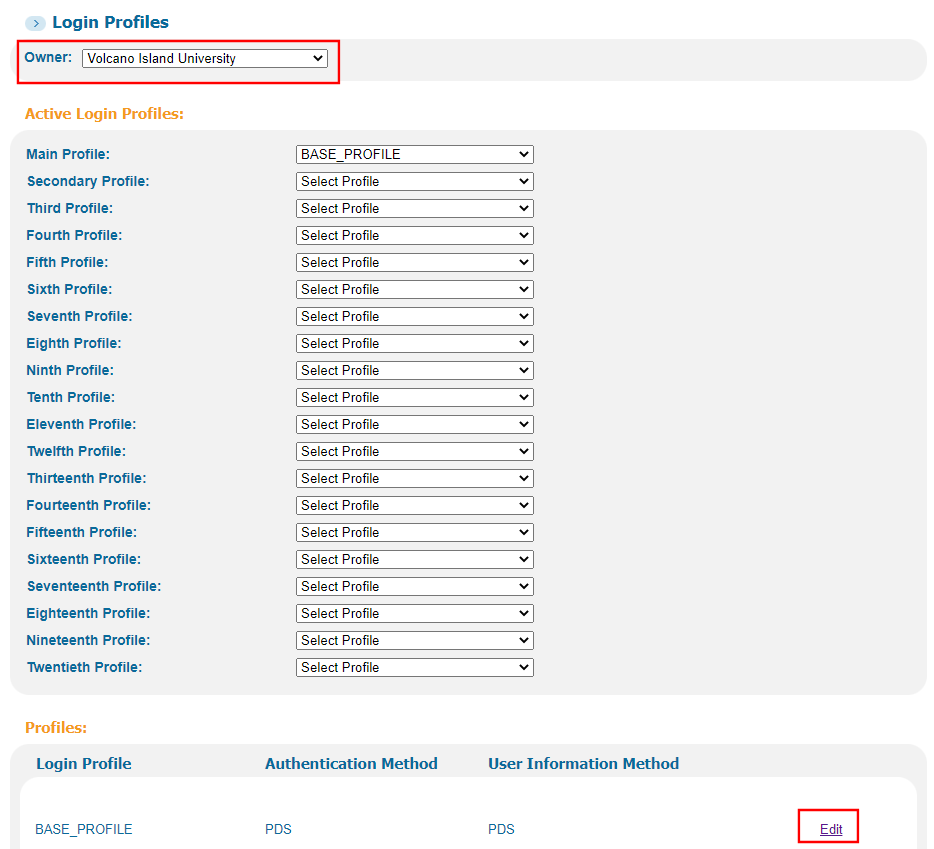 Login Profiles Page
-
On the institution's Login Profile page, update the following fields:
Parameter Description PDS_URLChange the prefix of the URL to https and specify the new DNS name for PDS. For example:https://pds-primo.myInst.edu/pdsPDS_INTERNAL_URLChange the prefix of the URL to https and specify the new DNS name for PDS. For example:https://pds-primo.myInst.edu/pdsPDS_CONFIGURATION_URLChange the prefix of the URL to https and specify the new DNS names. For example:https:// pds-primo.myInst.edu/pdsadmin/general_configuration. cgi?backlink=https://primo.myInst.edu/{backLinkURL}& backlinktext=Authentication Configuration -
Select Save.
-
-
On the Deploy All page (Primo Home > Deploy All), select all options and then click Deploy.
Apache Configuration (PDS)
To verify that PDS Apache is not configured to listen on port 443 and is listening on port 8991, enter the following command on the server:
ps –ef | grep httpd
The output should return the user that is running the httpd (apache). If it is the root, then you are probably running Apache on port 443 or 80 and no change is needed to modify the LB to redirect requests on port 443 to port 8991.
In the Apache configuration file $primoe_root/apache/conf/httpd.conf, set the ServerName parameter to be the external DNS name used for PDS and prefix the URL with https. For example:
https://pds-primo.myInst.edu
Edit the following parameters in the $primo_dev/pds/program/PDSDefinitions file, update the PDS DNS, and prefix the URL with https:
-
server_httpsd
-
server_pds
-
pds_icon should use server_httpsd
The PDS should listen on port 8991 since the LB will redirect requests from port 443 to port 8991.
Perform Verification Test
-
Access the Primo Front End by specifying its https link in a browser. For example:https://primo.myInst.edu
-
Perform searches and verify that Primo continues to display https in the browser’s address after the results are returned.
-
Log on to the PDS by specifying its https link in a browser: For example:https://pds-primo.myInst.edu
-
After logging on to PDS, make sure that you are correctly redirected back to Primo using https.
-
In the Primo Front End, perform a Search, verify that all tabs of an item open, and verify that the Action > citation option displays citations.
-
Access the Primo Back Office by specifying its https link in a browser. For example:https://primo.myInst.edu:1443
-
Verify that you can run BIRT reports from the Primo Reports page (Primo Home > Primo Reports).
-
Verify that you can access the Login Profiles page (Primo Home > Ongoing Configuration Wizards > User Authentication Wizard).
Known Issues
The following issue is currently open:
If the Primo Front is configured with SSL, you will receive mixed content errors if you use external URLs (such as for Facebook, Amazon, and so forth).
Additional Changes
You should also make the following changes if they apply to your configuration:
-
If you are running the monitoring on Primo, update the URLs and prefix each URL with https.
-
Open a SalesForce case to inform Ex Libris of your new URLs and that you are using secured HTTP.
Troubleshooting
If you are not able to access your servers:
-
Try to telnet to port 443 and 1443 with each of your URLs. If you are not able to connect, this might be firewall issue. Verify that ports 443 and 1443 are open on the firewall.
-
Verify that the server definitions on Primo using the Primo user (primourl). If it indicates HTTPS, then the environment is configured to use HTTPS.
-
Verify that the BE and PDS configurations are configured as described in this document.
General DNS and LB Configuration
The section summarizes the configuration of the load balancer to support SSL. These instructions have been certified on an A10 load balancer, but except for the command syntax they should be similar for any modern LB (such as Cisco, F5, and so forth). Before making any changes, make sure that your networking team has the knowledge to perform the configuration and that your network topology supports this type of configuration.
-
Use the naming convention described previously to create two DNS names: one for the BE and FE and another for the PDS. The DNS for the FE and BE should be the A record that points to the LB. The “pds-“ record should be a CNAME that points to the A record.
-
FE/BE: primo-<custID>
-
PDS: pds-primo-<custID>
-
-
Create all relevant service groups for Primo (if they do not already exist). All should be Cookie persistent.
-
Port 80 should redirect to port 443 (with aFlex as below).
-
Port 443 should do hostname switching (see below) to the 8991 service group for the PDS and the 1701 service group for the FE.
-
Port 1443 should go to the 1601 service group (BO).
-
Port 1601 should redirect to port 1443 (only if backward compatibility to the old BO URL is required).
-
-
Create one HTTP template with hostname switching:
-
In the Switching section, create two Hostname switching instances:
-
The FE should go to the 1701 service group.
-
The PDS should go to the 8991 service group. The match by should start with pds.
-
-
Define the relevant service groups for the two instances in the HTTP template for port 443.
-
Client IP Header Insert:: X-Forwarded-For
-
Client IP Header Insert:: X-Forwarded-Proto:HTTPS
-
Compression should be disabled.
-
Redirect Rewrite – enabled on port 443.
-
-
Add aFleX to the port 80 service group (HTTP redirect to SSL)port 80 - redirect-http-to-https# Redirect http to https requestwhen HTTP_REQUEST {HTTP::redirect https://[HTTP::host][HTTP::uri]}
-
Add aFleX to the port 1601 service group (BE HTTP/1601 redirect to HTTPS/1443)port 80 - redirect-http-to-https# Redirect http to https requestwhen HTTP_REQUEST {HTTP::redirect https://[HTTP::host][HTTP::uri]}
-
View a sample configuration example for the following client-ssl template:slb template client-ssl c1cert default.certkey default.keyserver-name www.site1.com cert site1.cert key site1.keyserver-name www.site2.com cert site2.cert key site2.key