
Adding a top warning bar to Primo/Primo VE
- Product: Primo, Primo VE
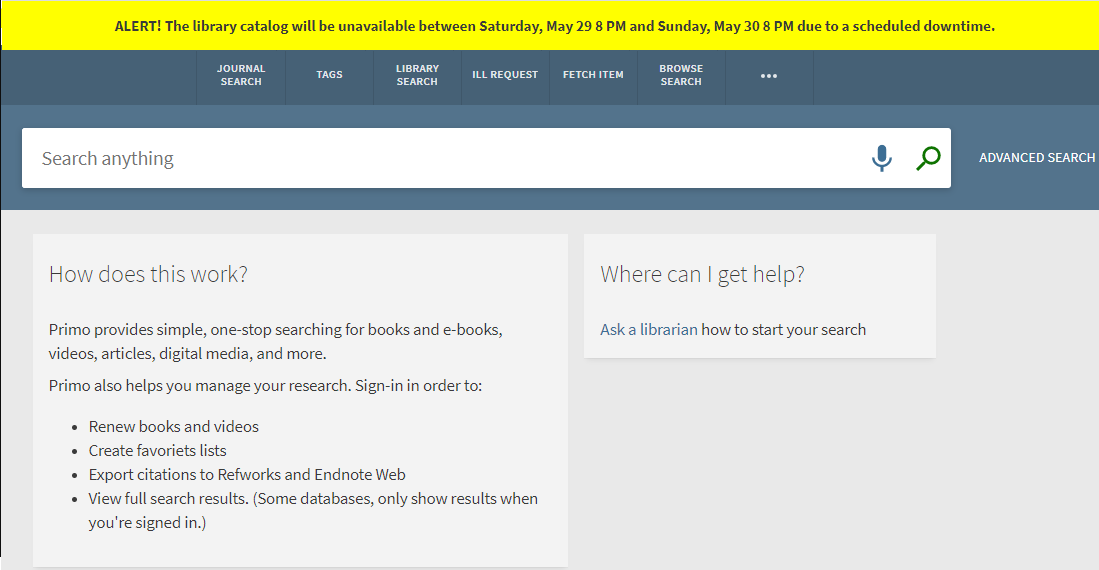
In order to add a warning bar as below, see the following steps:
Primo:
1. Go to Primo Back Office -> In the “Deploy & Utilities” menu, select “Customization Manager” -> Select Primo view you want to edit and download the current package.
2. Find the file on your computer -> Unzip file -> Open folders and navigate to css folder -> open custom1.css file.
3. Add the CSS code to the bottom of your CSS file (code is at the bottom of the article).
4. Save custom1.css file and zip the view folder.
5. Go back to the “Deploy & Utilities” menu, select “Customization Manager” > Verify the relevant view is selected
6. Under 'Upload package', choose the new zip file and click on the 'Upload' button.
7. Once the zip file has been uploaded, click on the 'Deploy' button in the top section, next to the view selection dropdown.
8. If you don’t like the background color, you can use an HTML color picker at https://www.w3schools.com/colors/colors_picker.asp and add a new color code to replace #FFFF00 in the code below.
Primo VE:
1. Go to Alma -> Configurations -> Discovery -> Select the Primo VE view you want to edit.
2. Click on ellipses -> Edit -> Manage Customization Package -> Download Current View Customization package.
3. Find the file on your computer -> Unzip file -> open folders and navigate to css folder -> open custom1.css file.
4. Add the CSS code to the bottom of your CSS file (code is at the bottom of the article):
5. Save the custom1.css file and zip the view folder.
6. Go back to the 'Manage Customization Package' tab and under Upload package, select the zip file and upload -> Save.
7. If you don’t like the background color, you can use an HTML color picker at https://www.w3schools.com/colors/colors_picker.asp and add a new color code to replace #FFFF00 in the code below.
CSS code:
/* LOCAL BANNER */
body::before {
content: "ALERT! The library catalog will be unavailable between Saturday, May 29 8 PM and Sunday, May 30 8 PM due to a scheduled downtime.";
display: inline-block;
background: #FFFF00;
text-align: center;
padding: 15px;
width: 100%;
font-weight: bold;
}
/* END local banner */
The CSS code above supports only static text addition.
For any additional customizations, e.g. links/ different sizing/ Automatic disappearance, please apply full angular customization.
For additional information and examples for Java scripts, please see the following link:
https://github.com/ExLibrisGroup/pri...r/VIEW_CODE/js
Specifically, the 'JavaScript Recipe 1' section.
- Article last edited: 13-Jan-2022