Installing User-Defined Reports
If you want to integrate locally-created reports into the Primo Back Office, you need to create the reports with Eclipse BIRT Designer Version 2.3.1 and later versions, which is an open-source reporting system (http://www.eclipse.org/birt/phoenix/).
To access the Primo Reporting Schema from the BIRT Designer, you will need the following connection information:
-
Driver Class (which you may have to install manually):oracle.jdbc.driver.OracleDriver
-
Database URL:jdbc:oracle:thin:@<your server name>:1521:<database>
-
Username and password (where <r> is the release in which Primo was initially installed and <c> is the Primo copy):p<r><c>_rpt00
The following figure shows a sample connection from a report file.
<data-sources>
<oda-data-source extensionID="org.eclipse.birt.report.data.oda.jdbc" name=
"Data Source" id="248">
<text-property name="displayName"></text-property>
<property name="odaDriverClass">oracle.jdbc.driver.OracleDriver</property>
<property name="odaURL">jdbc:oracle:thin:@univ03:1521:prm1</property>
<property name="odaUser">p22_rpt00</property>
<encrypted-property name="odaPassword" encryptionID=
"base64">cDIyX3JwdDAw</encrypted-property>
</oda-data-source>
</data-sources>
Example Connection in Report File
To install a BIRT report:
-
Create a BIRT report using the Primo Reporting schema (RPT00).
-
Insert the BIRT report file (<filename>.rptdesign) into the following directory, where <r> indicates the release in which Primo was initially installed and <c> indicates the Primo copy:/exlibris/primo/p<r><c>/ng/primo/home/system/thirdparty/openserver/server/publish/deploy/birt.war/Report
-
Click All Mapping Tables from the Primo Home > Advanced Configuration page to display the Mapping Tables page.
-
Select Reports from the Subsystem drop-down list to display the Report mapping tables.
 Mapping Tables Page for Reports
 -
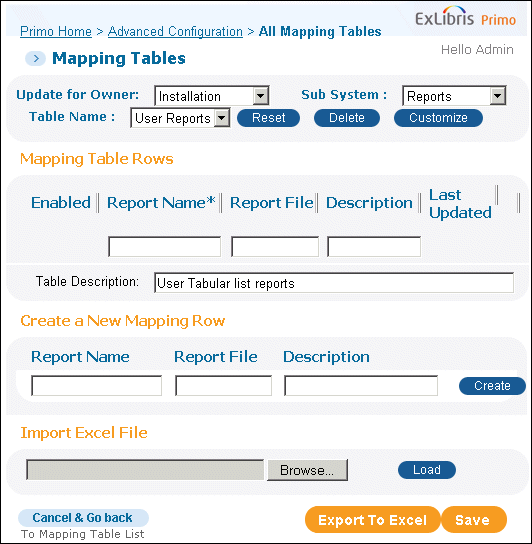
Click Edit to open the User Reports table for editing.
 User Reports Mapping Table
 -
In the Create a New Mapping Row section, enter the following parameters:
-
Report Name: Type the report name as it will appear in the Primo Back Office.
-
Report File: Enter the name of the report file that you installed in Step 2.
-
Description: Type a short description for the report.
 Add New User Report
 -
-
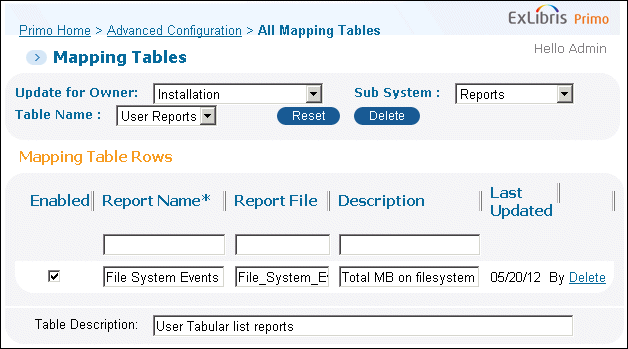
Click Create to add the new mapping row to the table.
 New User Report Added to TableMake sure that you enable the new report by selecting the Enabled check box.
 -
Click Save to return to the previous page.
-
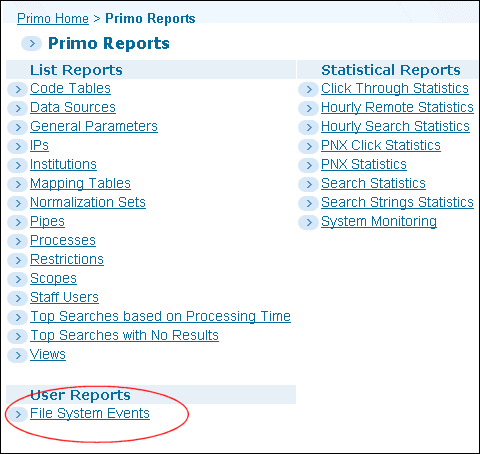
Click Primo Reports from the Back Office home page to see if the User Reports section of the Primo Reports page lists your new report.
 Primo Reports Page (User Reports)
 -
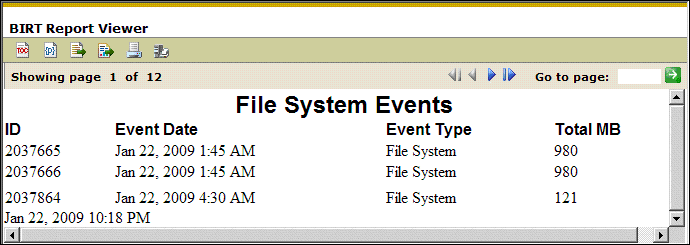
Click the new report to see if it displays properly.
 Sample User Report

