Uploading Files
- Last updated
- Save as PDF

Uploading Files with the Asset Manager
Several areas of the App Manager require you to upload files before you can use them. This applies, in particular, to images (including icons and maps) and CSS files.

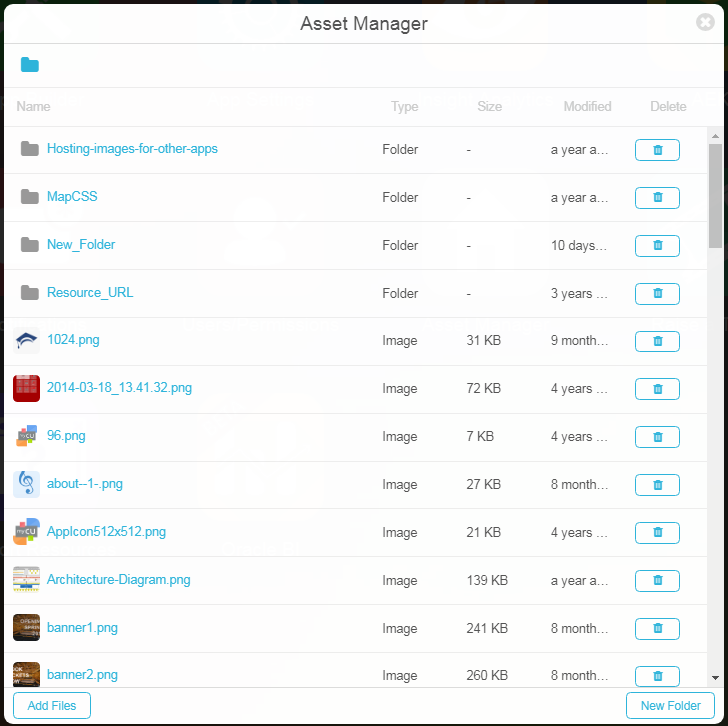
- Select Add Files.
- Select one or more files and select Open. The files are uploaded to the current folder.
- You can also drag and drop files from your computer (such as from Windows or Mac file explorer).
Viewing Files with the Asset Manager
Each file row indicates the file type and the date it was uploaded. To see more details of the file, hover over the date.
You can view file details as described above, but you cannot view actual files in the Asset Manager.
Managing Folders with the Asset Manager
-
Select a folder to view the contents of the folder. Select somewhere in the breadcrumbs path at the top to return to a higher-level folder.
-
To add a folder within the current folder, select New Folder and enter a unique folder name.
Deleting Files and Folders with the Asset Manager
You need either the Resource : Can delete resources role or all permissions, in order to delete files from the Asset Manager.
-
Select the trash icon in the row.
- Select Yes > Delete it in the confirmation dialog box.
As noted in the confirmation dialog box, devices might cache images with a specific name. Therefore, when you want to replace an image, it is recommended to upload an image with a different name and add the new image where it is required. This forces the app to load the new image instead of pulling it from a cache on the device.

