
Analytics- How to create a button that redirects a presentation variable prompt search to Primo

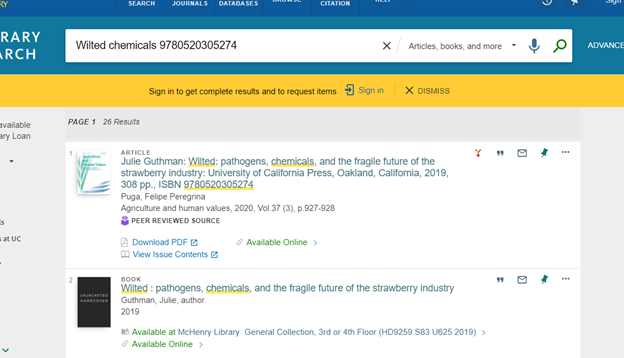
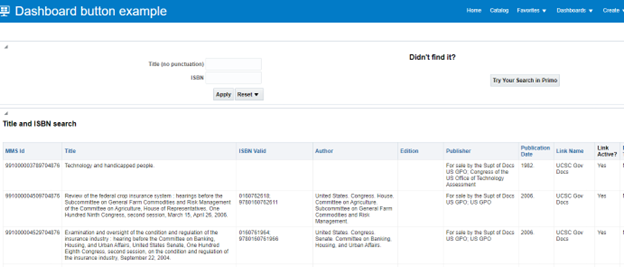
The search failed because the title is slightly incorrect. However, clicking on the “Try Your Search in Primo” button will launch the same search in Primo in another tab, and find the resource.
The redirect is accomplished by creating a stub report who's sole purpose is to display the button in a narrative view. The button uses a similar method to creating links in an Analytic to redirect the search to Primo.
Build the Base URL
1. To configure, you need to get a Primo base URL template.
2. Search any single term in Primo and copy the URL:

3. Paste the URL into Notepad:

4. Find the phrase “any,contains,<term>”

5. Replace that portion with @2, leave everything else the same. This is your new base URL for the button. Set this aside, we will need it for later.

Create Dashboard Prompts
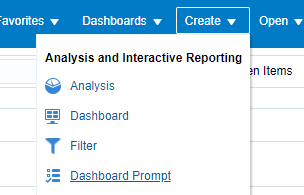
6. From the Analytics Menu, select Create->Dashboard Prompt
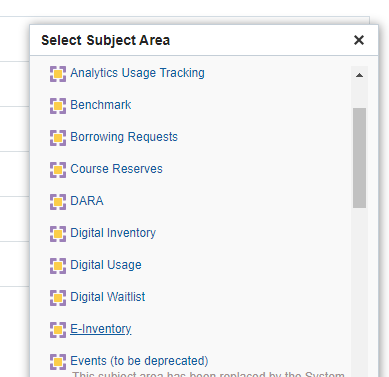
7. Select your subject area:
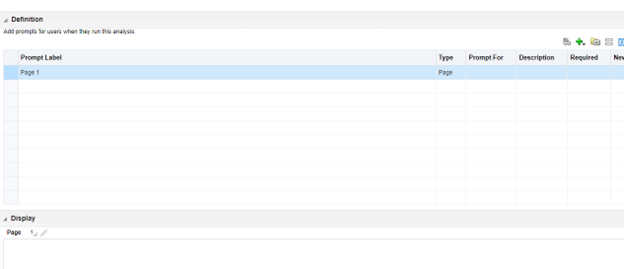
8. The prompt configuration window will open:
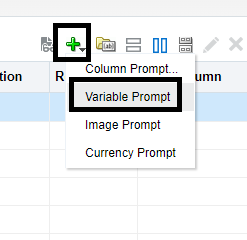
9. Click the green plus->variable prompt
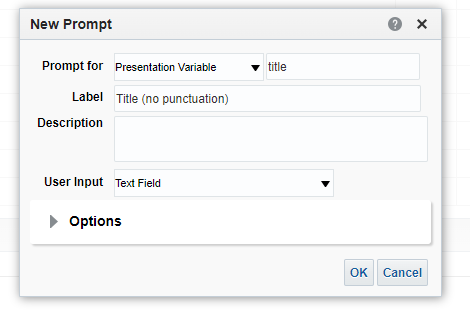
10. Beside the Prompt for line, set the pull down menu to “presentation variable”.
a. In the box next to presentation variable, type in a name for the title variable. This will be the name you use in your reports.
b. For Label, type in the text that you want to appear to the user to prompt them to type in a title.
c. Click OK when done.
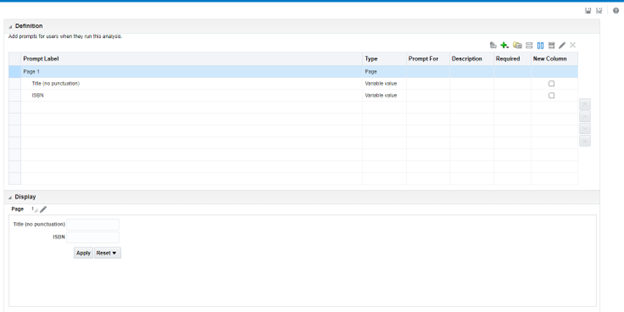
11. Repeat for the ISBN prompt. (for this example, the name of the variable prompt for ISBN is "isbn") You should have two prompts as shown below. Save your Dashboard prompt.
Add Prompt to Report
12. To create a report to use a single title variable prompt, create your report with Normalized title and ISBN valid.
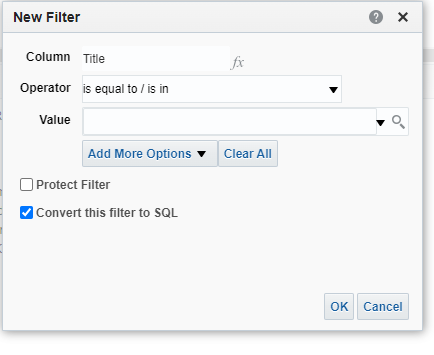
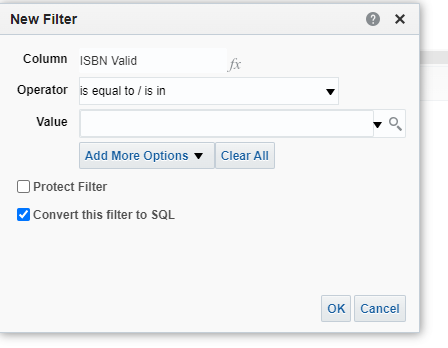
13. Add the filter on the normalized title.
14. Check the “Convert this filter to SQL” box, and click “OK”
15. Erase everything and paste in this SQL code: (note, if you called your variable prompt for the title something other than “title”, substitute that name for “title”)
IFNULL("Bibliographic Details"."Title (Normalized)", ' ') LIKE LOWER('%@{title}{}%')
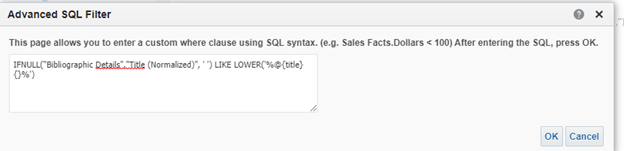
16. Then click “OK”.
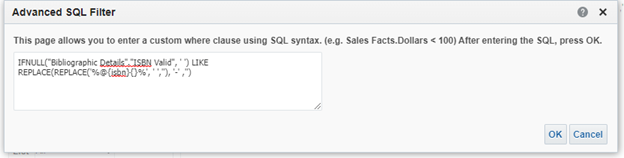
17. Now create the ISBN filter.
IFNULL("Bibliographic Details"."ISBN Valid", ' ') LIKE REPLACE(REPLACE('%@{isbn}{}%', ' ',''), '-' ,'')
18. Your two filters should look like this:

19. Now add whatever other column and filters your report requires. Save.
Creating the button
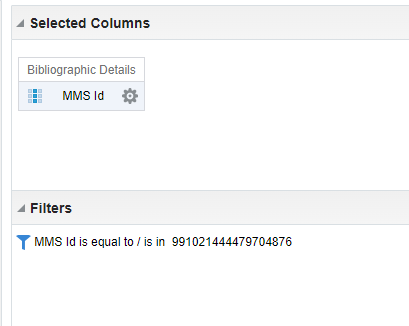
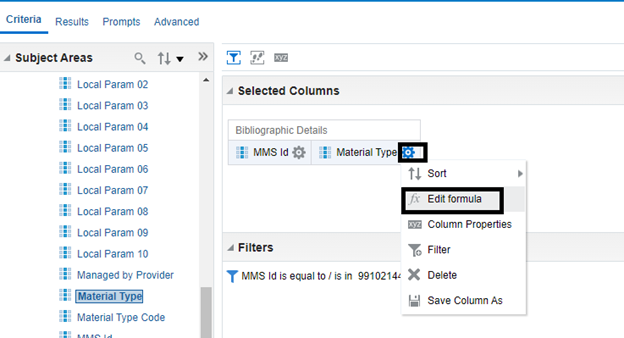
20. Create a new analysis, the subject area does not matter. Drag in the MMS ID column, and filter on any single MMS ID in your database.
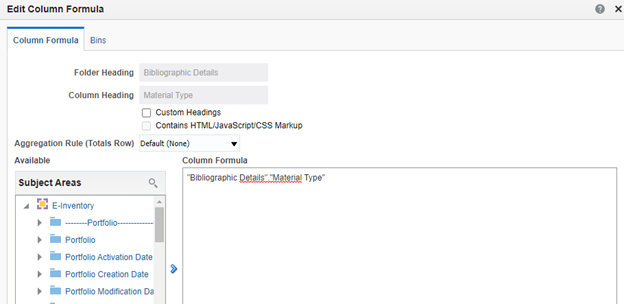
21. Now drag in a column. It can be almost any column (do not drag in counters or drill down columns). Click on the gear->edit formula
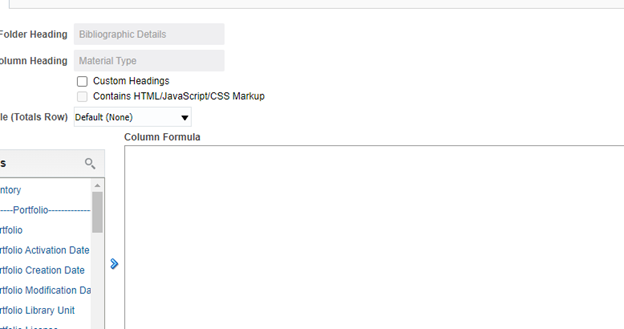
22. Erase whatever value is in the column formula box.
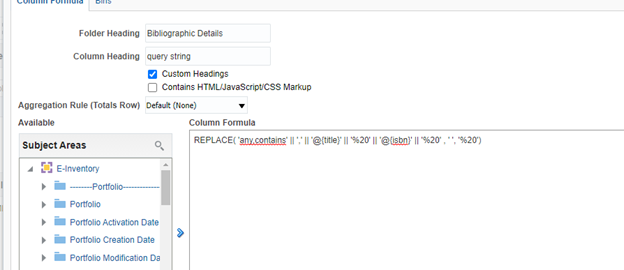
23. Copy the formula below, paste into Notepad, and substitute <title prompt name> with the name of the presentation variable prompt you configured. Substitute <ISBN prompt name> with the name of your ISBN prompt:
REPLACE('any,contains' || ',' || '@{<title prompt name>}' || '%20' || '@{<ISBN prompt name>}' || '%20' , ' ', '%20')

24. Copy and paste the formula into your empty column formula box. Check the "custom headings" box and change the column Heading name to "query string". Click “OK” to save the formula.
25. Now click on the "Results" tab to run the report. You won't have any values for the title and ISBN variable prompts because they haven't been input by the user yet.
26. Click on the New View icon and select Other Views->Narrative
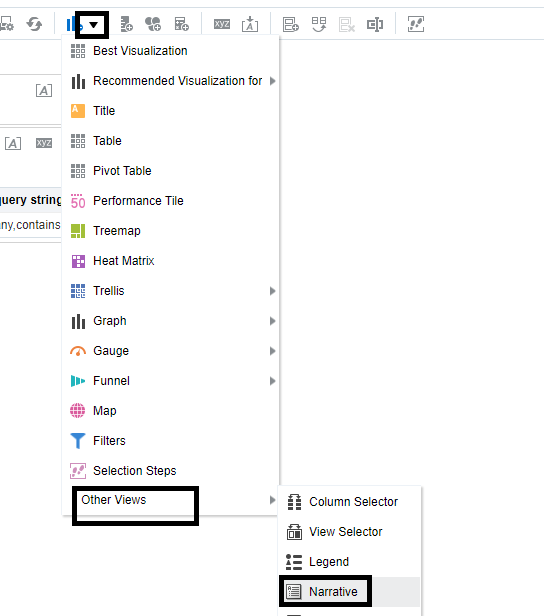
27. This adds a Narrative View to the bottom of the report:
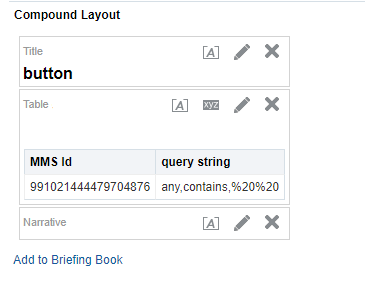
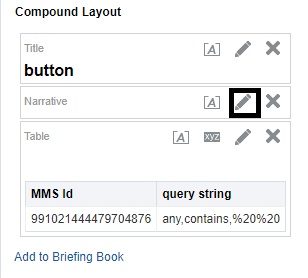
28. Hover over the narrative view until your cursor turns into a 4 pointed arrow. Click and drag it between the title and the Table views:

29. Click on the pencil in the Narrative View to Edit it:
30. This will open the narrative view for editing:
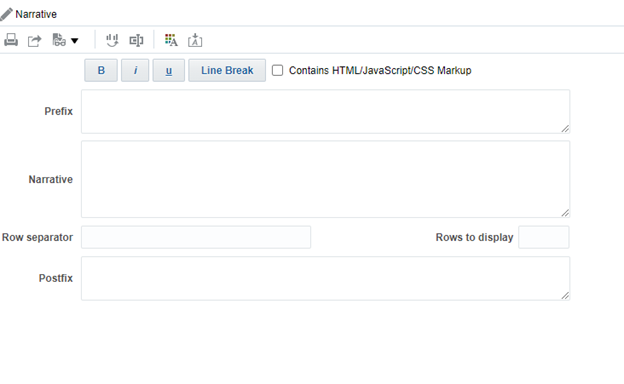
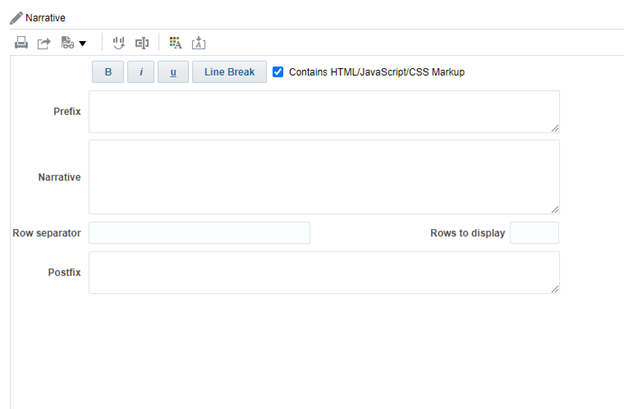
31. Check the box next to "Contains HTML/JavaScript/CSS Markup"
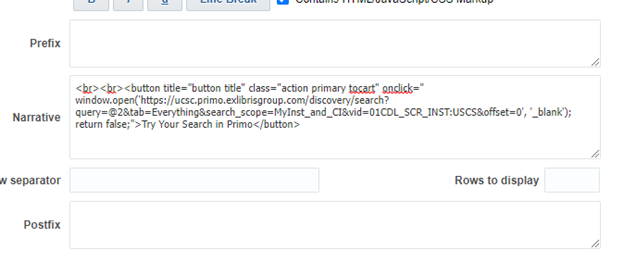
32. Copy this HTML Code for a button and paste into Notepad. Where it says <base URL>, paste in the base URL you created in step 5. The text "Try Your Search in Primo" is the text that appears on the button, and can be customized to whatever wording you prefer.
<br><br><button title="button title" class="action primary tocart" onclick=" window.open('<base URL>', '_blank'); return false;">Try Your Search in Primo</button>


33. Once you've dropped the base URL in, copy and paste the HTML code into the "Narrative" box in your Narrative View:
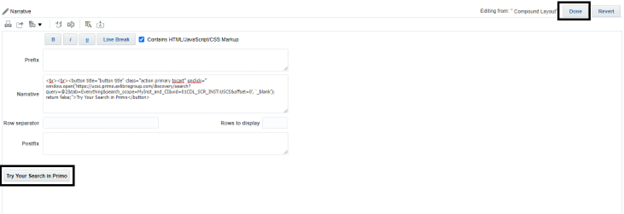
34. You should see the button appear at the very bottom. Now click "Done".
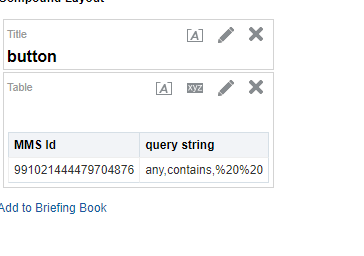
35. Your report will now look like this:
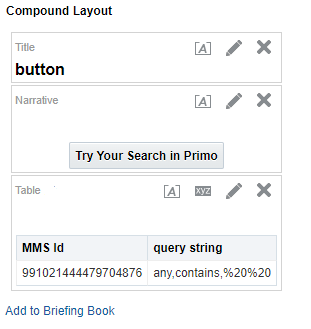
36. Now we just need to hide the columns so that they won't display. For each column, click "Column Properties"
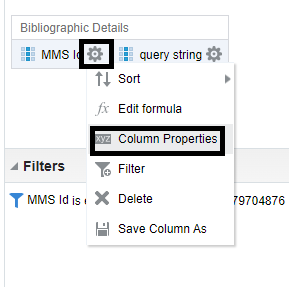
Click on the Column Format tab and check the box next to "Hide":

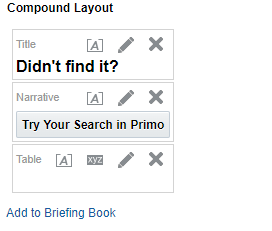
37. Repeat step 36 for the query string column. When you click on the "Results" tab, you should only see the button:
38. Create your Dashboard. Drag in the Dashboard prompt, the report containing only the button, and your title search report.
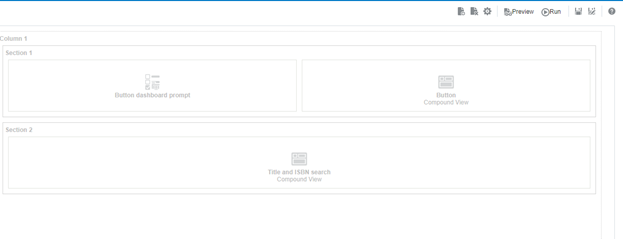
39. Save your Dashboard and run it:
40. Now, enter the title and/or an ISBN:
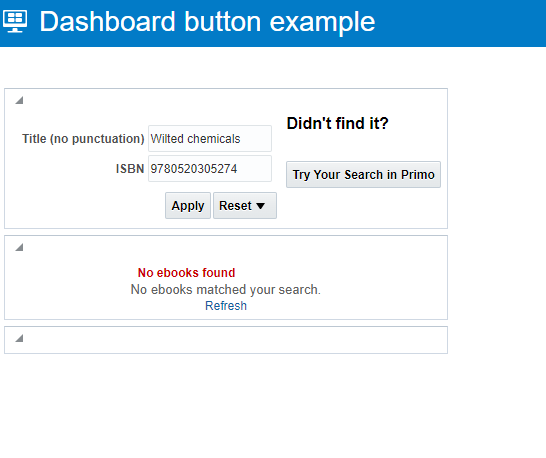
41. If the search fails, clicking on the "Try Your Search In Primo" button will now redirect the search to Primo:
