
User Authentication for Alma-Summon
|
Alma supports a number of authentication schemes, which are defined using integration profiles. An institution may choose to use more than one of the following authentication schemes:
-
LDAP
-
SAML based authentication such as Shibboleth
-
CAS
-
OAuth based authentication with Facebook, Google, Twitter or using email
-
Alma internal users
For information on configuring external authentication systems, see Integrations with External Systems. For information about the Ex Libris Identity Service, see https://developers.exlibrisgroup.com/alma/integrations/user-management/authentication/exl_identity_service.
Login Pages
The User Authentication page (Configuration Menu > Discovery > Authentication > User Authentication) allows you to enable authentication profiles and to configure the help links and labels that display on the login pages for Alma.

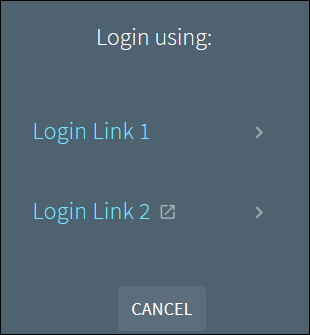
After users select an authentication method, they will receive the appropriate login page for the selected authentication method.
Configuring the Login Links
The Profiles tab on the User Authentication page allows you to enable a maximum of five login links, which allow users to select a type of authentication to use to log on to the system.
-
Open the User Authentication page (Configuration Menu > Discovery > Authentication > User Authentication) and select the Profiles tab (which is the default).
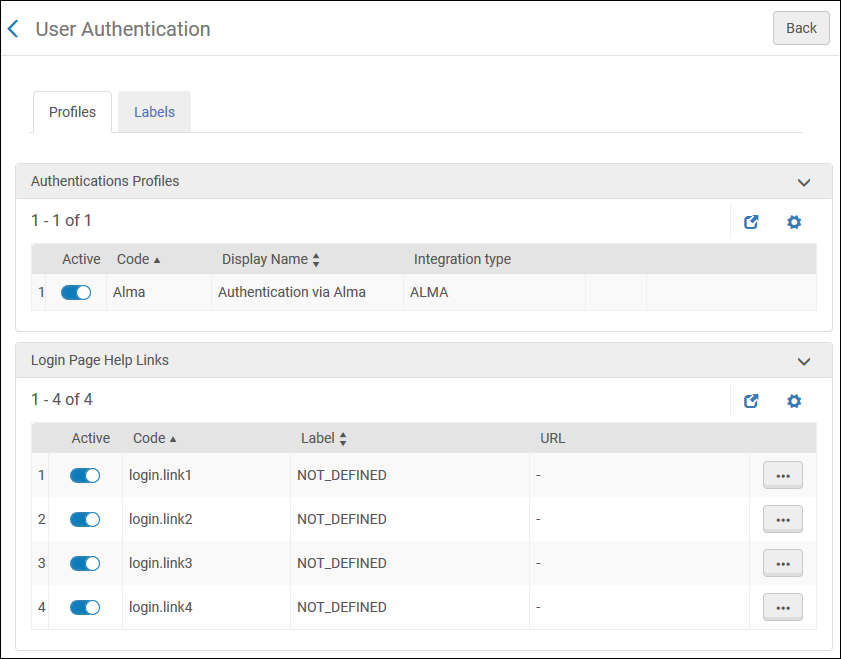 Profiles Tab
 -
In the Authentication Profiles section, activate the types of authentication that you want to provide to users. If multiple authentication types are enabled, the system will display the Parallel Login page to users.
-
Select Save.
Configuring the Help Links
The Profiles tab on the User Authentication page allows you to configure up to four help links. For each help link, you can specify a label and a URL for the help page.
-
Open the User Authentication page (Configuration Menu > Discovery > Authentication > User Authentication).
-
Select the Profiles tab (which is the default tab).
Profiles Tab -
Select Edit next to the login link for which you want to add a help page.
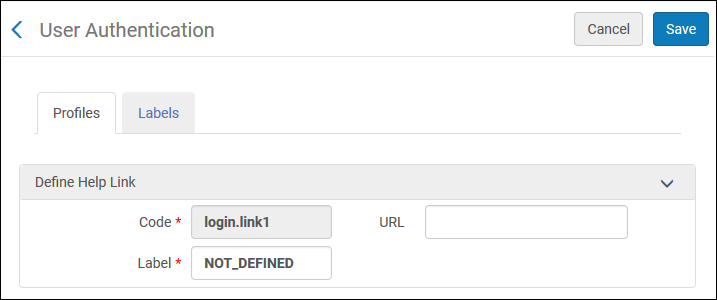 Define Help Link Page
 -
Specify the label and URL for the help page.
-
Select Save.
Configuring the Labels
The Labels tab on the User Authentication page allows you to configure various labels on the login pages.
-
Open the User Authentication page (Configuration Menu > Discovery > Authentication > User Authentication) and select the Labels tab.
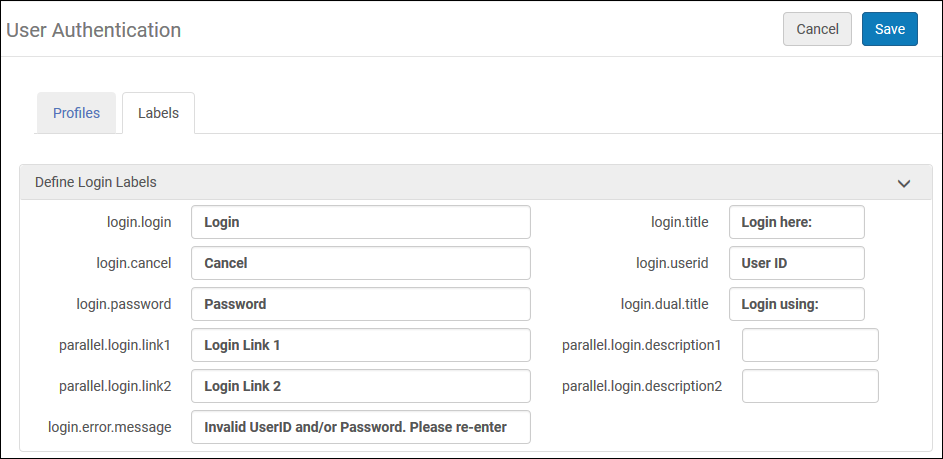 Labels Tab
 -
Use the following table to configure the fields associated with each label:
Alma Sign-On Page Labels Field Description login.login
The label for the Login button.
login.cancel
The label for the Cancel button.
login.password
The label for the Password field.
parallel.login.link1
The label for login link 1 if parallel authentication methods exist.
parallel.login.link2
The label for login link 2 if parallel authentication methods exist.
login.error.message
The error message that display when users are unable to sign in.
login.title
The label for the title of the sign-in page.
login.userid
The label for the User ID field.
login.dual.title
The label for the title of the parallel login page.
parallel.login.description1
The label for description field 1 on the parallel login page.
parallel.login.description2
The label for description field 2 on the parallel login page.
-
Select Save.