Getting Started
For an overview of Leganto features, workflows, and terminology, see Introduction to Leganto. In particular, note that a course management system (CMS) is sometimes called a virtual learning environment (VLE) or a learning management system (LMS), among other terms.
Logging In and Out
Students and instructors normally log into Leganto by selecting a link in the CMS. Login is automatic when your institution is configured for single sign-on. If you experience a problem when trying to log into Leganto this way, you can select Show More to see debugging information. In some cases, an instructor may see a Quick Start Welcome screen instead of the Login page or My Lists page; see The Quick Start Welcome Screens.
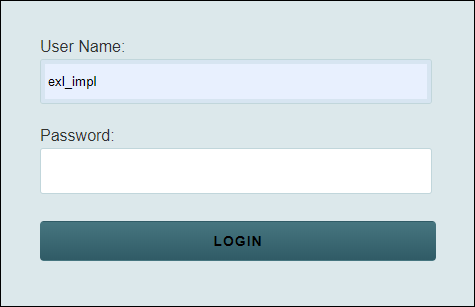
You can directly log in to Leganto on the Login page at the Leganto URL (ask your library for this).
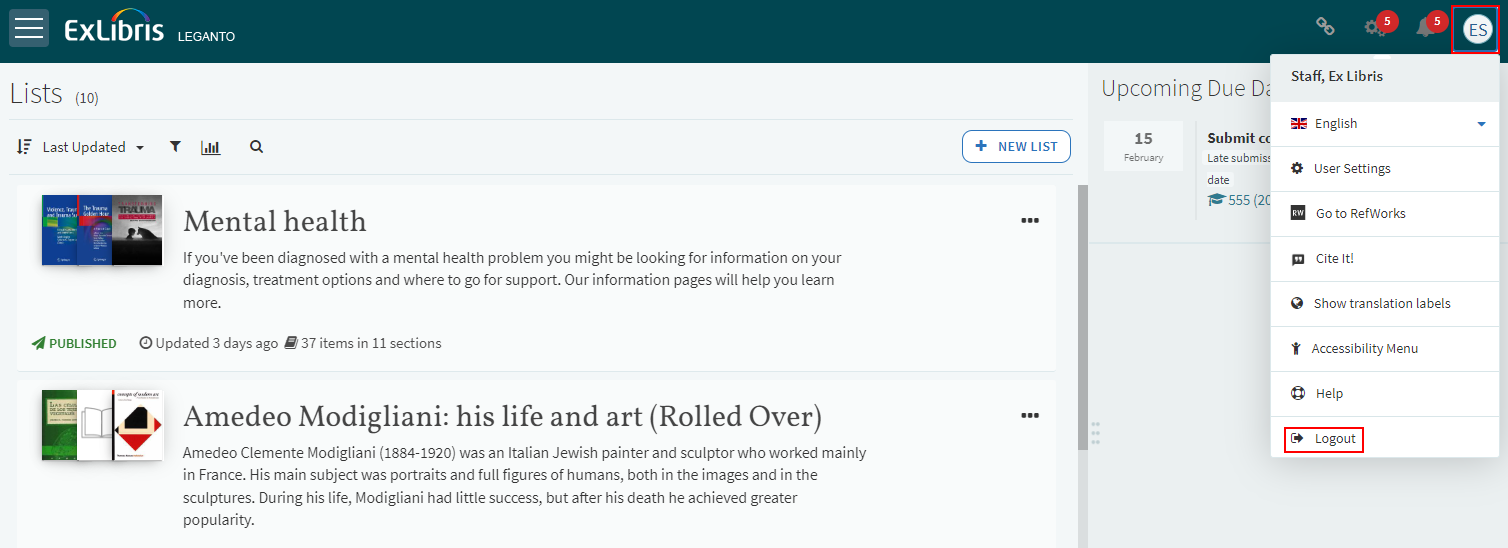
After logging in, you see a Welcome screen, unless you or Ex Libris has disabled this. After closing the Welcome screen, you see the My Lists page. Logout by selecting Logout in the user menu.
If you have lost your username or password, or require any assistance, contact your library.
The Guided Tours
Leganto users can follow the step-by-step visual instructions described in the following guided tours:
- Adding an item based on a library resource
- Adding a file to an item
- Managing item tags
- Adding a public note to an item
- Managing an item's due date
- Associating a list with a course
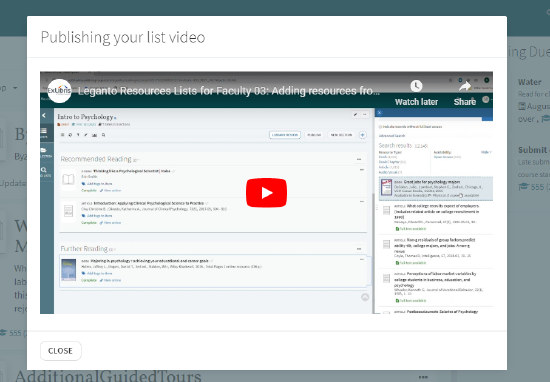
- Publishing a list to students
- Sending a list for library review
- Communicating with the library about lists and items in lists
- Reusing (rolling over) a list for a new course
- Granting access to students by creating shareable links to lists and sections
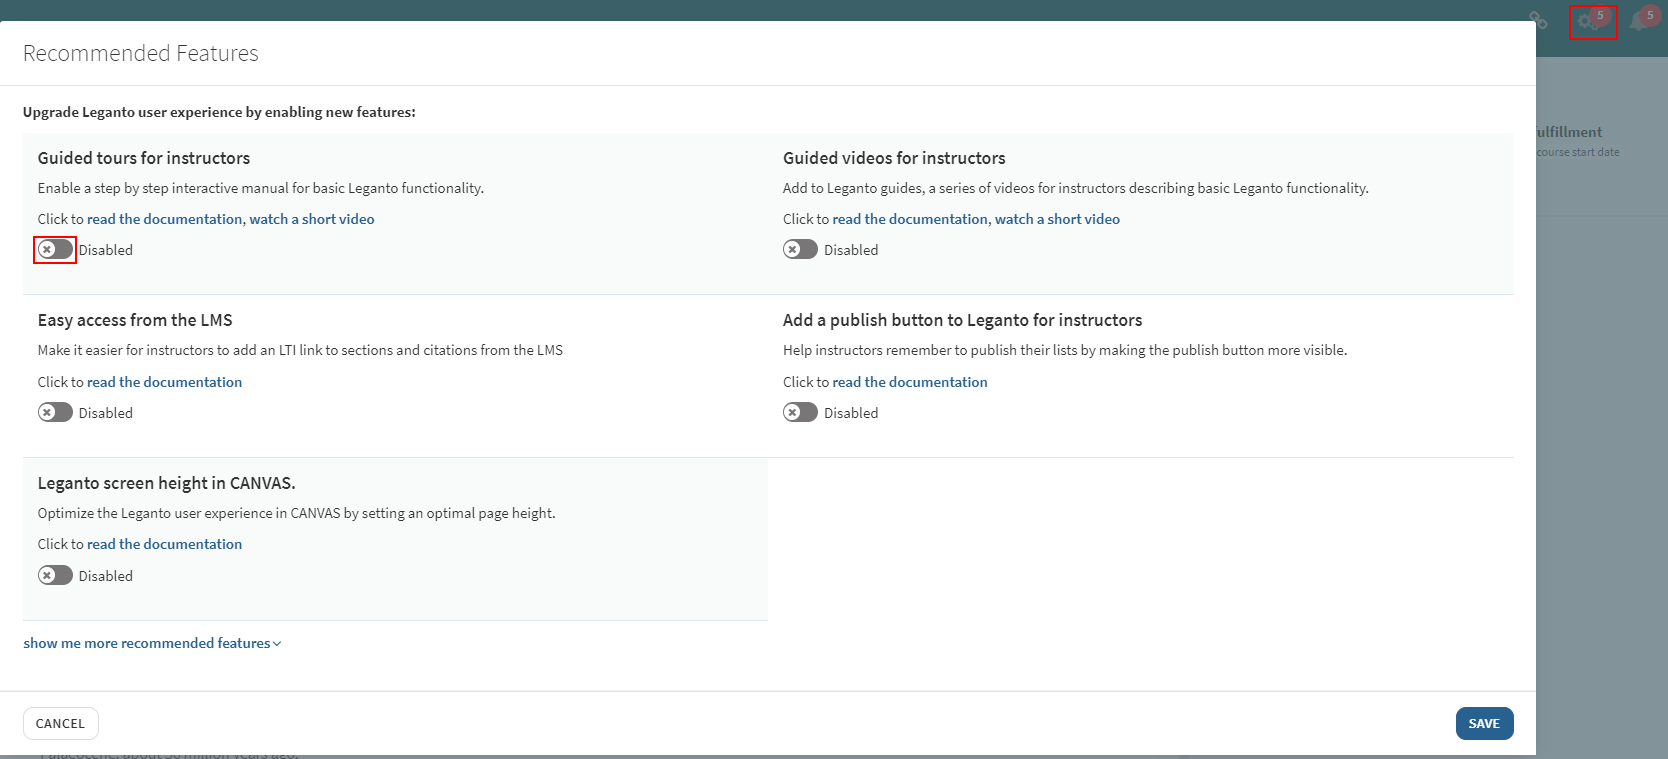
The display of the videos in the Guided Tours section is configured in the Guided Tours table, found in Leganto Configuration > Features > Guided Tours.
Video Guides

Cite It! Installation Video on the Cite IT! Window
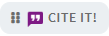 button that you can drag and drop to your browser.
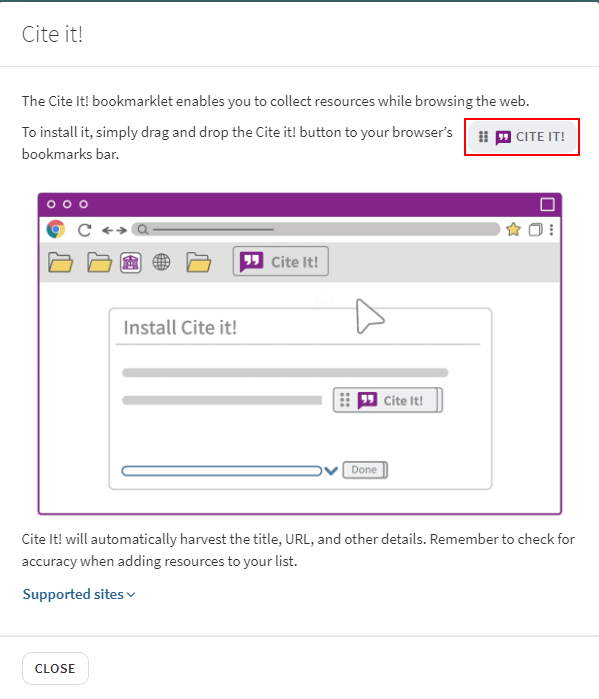
You can configure this link in the Leganto Features table, found in Leganto Configuration > Features > Leganto Features.
The Quick Start Welcome Screens (LTI)
The Quick Start Welcome Screens guide instructors on quickly setting up a course.
Set quickstart_screen_instructor to true or false in the Leganto Features code table (Configuration Menu > Leganto > Features > Leganto Features).
The Quick Start Welcome screen appears to instructors who navigate to Leganto using an LTI course link in the following cases:
- The course does not exist in Alma — When enabled by your library, you are offered the opportunity to create the course directly in Leganto.
 Quick Start Welcome Screen - Create a New Course
 - The course exists in Alma but does not have any reading lists — You can create reading lists, and, when enabled by your library, you can upload a reading list in a file (any file) and/or rollover an existing course's reading lists to this course. When uploading a file, a list is created with a default section and citation. The citation contains the uploaded file. The file includes a syllabus containing the list of learning materials for this course/list.
 Quick Start Welcome Screen - No Reading Lists
Navigating the UI
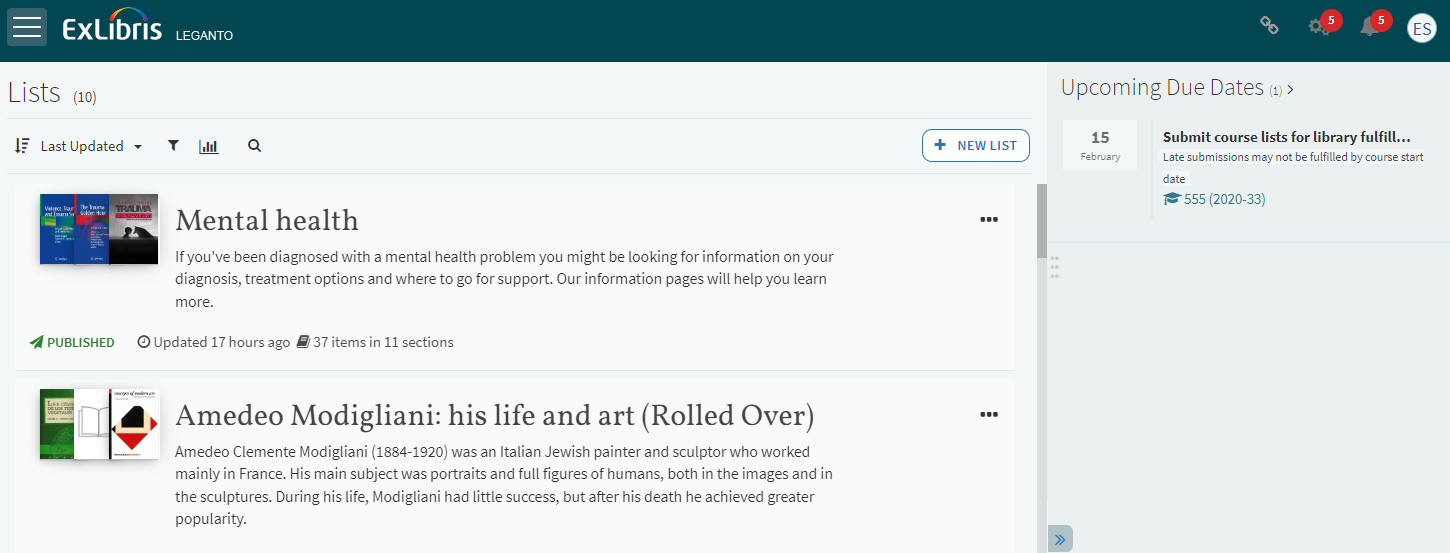
Leganto always displays a header bar and a main, central pane. The header bar includes your institution's logo on the left, and a user menu, a language menu (when your institution supports more than one language), and useful links (when configured) on the right.
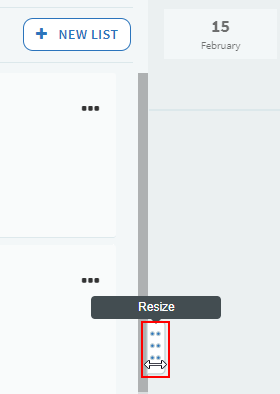
You can also resize the right pane using the resize handle.

The hamburger icon  includes the following links:
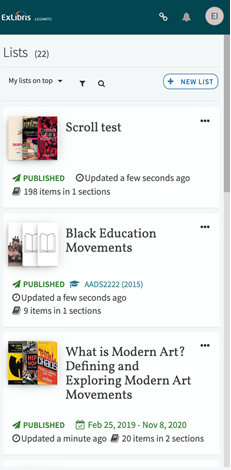
- Lists — Leganto's home page, which displays the list of reading lists that a) you are owner or collaborator on and/or b) that you are watching. You can sort or filter the reading lists using the filters at the top of the page. See Managing Lists.
- Collection — Leganto's citation manager. You can sort or filter the items using the filters at the top of the page. See My Collection.
- Notifications — Notifications about your reading lists appear here. See Viewing Notifications / Recent Changes About a Reading List.
- Find Lists — Search for other reading lists that you may want to view and/or watch. Suggested lists may appear at the bottom of this page. See Finding Reading Lists.
When viewing Lists, the following pages may appear in the central pane:
- Lists, as described above.
- A reading list page — This page appears if you select a reading list in Lists. See Viewing a Reading List.
- A citation details page — This page appears if you select a citation in a reading list page. The page appears as an overlay on the reading list page; when you close the page, you are returned to the reading list page. See Viewing a Citation.
An item details page appears if you select an item in My Collection. This page is similar to the citation details page.
A right sidebar also appears in several scenarios, including when viewing a reading list page, when searching for an item to add as a citation to a reading list, and when editing a citation or an item. All these scenarios are described below.
Opening or Closing the Right Pane
- all — closes the right pane to librarians, instructors, and students.
- students — closes the right pane to students.
- instructors — closes the right pane to instructors.
- blank — leaving the Parameter Value field blank opens the right pane to all users.
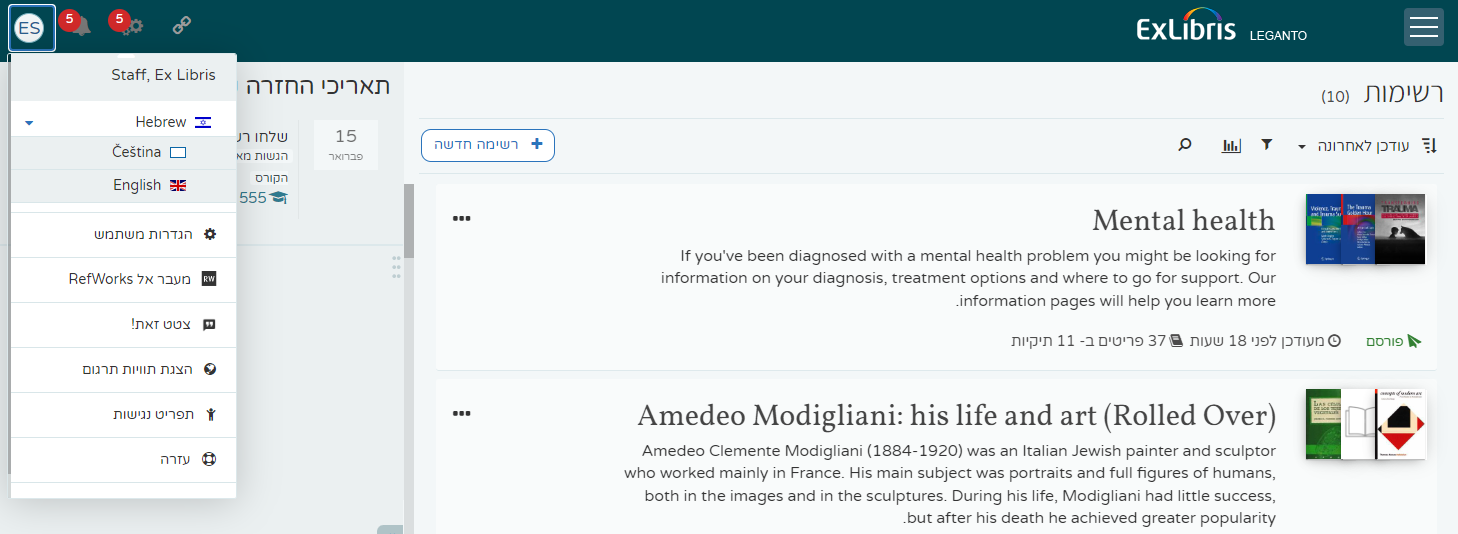
Setting the UI Language
You can change the language of the Leganto interface using the language menu.

Configuring Accessibility Settings
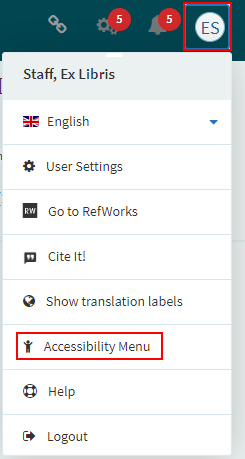
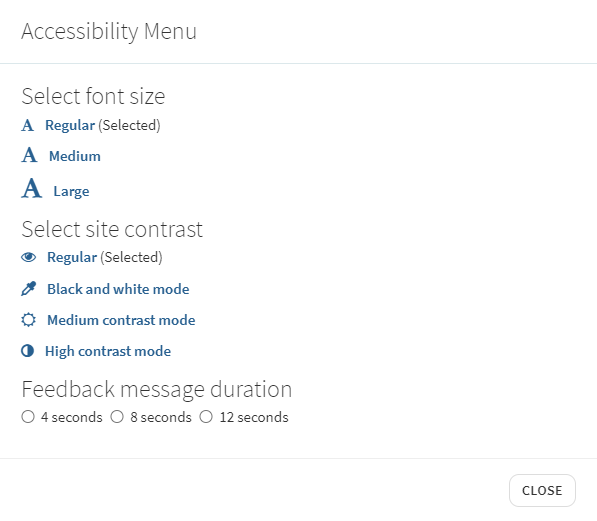
You can set the font size and contrast by selecting Accessibility Menu in the user menu.
Viewing and Managing Notifications
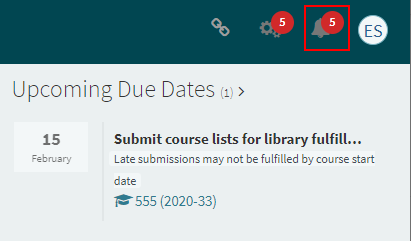
Certain changes to reading lists or citations create notifications that you can view on Leganto. When configured by your institution, these notifications are also sent to you by email.
You can filter the notifications that appear on this page.
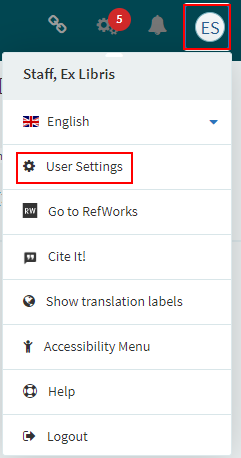
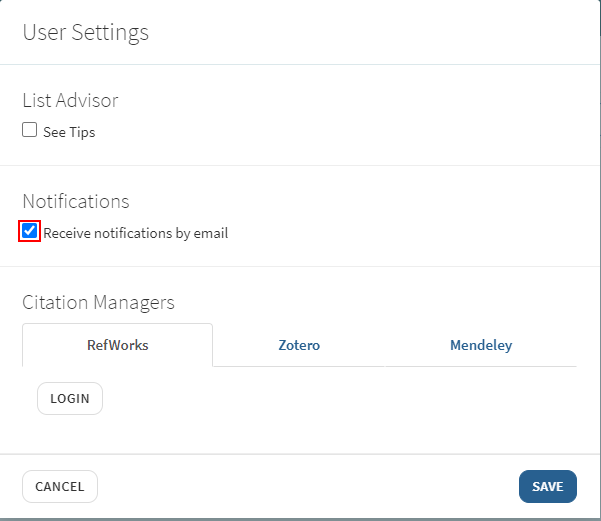
If your institution has enabled sending notifications by email, you can disable this in the user settings menu. Select User Settings in the user menu.
Getting Help and Viewing Release Notes
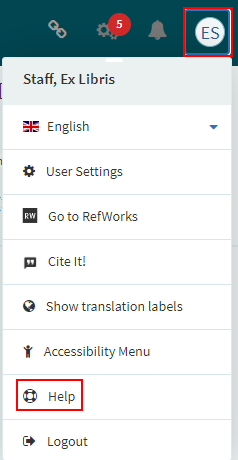
When you first log in to Leganto, a series of help screens appear, unless you or Ex Libris has disabled this. You can access these screens at any time by selecting Help in the user menu.
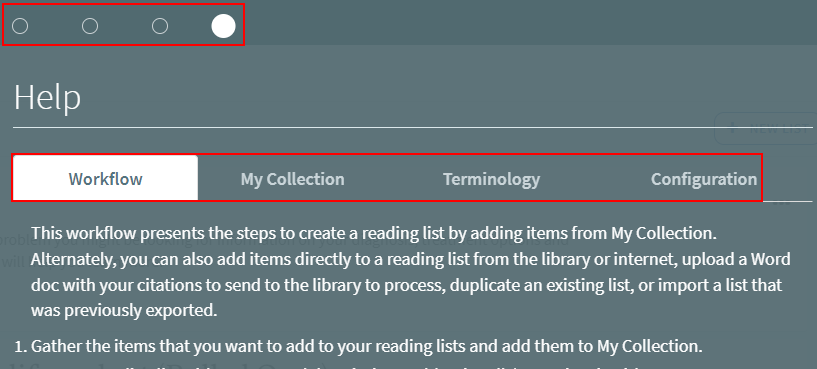
Navigate the help screens using the top menu and sub-menu (the sub-menu is only available on the last page of the top menu).
You can search the release notes by search key and by release. Note that if you select a different option in the first drop-down element (directly to the left of the search text box), you can also view new configuration features and big fixes that are relevant to librarians.
You can define customized help pages for Leganto. To configure this, access the Help Pages mapping table at Configuration Menu > Leganto > Features > Help Pages. You can specify the customized URL by role and language. You can only add one language per role. Once configured, selecting Help takes the user to the defined URL according to the interface language.

- Not all websites can be embedded in a second website.
- The URL must begin with https:.
Linking Leganto to an External Citation Manager
If you use RefWorks, Zotero, or Mendeley citation managers, you can configure Leganto with the external site's credentials and then drag and drop these citations to Leganto.
Enter the credentials in the user settings menu. Select User Settings in the user menu.
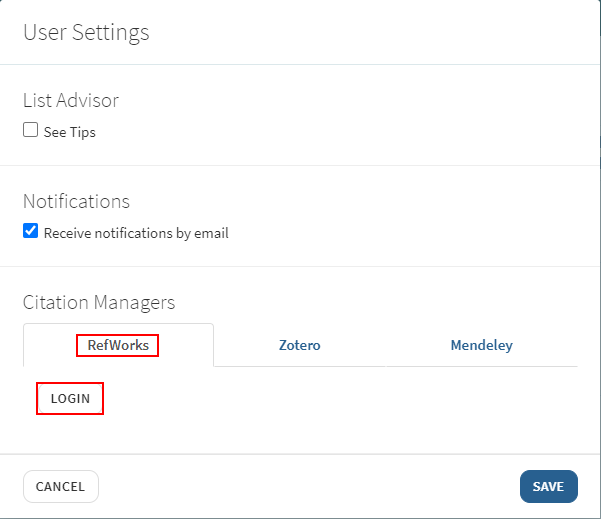
Add your credentials by selecting the relevant tab and entering the information.
Your library must configure RefWorks/Mendeley credentials for this tab to appear correctly.
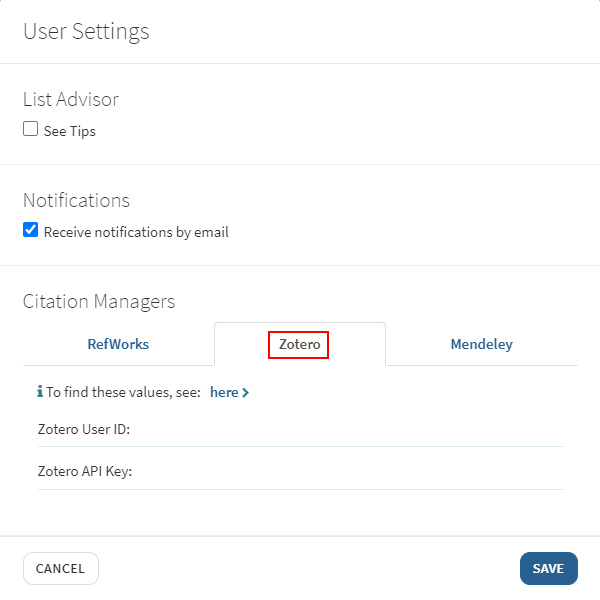
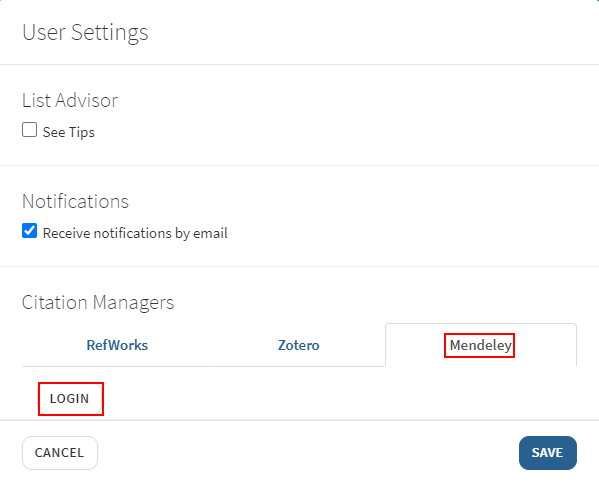
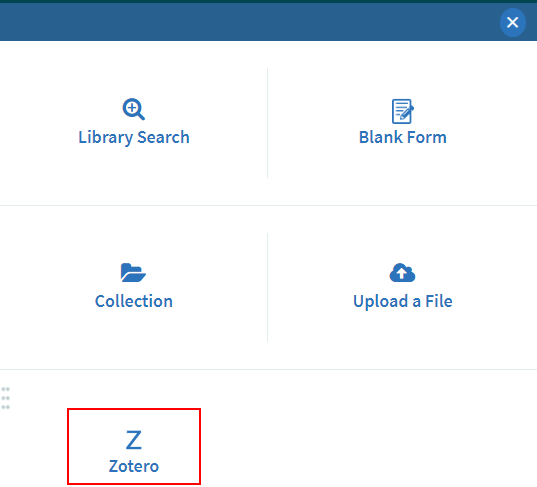
After adding valid credentials, the citation manager appears in the ADD ITEMS section of the right sidebar when adding citations to a reading list, enabling you to drag and drop citations to the list.
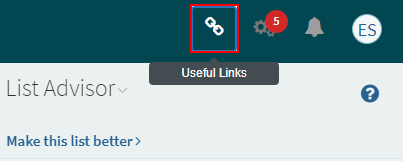
Viewing Useful Links
Your institution may have collated some web pages that it believes are of general interest to all students. To view one of these pages, select Useful Links at the top of Leganto and select the page. The page opens in a new browser tab.