
Working with Sections
For more information, watch Modifying Lists and Resources.
Adding a Section to a Reading List
When you first create a list, you are prompted to select a template. If you select the Blank template, the list is created without sections. If your institution has created other templates, the list is created with a series of pre-defined sections. For example, in the following figure, if you select the Weekly, 8 Weeks template, the list begins with eight sections, each of which is associated with one week of the course.
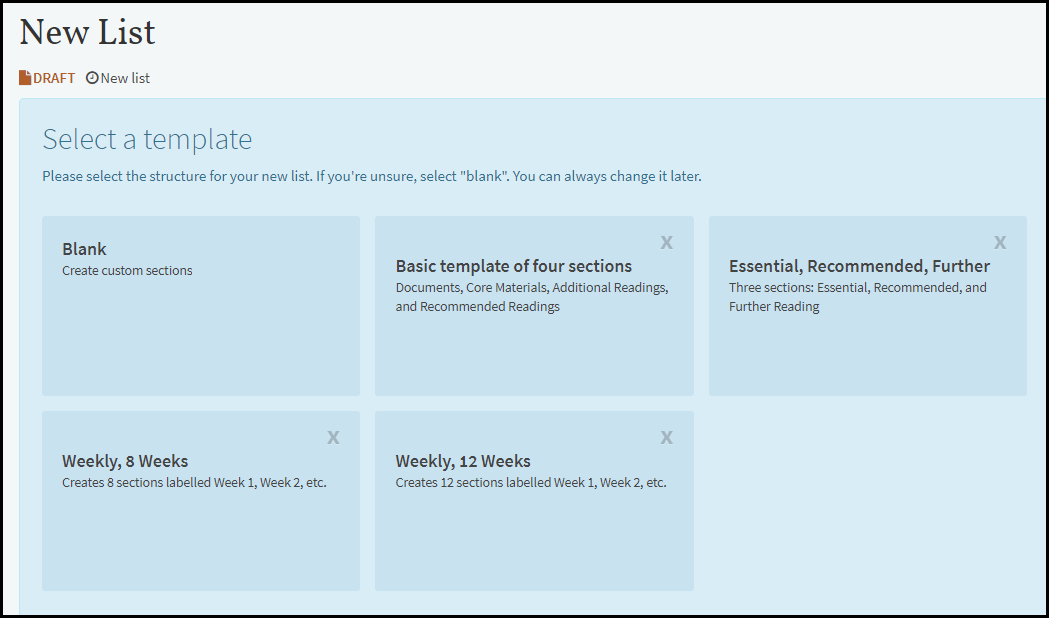
Note that each of these sections is not yet associated with specific dates. You must manually add the dates to each section. See Editing a Section.
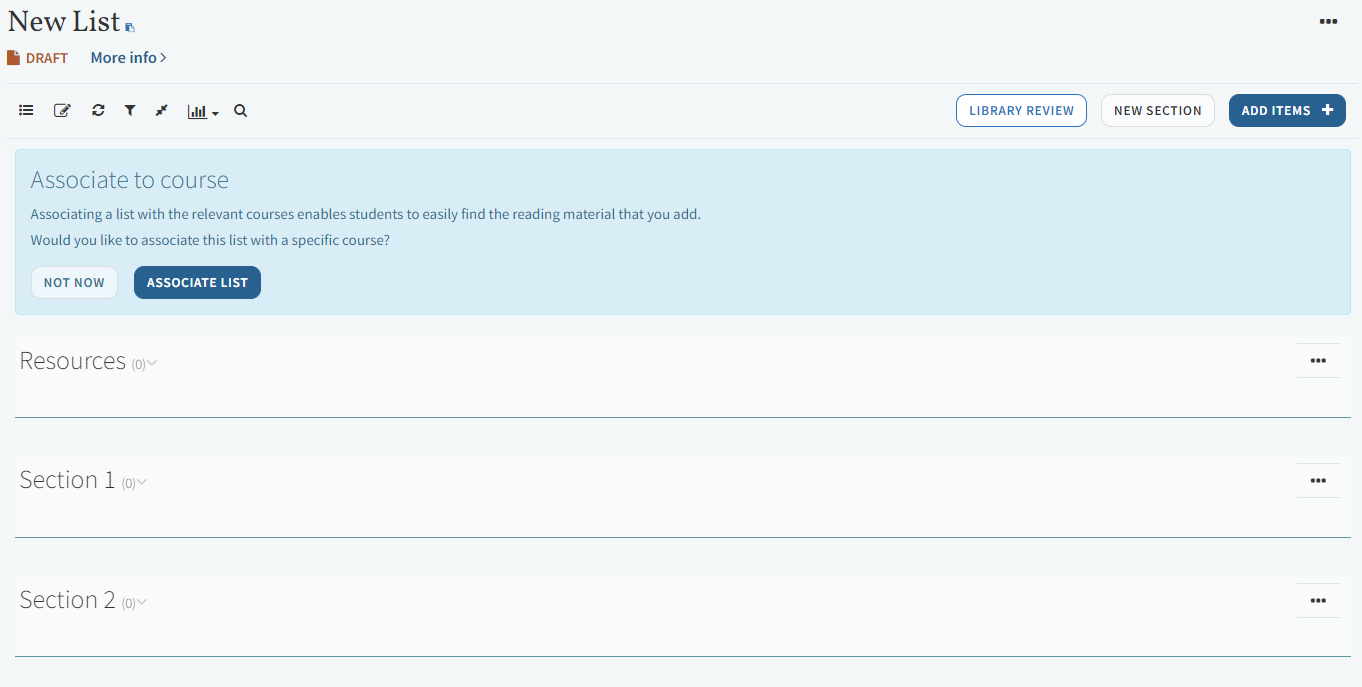
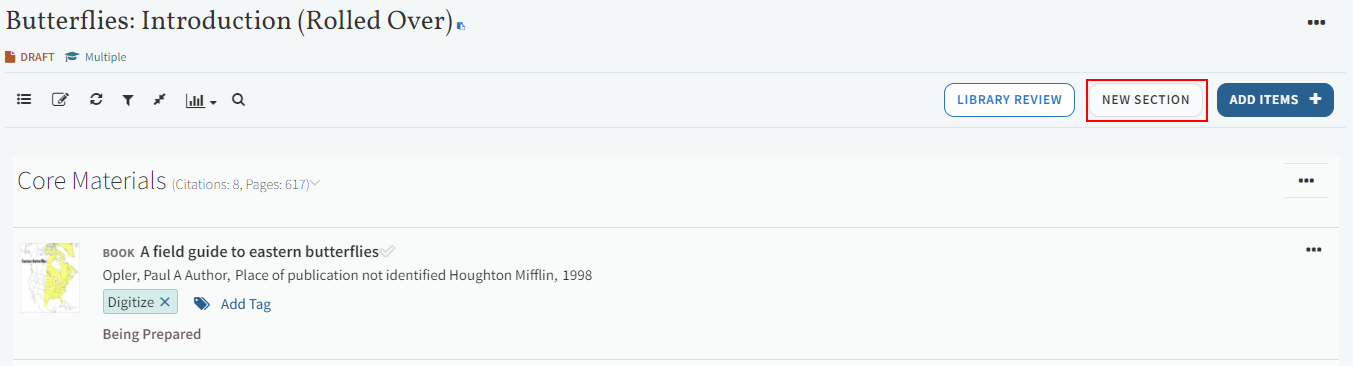
To add a section at a later time, select NEW SECTION at the top of the reading list. Edit the section information (see Editing a Section), and select SAVE. The new section is added at the end of the list.
Collapsing (Hiding) or Expanding a Section
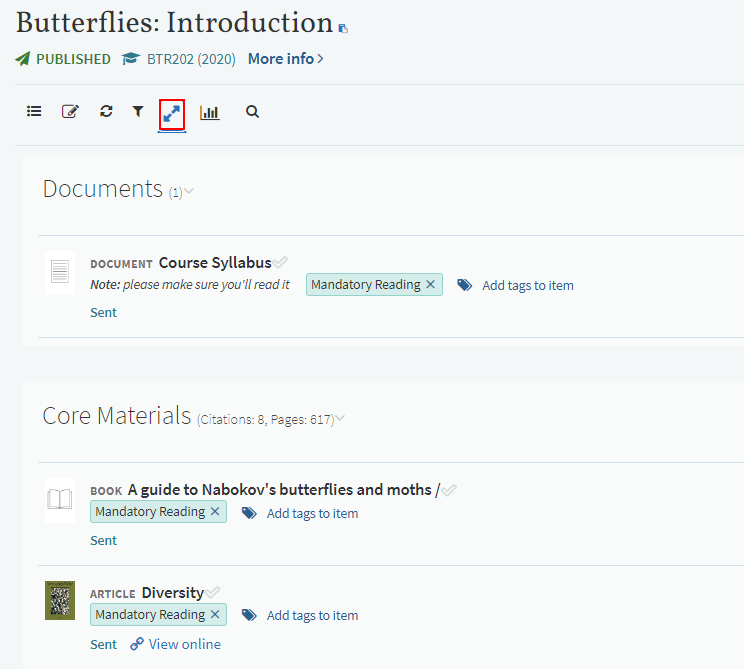
Set the parameter sections_collapsed (Configuration > Leganto > UI > Settings) to set the default for how a list appears (collapsed or expanded). To override the default setting, you can hide collapse or expand all sections in a reading list by selecting the expand/collapse icon ![]() at the top of the reading list. You can collapse or expand a specific section using the collapse or expand icons (
at the top of the reading list. You can collapse or expand a specific section using the collapse or expand icons ( ,
,  ) at the right of the section name.
To enable instructors to override the institution's default view and set their own default view, set the parameter set_section_view (Configuration > Leganto > UI > List Menu) to Yes. By default, the setting is No. When enabled, instructors can use the action Set Section Collapsed/Expanded to override the institution's default setting.
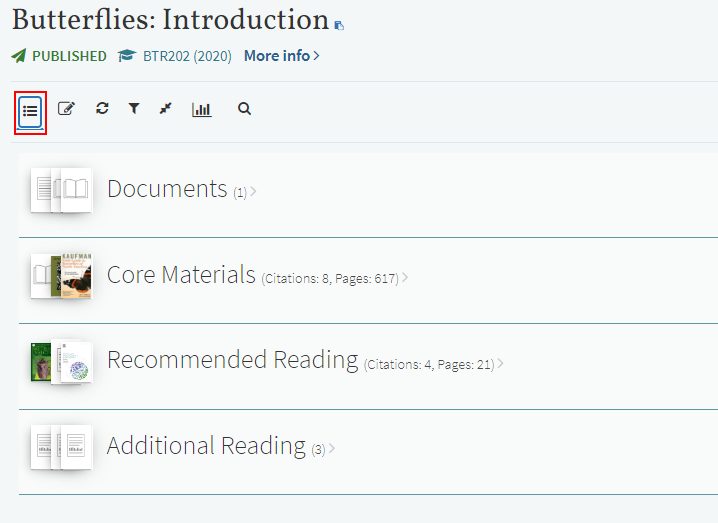
You can also view the sections, either collapsed or expanded, in a more compact format by selecting the compact / expanded icons at the top of the list (![]() ,
, ![]() ).
).
Creating or Duplicating a Section
You can create a new section from scratch or by duplicating an existing section.
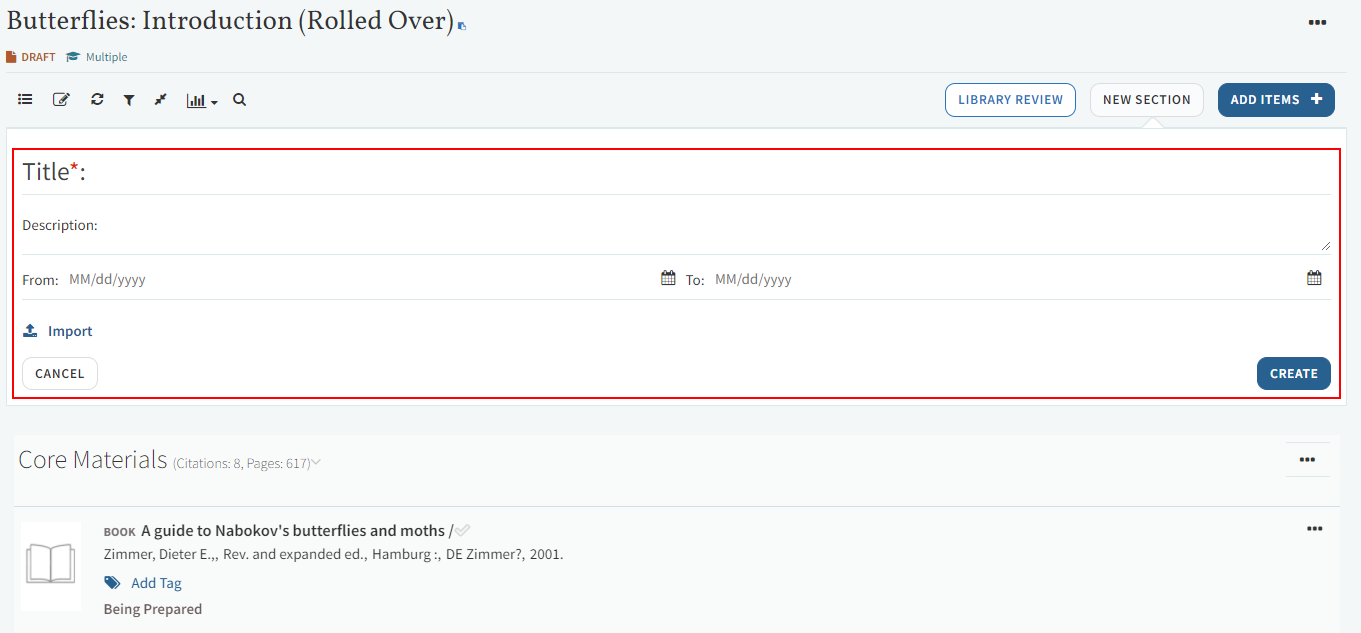
To create a section, select NEW SECTION at the top of the list. Enter the new section's information and select Create. For a section that applies to a specific date range, enter the dates in From and To.
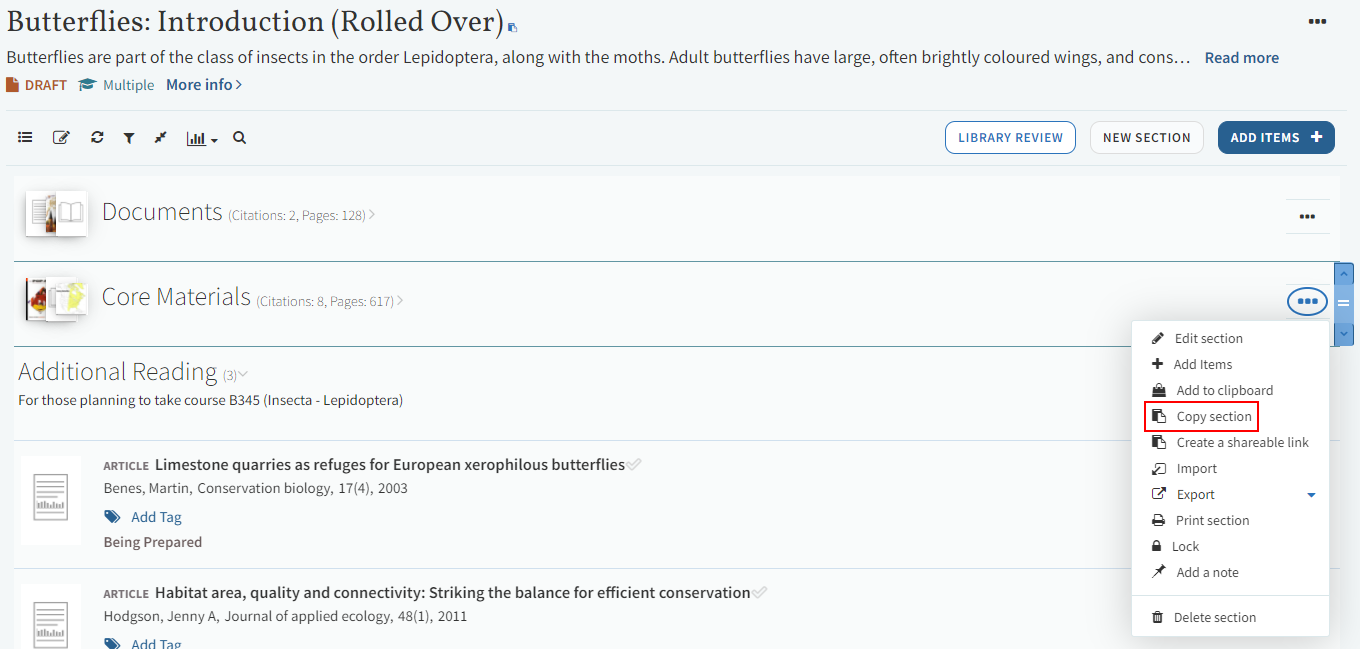
To duplicate a section, select Copy section in the section menu of the section that you want to copy. Enter the new section's name, select the list into which to place the new section, and select CONFIRM.

You can configure the default section name to appear when a reading list is created in Alma or imported into Leganto, using the new defaultSection.title label in the Labels configuration table (Leganto Configuration > General > Labels). Whenever you import references into Leganto or create the list in Alma, the value of this label will appear in Leganto as the section name. The label's default value is “Resources”.
When creating a reading list in Alma or importing a reading list into Leganto, the description defaults to blank.
Exporting or Printing a Section
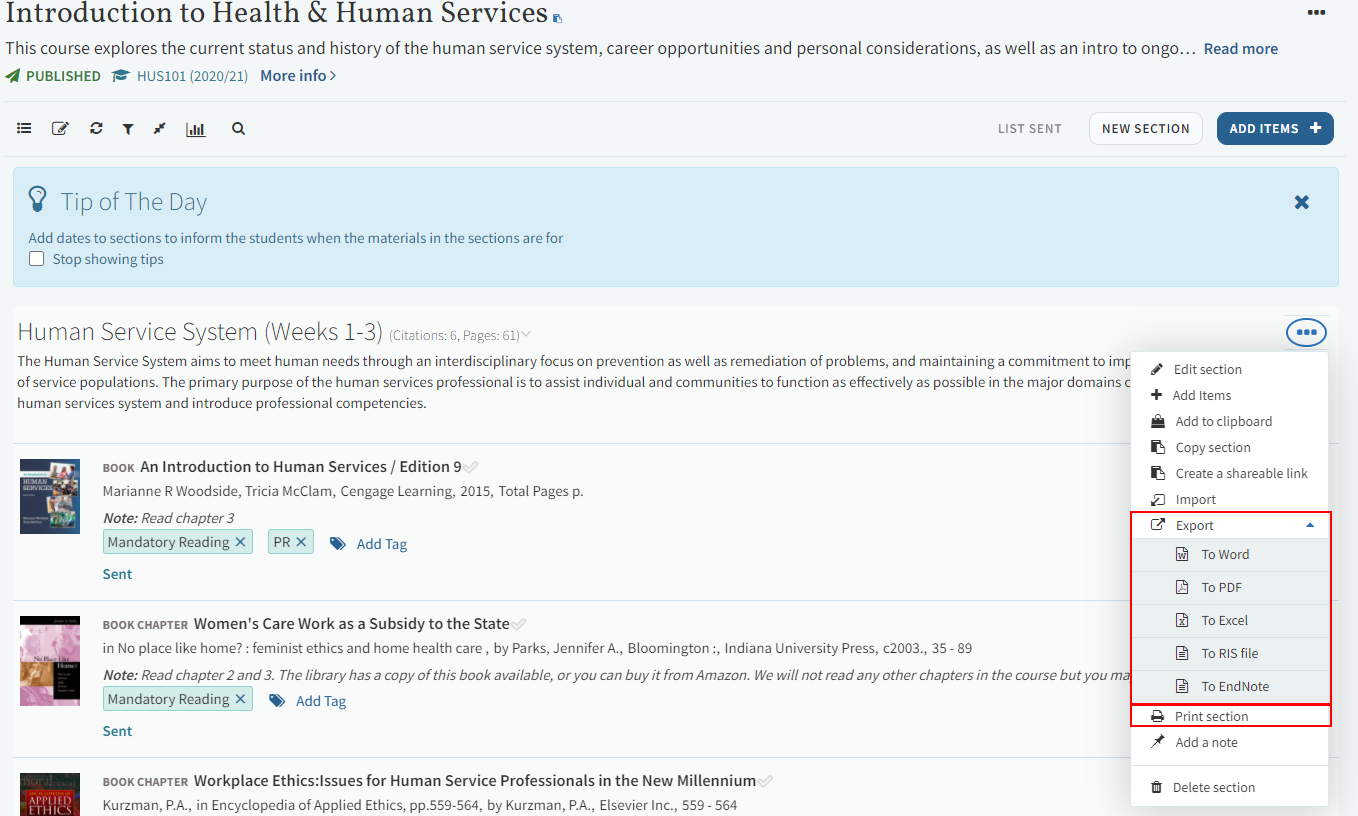
You can export a section in various formats by selecting Export > <format> or Print in the section menu. You must set the export_to_refworks parameter to yes to enable exporting reading lists to RefWorks (Configuration Menu > Leganto > UI > Section Menu).
You can export to DOC (Microsoft Word), PDF, XLS (Microsoft Excel), RIS, or ENW (EndNote) formats. If you export to RIS format, you, or any user who has access to the exported list, can import the list to My Collection at a later time. If you select Print section, the reading list opens in a new tab in PDF format, enabling you to easily print the reading list.
If you export to DOC format, you can select a bibliographic style before saving the file. See Editing or Printing a Reading List.
Deleting a Section
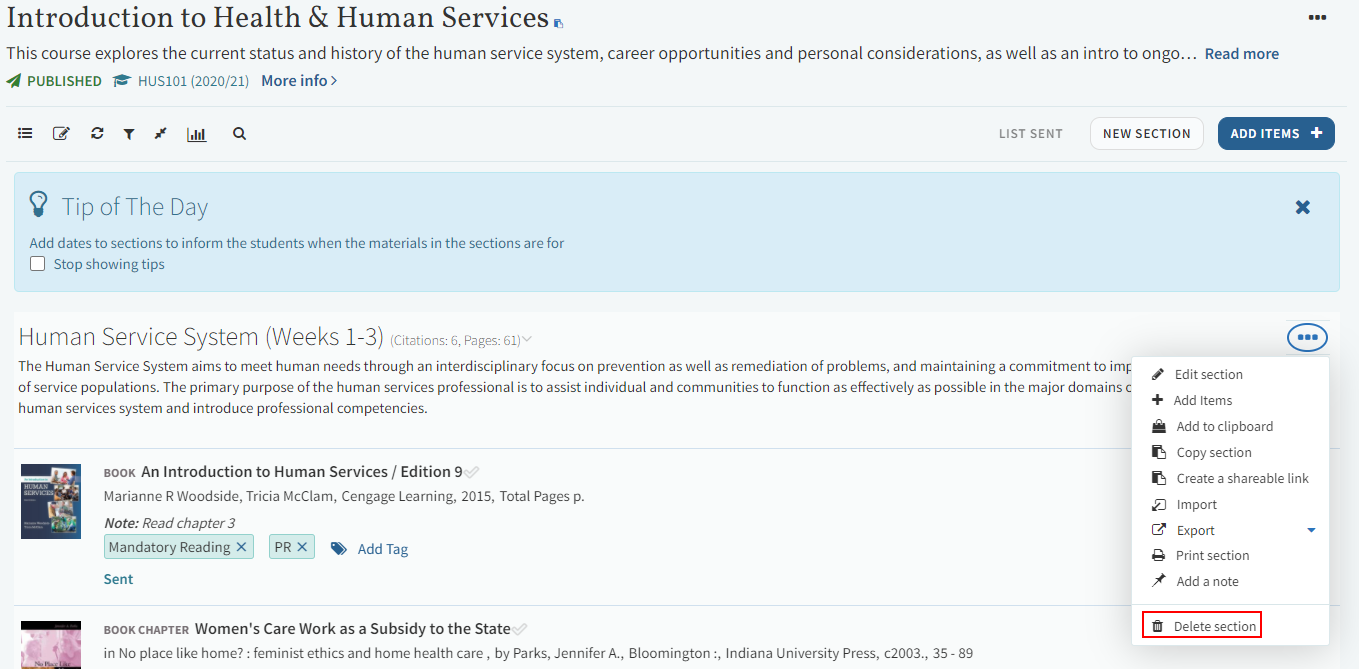
To delete a section, select Delete section in the section menu and select OK in the confirmation dialog box. This action cannot be reversed.
Editing a Section
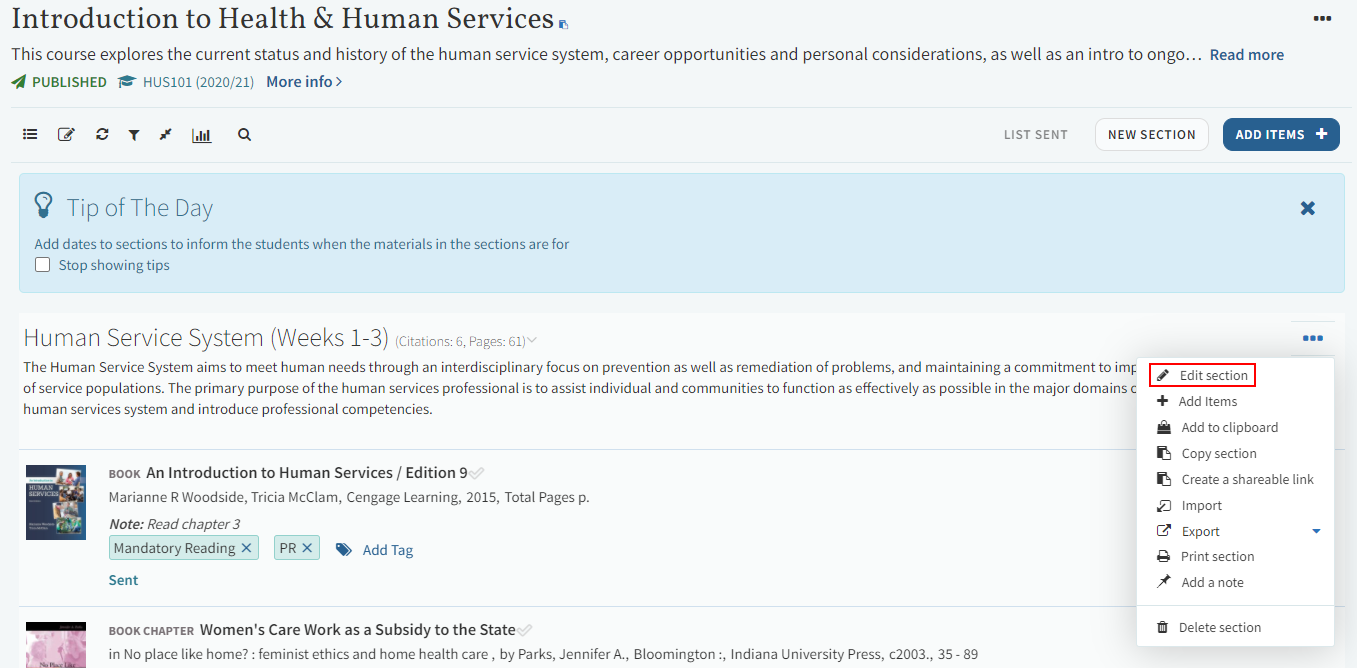
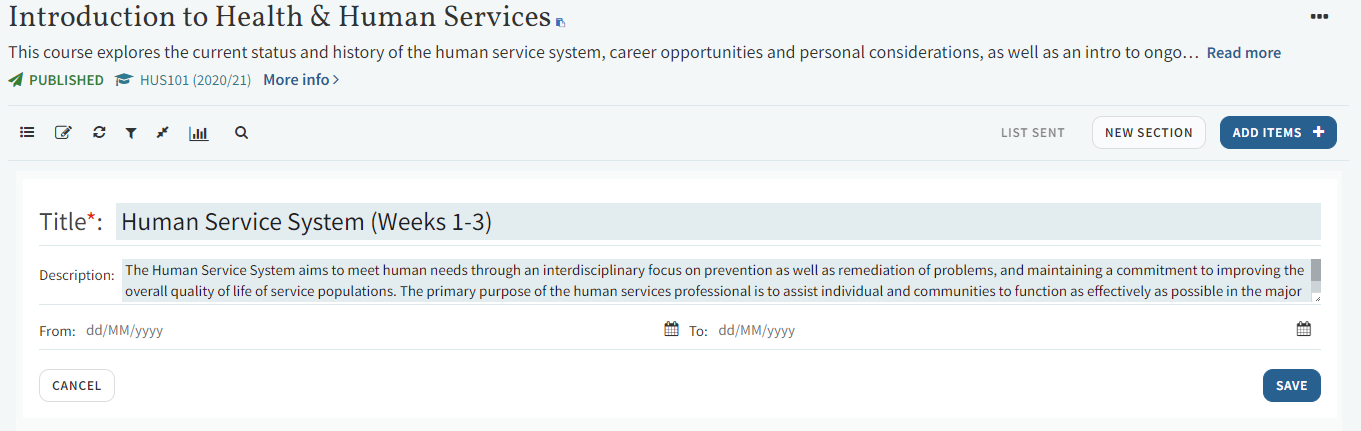
To edit basic section information, select Edit section at the top of the reading list, make your changes and select SAVE. You can edit the title, description, and start and end dates of the section. If you select dates for the section, you can also select whether the section and all of its citations are only visible during the selected dates.
Changing the dates of a section does not change the visibility dates of any citations in the section. However, if you select that the section is only visible during selected dates, citations within the section are only visible when both the citation and section are configured to be visible (and hidden on any date that either one is configured to be hidden)
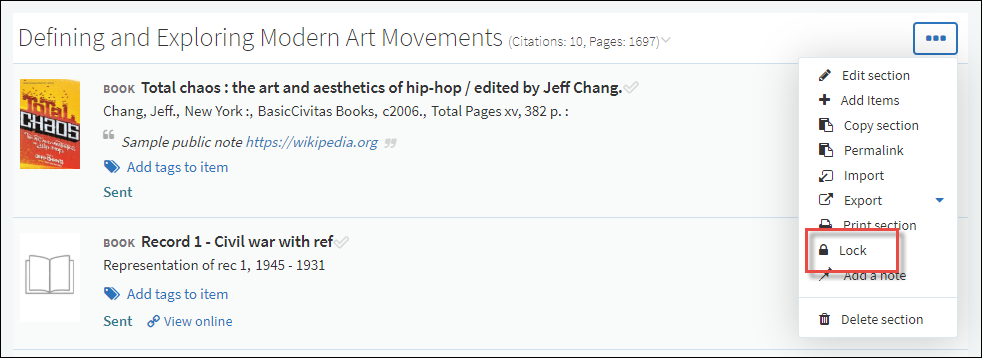
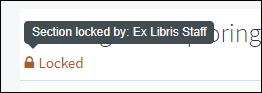
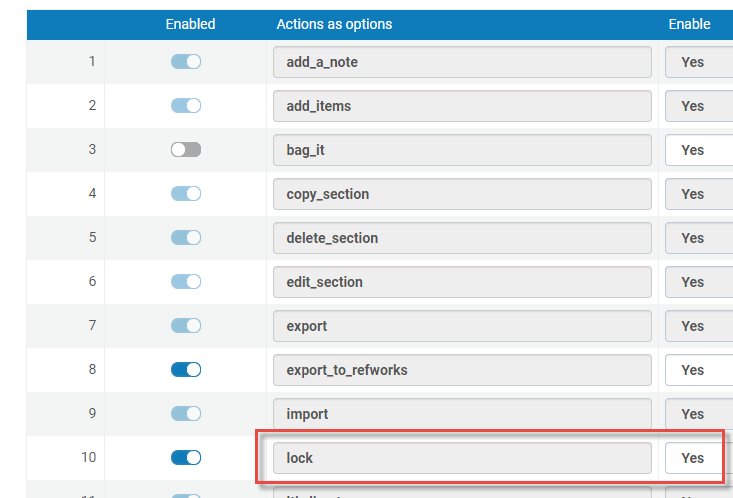
Locking a Section

Linking to a Section
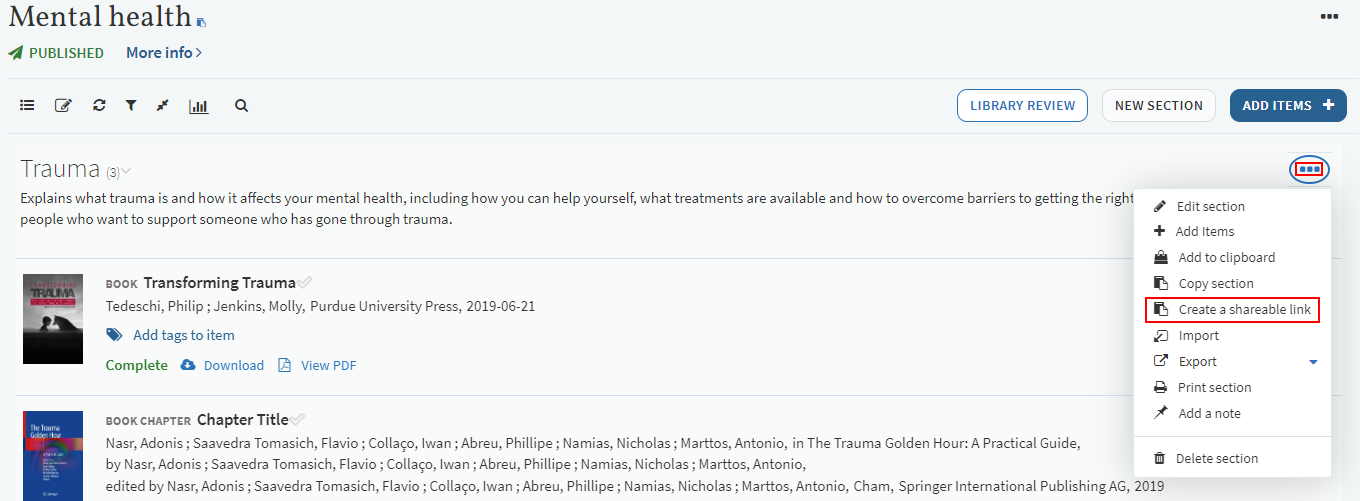
You can link to a section using the section shareable link (for embedding on any website, email, and so forth) or section LMS link (for embedding in your LMS). Depending on your library's configuration, when anyone accesses Leganto using the link, they see the reading list in Leganto either filtered by the section or with the other sections collapsed.
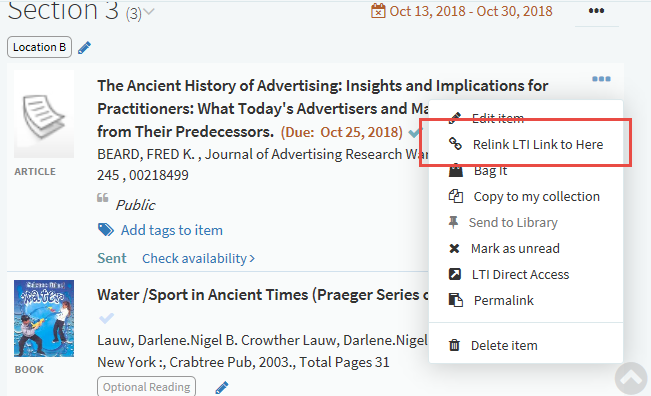
You can find the reading list shareable link by selecting Create a shareable link (Configuration > Leganto > UI > Section Menu > shareable_link option enabled) in the section menu. To link to a section from the LMS, select Re-link from <LMS Name> to here in the section menu and add the parameter to the link from the LMS.
Making a Section Visible to Students
A section is visible to students only when a) the reading list is visible to students (see Publishing and Unpublishing a Reading List) and b) the date is not currently one where the section is hidden from students (see Editing a Section).
Even when a section is visible, its citations and their materials may not be visible; see Managing Visibility Dates for a Citation and For Materials.
Managing Section Tags
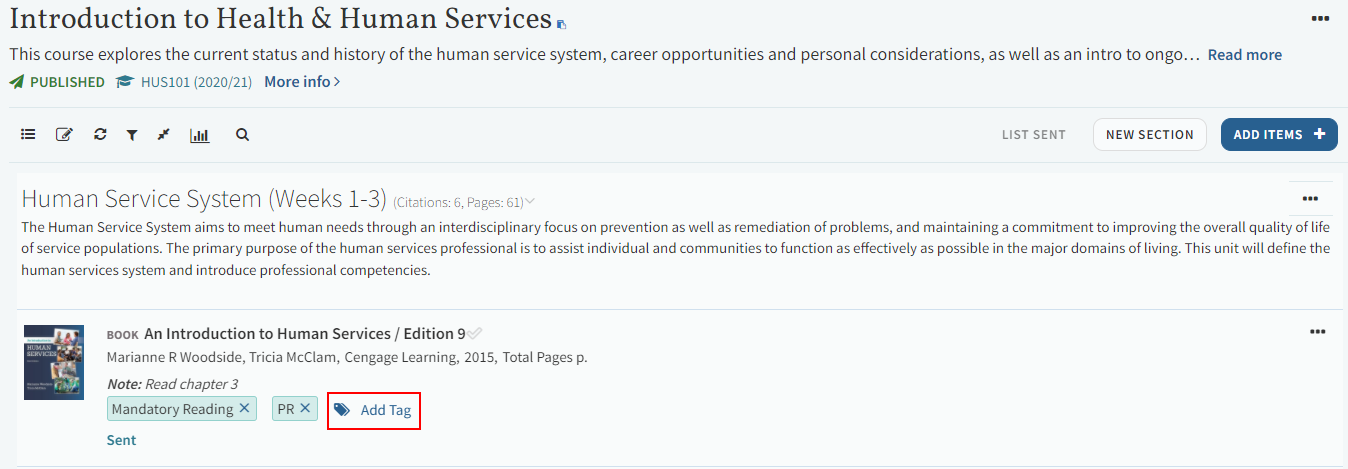
When enabled by your library, sections can have tags. The list of tags is maintained by your library.
Tags appear beneath the section name. To add a tag, enter all or part of a tag and select the tag from the drop-down list. To remove a tag, select the X in the tag box. When you are done, select Save.
Moving Sections Within a Reading List
To copy a section to the same reading list or to another reading list, see Creating or Duplicating a Section.
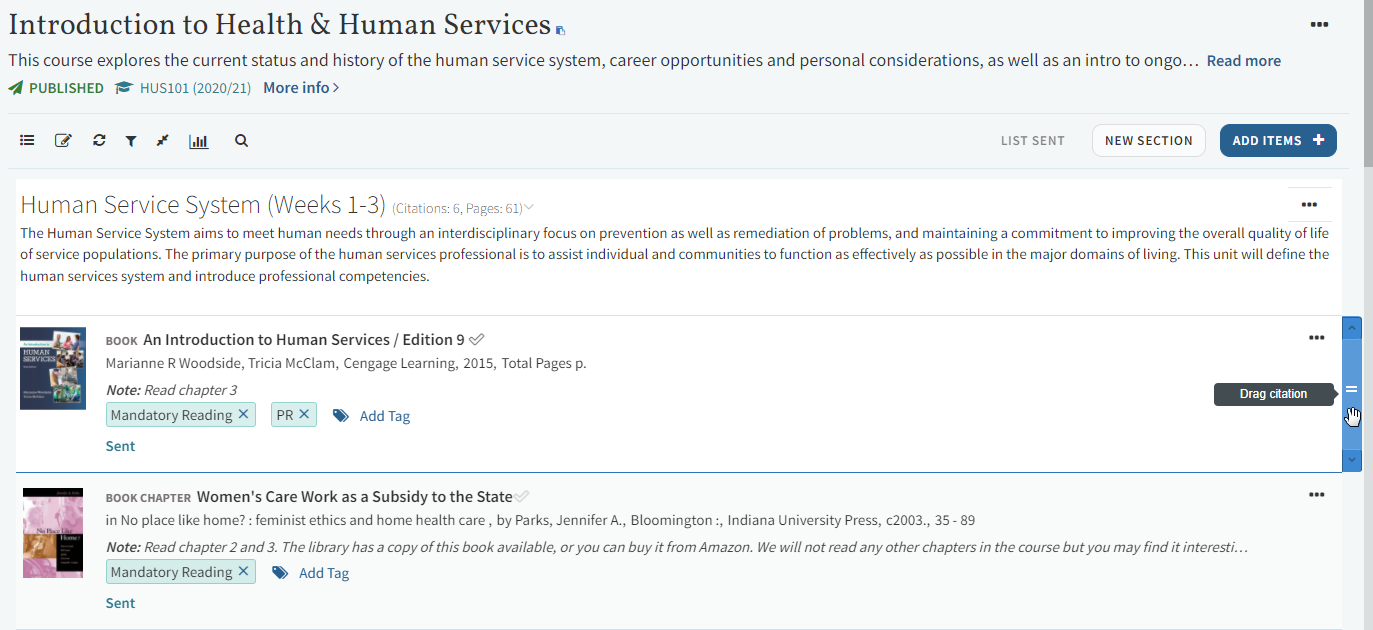
You can move a section within a reading list by dragging and dropping a single section or by temporarily adding one or more sections to My clipboard and then inserting all added sections after another section in the list.
To drag and drop a section, the section must be collapsed. Select the selection bar to the right of the section.
To move one or more sections in multiple steps:
- Select Add to clipboard in the section menu of a section that you want to move. The section is added to the clipboard. Repeat for all sections that you want to move.
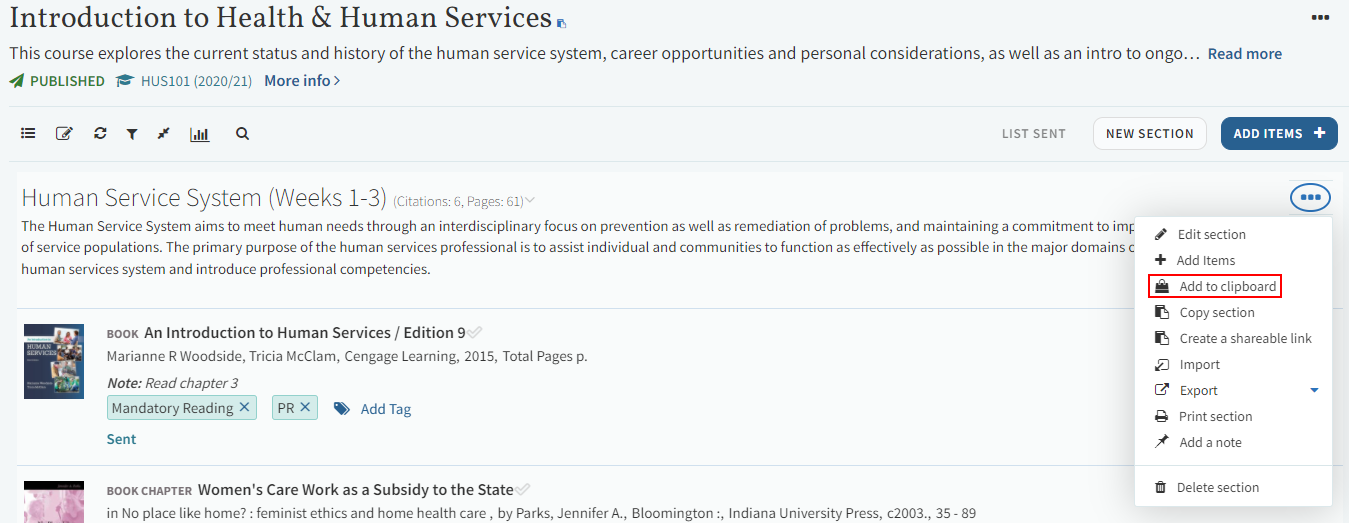 Reading List - Section Add to clipboard option
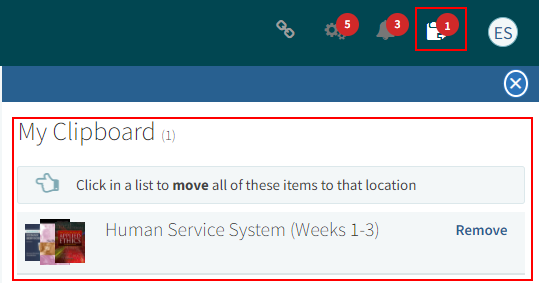 My Clipboard - sections
- You cannot use My Clipboard to move both sections and citations at the same time.
- My Clipboard is emptied automatically if you navigate to another reading list.
- Hover your mouse at the bottom of the section after which you want to move all the sections in My Clipboard and select Move. The sections in My Clipboard are moved beneath this section and My Clipboard is emptied.
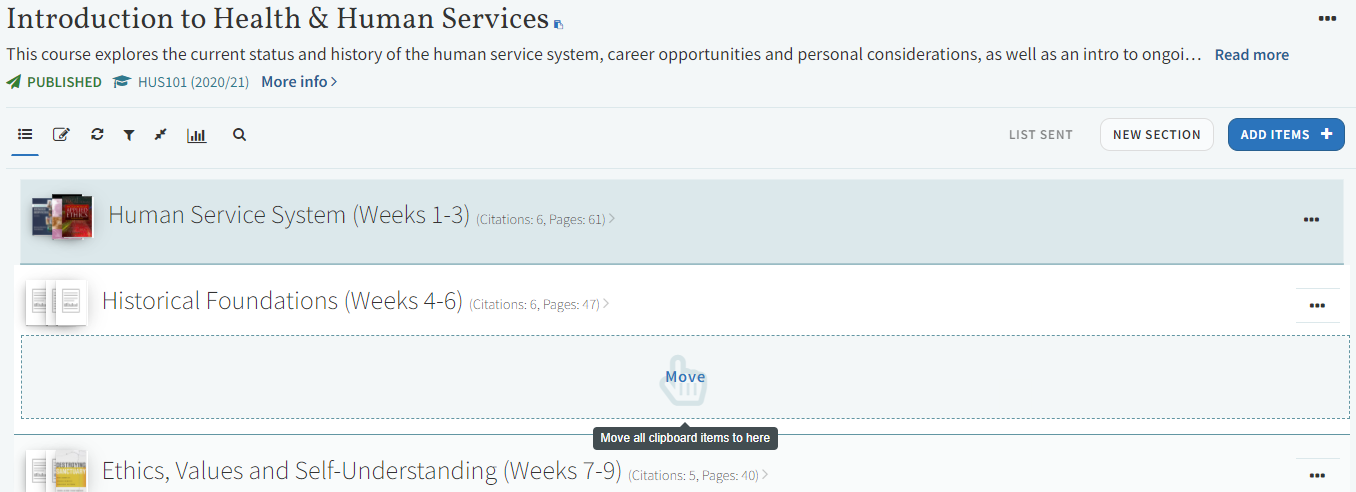 My Clipboard - prompt to move sections
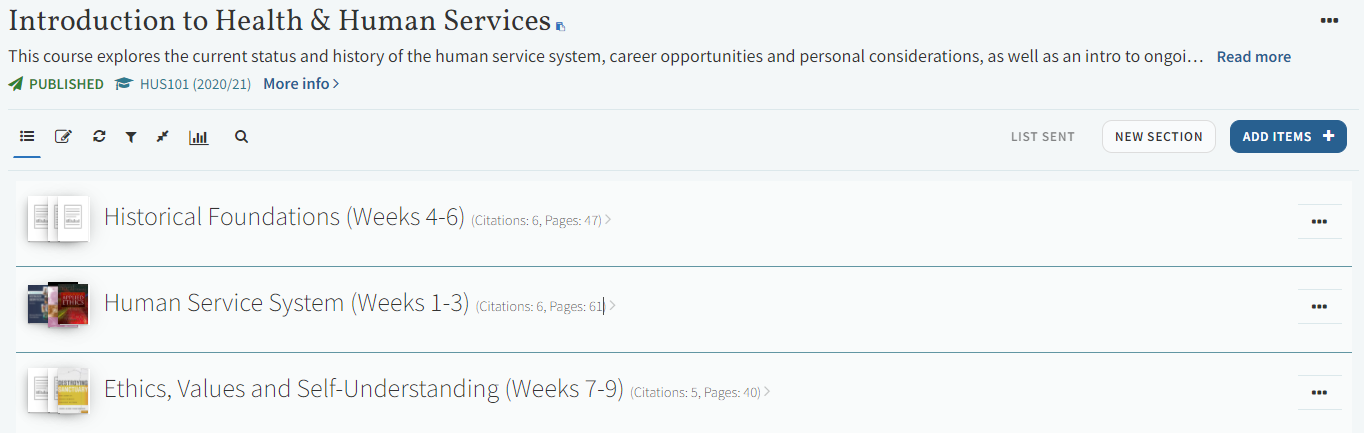 My Clipboard - sections moved
Ordering Citations in Sections
See Moving Citations.
Sending a Section to the Library for Fulfillment
Select Send to Library (Configuration > Leganto > UI > Section Menu > send_to_library enabled) in the section menu to notify the library that the section is ready for processing.
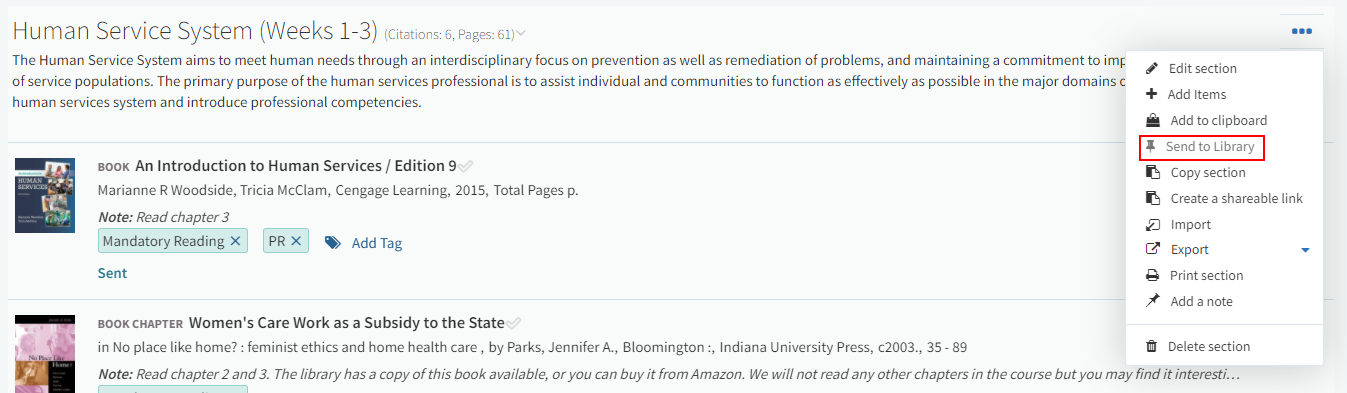
After sending the section to the library, the option becomes disabled until or unless you make changes to the section. Changes that re-enable the button include: add, edit, or remove a citation, add or edit a public note, or add or remove a section or citation tag.
Viewing Information About a Section
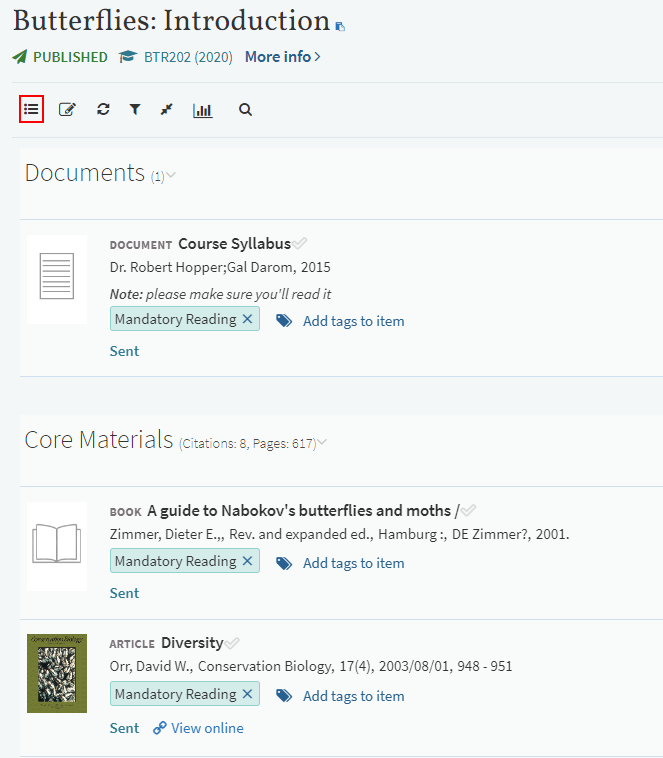
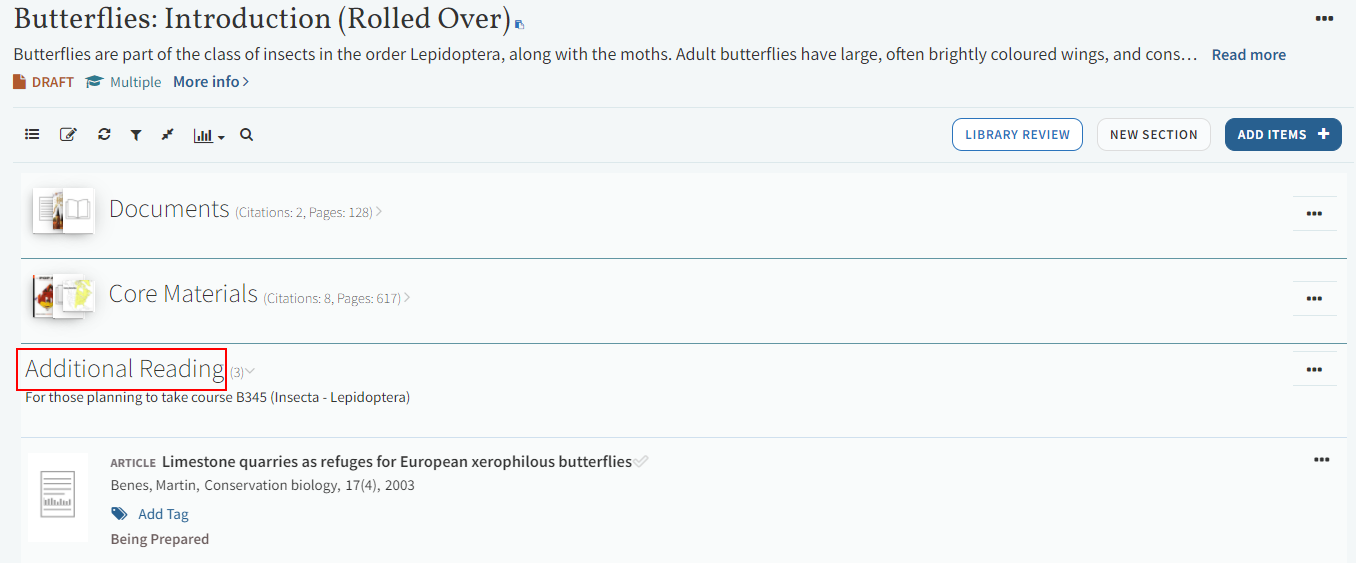
Information about a section appears to the right and below the section name.
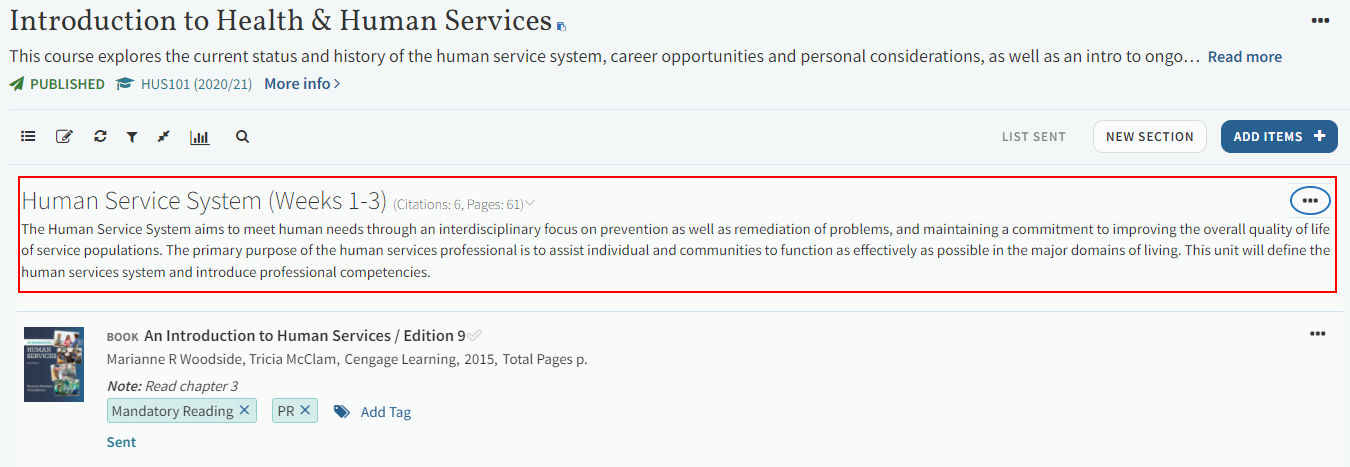
To edit this information, see Editing a Section.
The information includes the number of citations in the section, their total pages (including only those citations for which this is defined), and the dates configured for the section. The description and section tags appear beneath the section name.