Saving and Managing Records in Primo VE
Primo VE allows signed-in users to save found records for subsequent sessions. After a record has been saved, the My Favorites > Saved Records page allows users to perform the following operations on saved records: view, delete, export, and label. Labels enable you to group and manage similar records.
For guest users, records are saved in local memory and are not retained between browser sessions.
Saving an Individual Record
-
Perform a search.
-
Select the Pin button
 next to the item that you want to save in the search results.
The system highlights the item, changes the icon to the Pinned icon
 , and adds the item to the My Favorites page.
You must sign in to save items for future sessions.
Saving Records in Bulk
Users can select multiple items on the Brief Results page to save them in bulk to My Favorites > Saved Records.
Selecting Items
On the Brief Results page, you can use the following methods to select items for bulk saves to My Favorites:
-
Individual Selection – Select the checkbox that appears next to each item in the list. As records are added to the page, the number of selected records appears above the results. You can load more results to the page to enable the selection of more records.
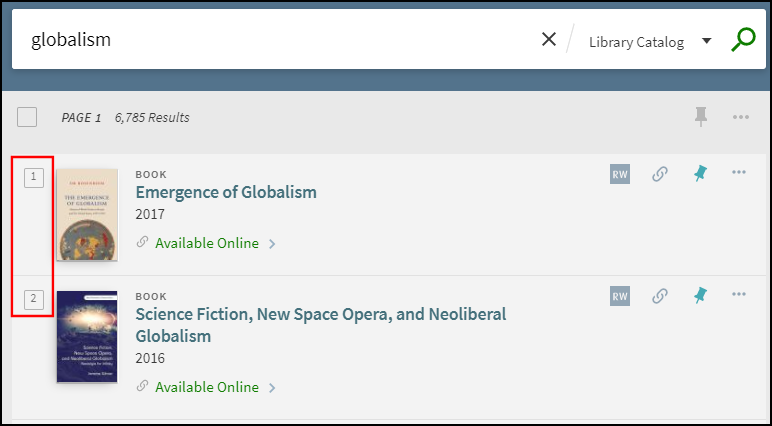 Adding Item Selections Individually
 -
Page Selection – Select the checkbox that appears above the entire list to select all items on the page. You can load more results to the page to enable the selection of more records.
 Select All Checkbox
 -
Top 50 Selection – Select an item or all items, and then select Choose Top 50 Results to select the first 50 records in the results list. Note that this option appears only on the first page of the search results, and if there are fewer than 50 results on all pages, this option will indicate that amount.
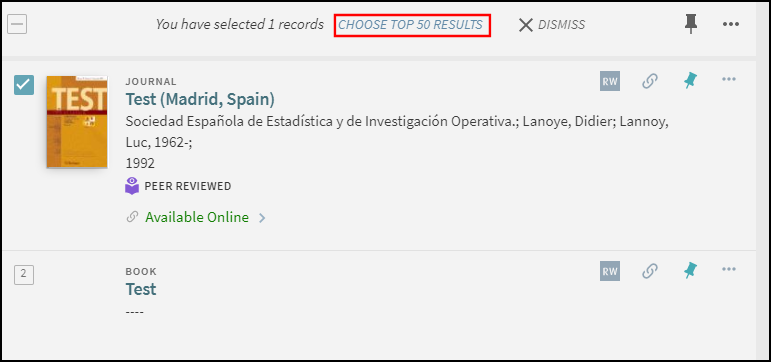 Top 50 Selection
Saving to My Favorites
After you have selected one or more items, select the Pin icon that appears above the list of results to save all selected items to My Favorites.
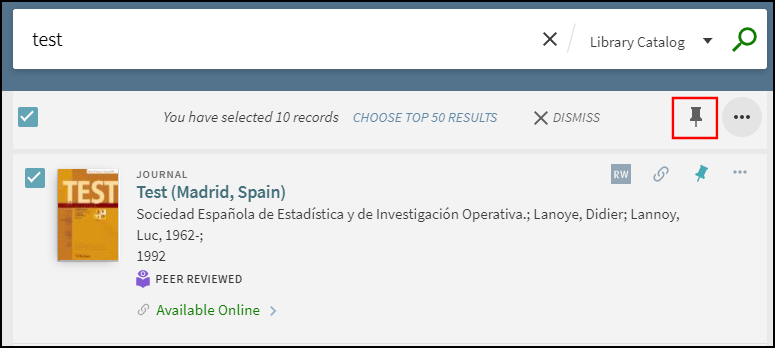
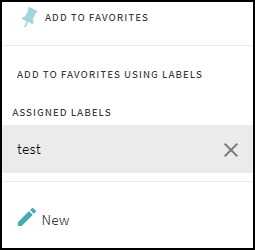
For signed-in users, the Save to My Favorites dialog box opens for users to apply no label, add existing label, or a new label to all selected records.
Removing a Record
You can select the Unpin button ![]() next to the item either in the search results or on the My Favorites > Saved Records tab.
next to the item either in the search results or on the My Favorites > Saved Records tab.


Labeling a Record
Labels allow you to group records in private lists so that you can access these records as needed in the future. You may assign multiple labels to a saved record if you want to include that record in multiple lists.
-
Select the My Favorites button
 that appears at the top of each page.
 -
Select the Saved Records tab (if not selected already).
-
Select the ADD LABELS button
 .
. Add Label Button
 -
Enter the name of the label.
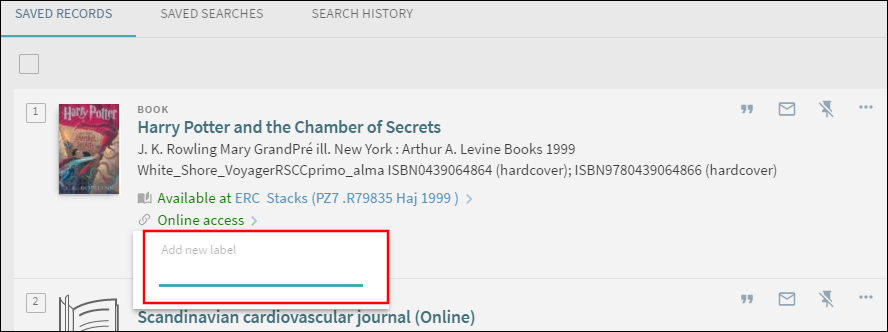 Enter Label
The following figure shows an example of a label.
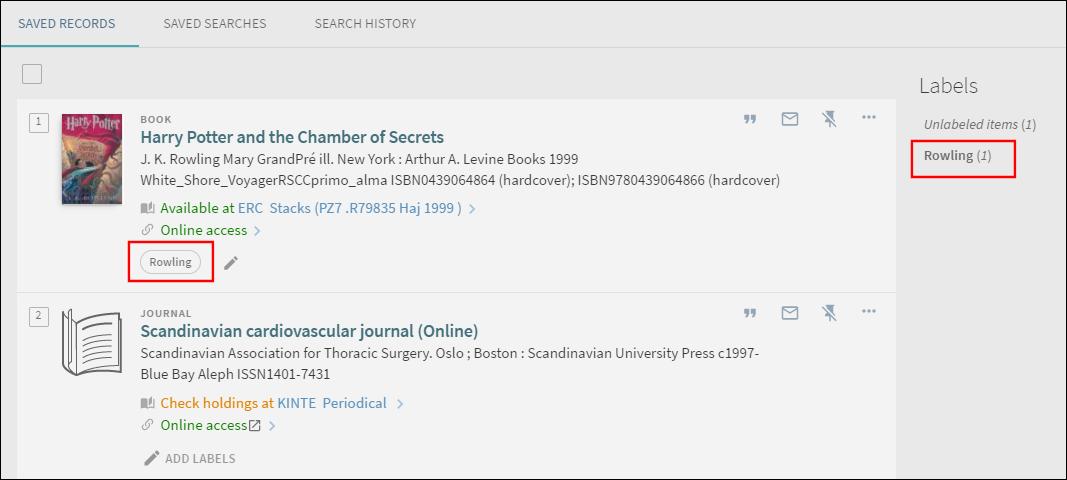 Example of Label
Removing a Label
-
Select the My Favorites button
 that appears at the top of each page.
 -
Select the Saved Records tab.
-
Select the record's ADD LABELS button
 .
. -
Select the Delete Label button
 to remove the label.
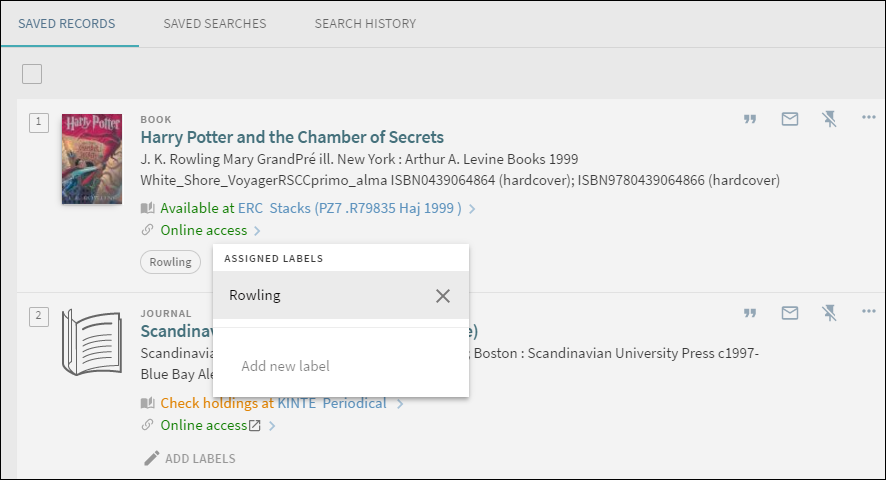 Delete Label Button
Viewing Grouped Records
-
Select the My Favorites button
 that appears at the top of each page.
 -
Select the Saved Records tab.
-
In the Labels section, select the label's link to view the records that have been assigned that label.
 Selecting the Label Link
The following example shows the selected label and the list of items that have been assigned to that label.
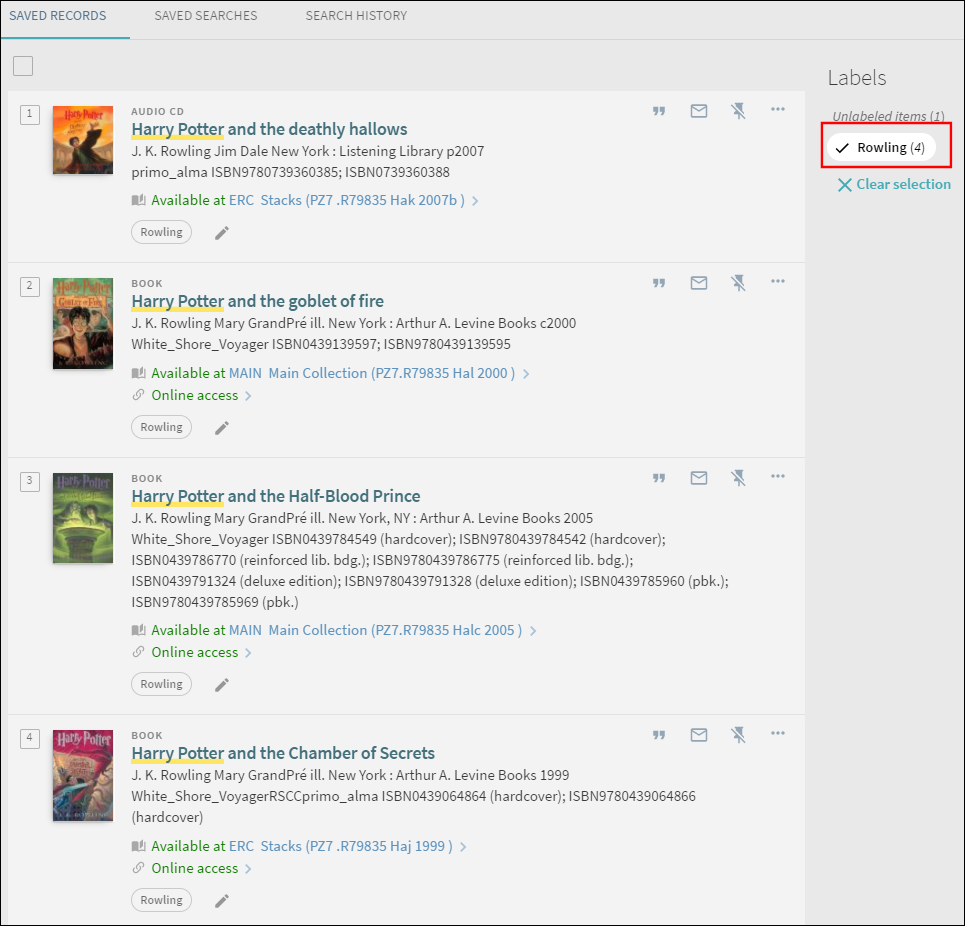 Example Grouping of Saved Records
Viewing a Saved Record
-
Select the My Favorites button
 that appears at the top of each page.
 -
Select the Saved Records tab (if not selected already).
-
In the list of saved records, select the record that you want to display.
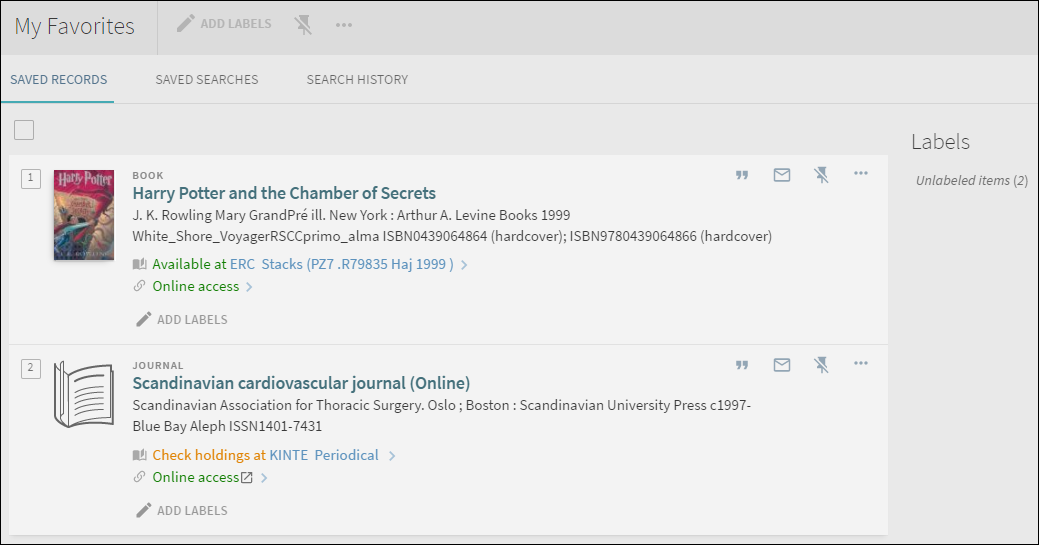 Saved Records Tab
Sorting the List of Saved Records
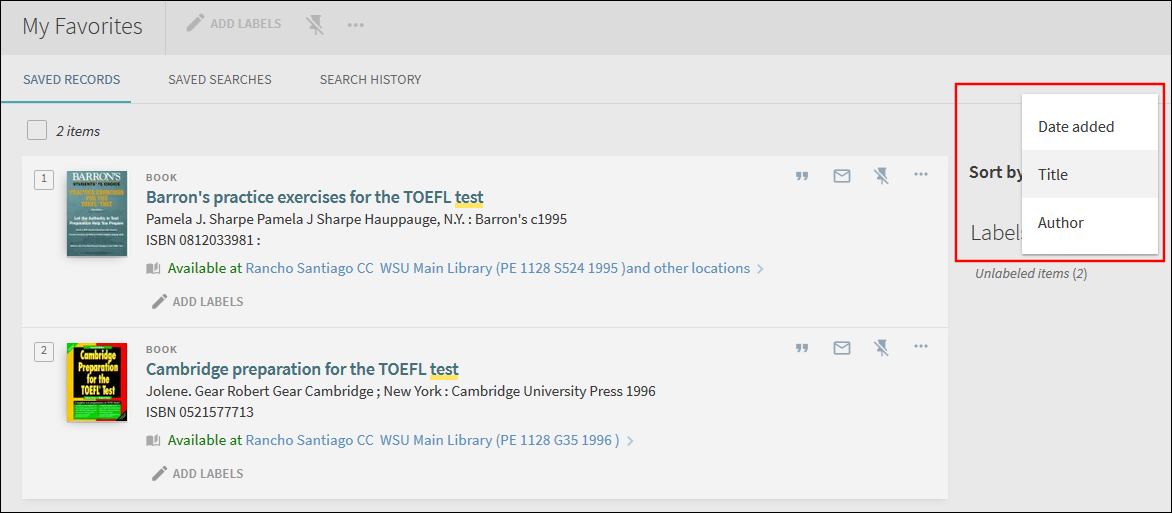
The following Sort by options allow users to sort their list of saved records to locate specific records: Title, Author, and Date added.
