
The File Uploader Tool
This functionality is not relevant to to Primo VE.
The File Uploader tool is accessed from the Primo Home > Primo Utilities page. It allows you to load FE customization files for a specific view to the server quickly. Changes can be applied at the installation and institution levels. Files with the following suffixes are supported: css, html, htm, gif, jpg, png, bmp, js, xml, xsl, and xslt. The file size limit for each type is 5 megabytes (MB).
File Uploader Page
Before you can access and use this utility, you must have one of the following roles:
-
Superadmin
-
Admin – installation and institution level
-
View Manager – installation and institution level
For Primo Total Care customers, you must have one of the following new roles:
-
Total Care User – provides access to the File Uploader utility and reports
-
Utility user – provides access to the File Uploader utility only
In addition to uploading files, this utility allows you to perform the following functions: view uploaded files, download a file, and switch versions of a file.
Uploading a File
The File Uploader page allows you to upload the following types of files to the $fe_web/uploaded_files/<view_code> directory on the Primo server:
-
CSS – To use uploaded CSS files, you must perform the following:
-
Update the CSS mapping table and add your new CSS file to either an existing mapping row or a new one. For example, if you want to override the CSS settings in the Default CSS mapping row, update the row as follows:
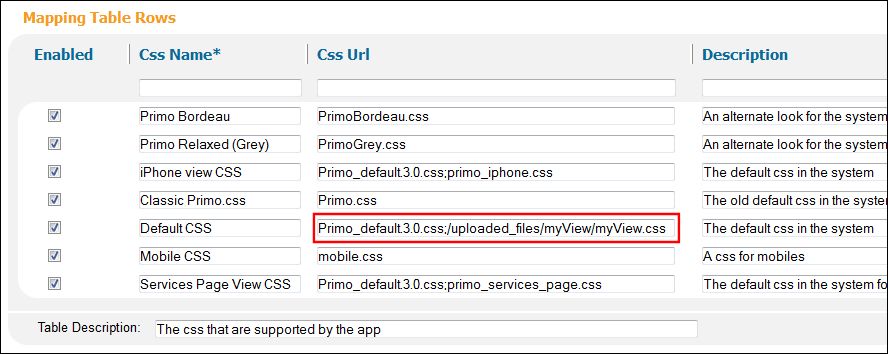 CSS Mapping Table
 -
Deploy your changes to the mapping table.
-
In the Views Wizard, make sure that your view is using the new CSS file. For example, if you are using the Default CSS mapping row, make sure that it is selected as follows for your view:
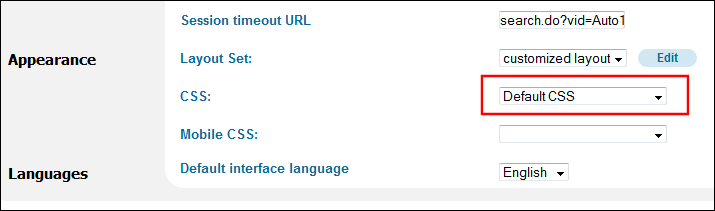 Views Wizard - CSS Selection
 -
Deploy your changes to the view if necessary.
-
If the CSS file is replacing a CSS file that is currently in use, no changes are necessary in the Views Wizard or the CSS mapping table.
-
For information on debugging your CSS, refer to Debugging CSS and JavaScript - Disabling the wro4j Tool.
-
-
Static HTMLs – To use uploaded static HTML files, you must update the links in the static HTML tile in the Views Wizard. Use the following path to reference static HTML files:/uploaded_files/<view_code>/<file_name>
-
Images – Links to the updated images should be updated in the CSS and Static HTML files to reference the new location of the image.
If your new CSS or static HTML files reference images stored under the out-of-the-box image location $fe_web/images, make sure that you adjust the relative paths to the images. For example, change the following:
background-image:url(../images/file.png)
To:
background-image:url(../../images/file.png)
If the image file and the file that references it are stored in the same directory, you can just use the following call to reference the image file:
background-image:url(file.png)
For more information on customizing the FE, see the Primo Technical Guide.
If a file already exists, the system appends the current date and time to the old file in case you need to revert to a previous version of the file. For more information, see Switching Versions of Files.
To upload a file(s):
-
Click Primo Utilities on the Back Office home page.The Primo Utilities page opens.
-
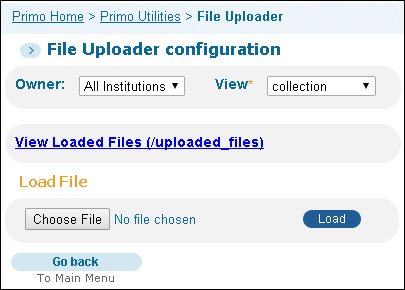
Click File Uploader.The File Uploader page opens.
-
Select the institution or installation version from the Owner drop-down list. Note that the institution will be pre-selected for institution-level staff users.
-
Select the view from the View drop-down list.
-
In the Load File section, click Browse to use the Choose File to Upload dialog box to locate a file.The file displays in the Load File section.
 Load File SectionIf you want to load additional files, click Browse again to load another file. If you want to remove a file before loading it, click Delete next to the name of the file.The system does not permit you to upload empty files, and some browsers may notify you of this during file selection.
 -
Click Load to upload the files to the /uploaded_files directory.After the file begins to upload, the Loader Log page opens and displays the progress of the upload.
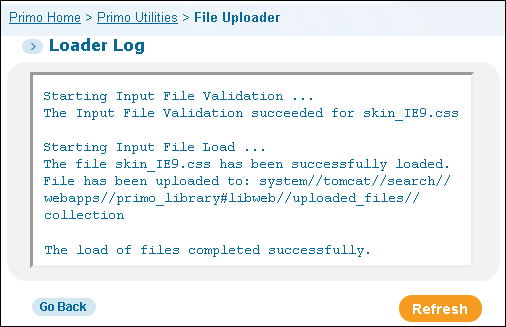 Loader Log PageThe system does not permit you to upload empty files, and some browsers may notify you of this on the Loader Log page.
 -
Click Refresh to see updates to the log page, or click Go Back to return to the utility.
Viewing Uploaded Files
The File Uploader tool allows you to list the files that you have already loaded or updated on the server. Files that have been overridden by a later version include a time stamp suffix (yyyymmdd_hhmmss). In addition, you can view the contents of a file or display an image.
To view uploaded files:
-
Click Primo Utilities on the Back Office home page.The Primo Utilities page opens.
-
Click File Uploader.The File Uploader page opens.
-
Click View Loaded Files (/uploaded_files).The list displays the latest file and a drop-down list for any previous versions of the file.
 Uploaded Files List - View File
 -
Select one of the following options if you want to view the contents of a file or view an image:
-
Display the latest version – Click View next to the name of the current file.
-
Display an earlier version – Select a previous version of the file from the drop-down list and click View.
Downloading a File
The File Uploader utility allows you to download files that you have already loaded or updated on the server.
To download a file:
-
Click Primo Utilities on the Back Office home page.The Primo Utilities page opens.
-
Click File Uploader.The File Uploader page opens.
-
Click View Loaded Files (/uploaded_files).The list displays the latest file and a drop-down list for any previous versions of the file.
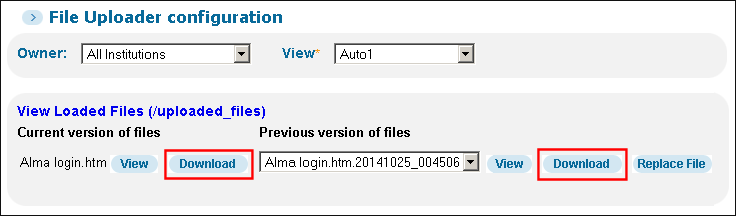 Uploaded Files List - Download File
 -
Select one of the following options:
-
Download the latest version – Click Download next to the name of the current file.
-
Download an earlier version – Select a previous version of the file from the drop-down list and click Download.
-
Use the instructions for the browser to save the file locally or view the file.
Switching Versions of Files
The File Uploader tool retains older versions of uploaded files, which you can view by clicking the drop-down list next to the current file in the utility. Each version includes a time stamp suffix (yyyymmdd_hhmmss) in case you need to view or revert to an older version.
To switch to another version of a file:
-
Click Primo Utilities on the Back Office home page.The Primo Utilities page opens.
-
Click File Uploader.The File Uploader page opens.
-
Click View Loaded Files (/uploaded_files).The uploaded files display below the link.
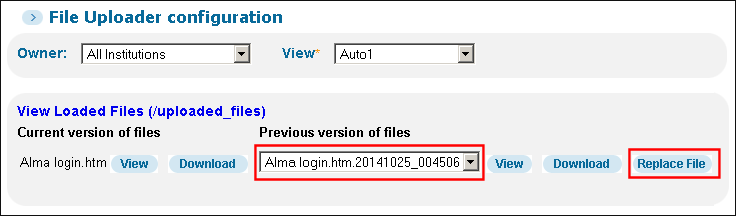 Replace File
 -
Select the version of the file that you want to use from the drop-down list and click Replace File.A message dialog box opens.
-
Click OK to confirm the swap.The utility adds a time stamp to the active file and removes the time stamp from the selected file, making the selected file the active file. When the swap is complete, a confirmation message displays in the File Uploader page.
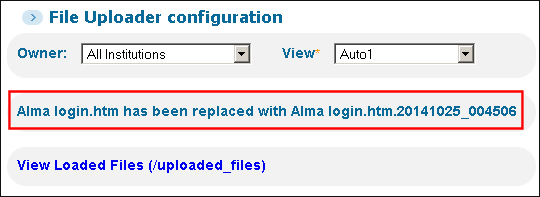 Confirmation Message