
Exporting Records from Primo
If you are working with Primo VE and not Primo, see Exporting Records from Primo VE.
Introduction
Primo enables you to export one or more records to other applications (such as print, email, and citation managers) from the Brief Results, Full Display, My Favorites > Saved Records, and My Library Card > Loans/Requests pages.
Exporting Records
Primo enables you to export records from various places in the UI: My Favorites > Saved Records, Brief Results, and Full Display page.
For bulk exports only:
-
On the Brief Results page, you can export a maximum of 50 records at one time.
-
From the My Favorites > Saved Records tab, you can export a maximum of 200 records at one time.
-
The following types of exports are not supported: QR, Citations, and Permalinks.
-
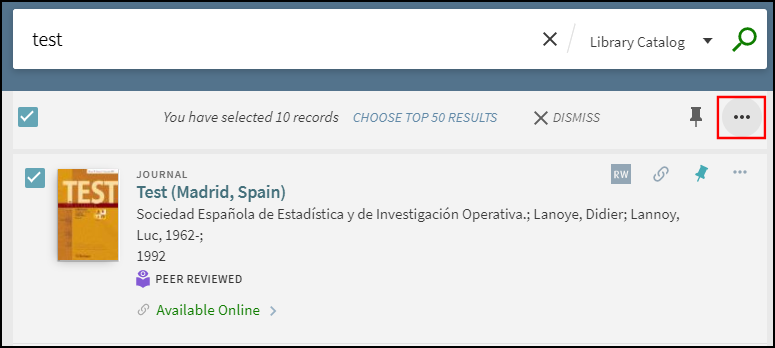
Unless you are on the Full Display page, select all records that you want to export. For more details regarding record selection, see Selecting Items in Brief Display and My Favorites.
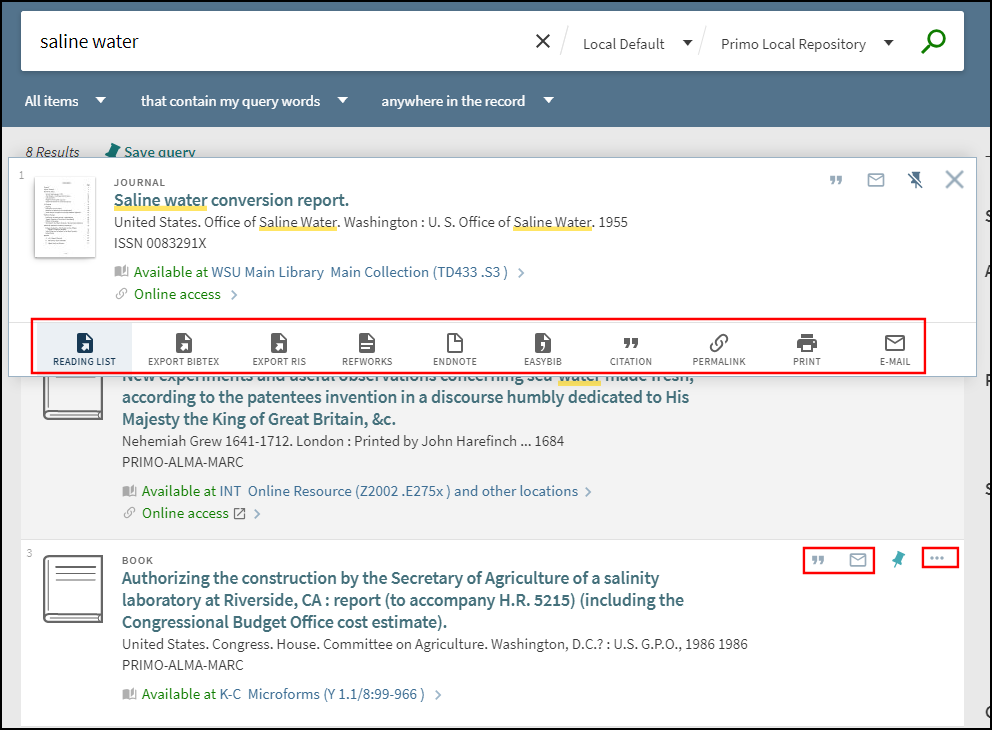
After selecting the records, you may need to select the ellipsis to display all supported export actions.
 Ellipsis to Display All Export Actions (Example Bulk Export)
If you want to display all export actions for a single record, select the ellipsis that is associated with that record.
-
Select one of the following export actions, if provided:
-
Export BibTex – Export the record to BibTex format, and save it in a file. To export to BibTex format, choose a file encoding and then select Download.
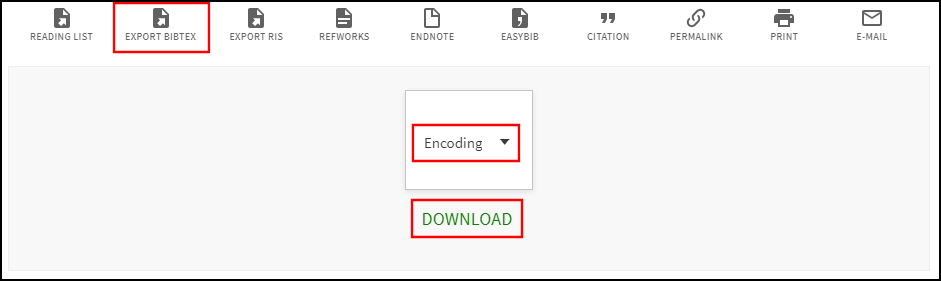 Export to BibTex Format
 -
Export RIS – Export the record to RIS format, and save it in a file. To export to RIS format, choose a file encoding and then select Download.
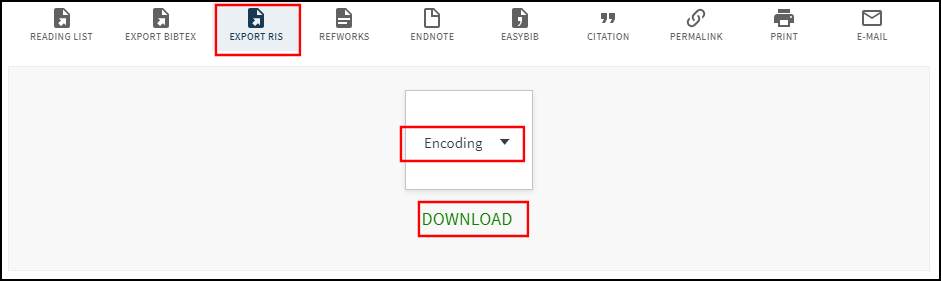 Export to RIS Format
 -
EasyBib, RefWorks, and EndNote – Export the record to RIS format, and save it directly to any of these citation managers.
-
Citation – Create a citation in specified format for the record. To create a citation, specify a citation style in the left pane and then select Copy Citation to Clipboard.
 Create Citation for Record
For the Safari browser, the copy action highlights the citation, but it does not copy it to the clipboard. After highlighting the citation, users must then copy it to the clipboard.
-
Permalink – Create a permalink for the record.
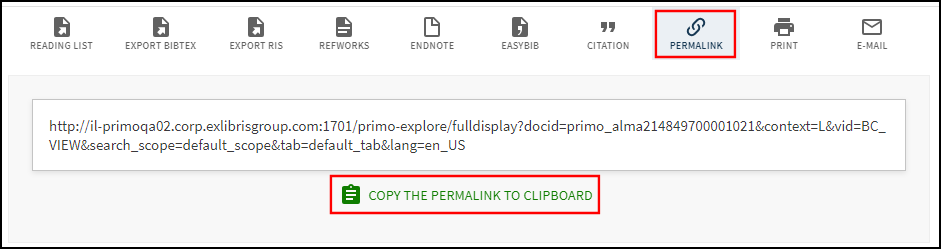 Create Permalink for Record
For the Safari browser, the copy action highlights the link, but it does not copy it to the clipboard. After highlighting the link, users must then copy it to the clipboard.
-
Print – Send the record's details, locations, and availability information to a specified printer.
-
Email – Send the record's details, locations, and availability information to a specified email address. To send to email, specify an email address and then select SEND. If you are signed in, the Note field will appear, which allows you to include an optional note with the email.
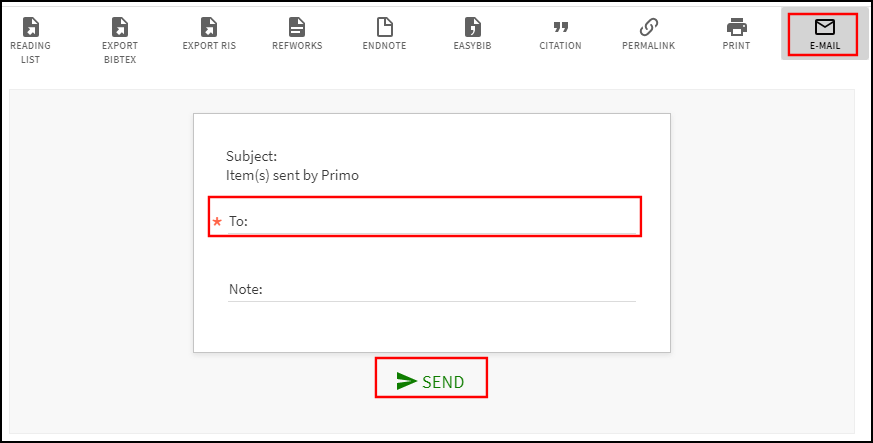 Send to Specified Email Address
 -
Export to Excel – Download a record's details and link to an Excel or CSV file. To export the record to a file, choose a file type and then select Download.
 Export to Excel
When using the CSV file type for non-Latin languages, we recommend that you use Notepad to open the file, but if you prefer to use Excel, make sure that you use UTF-8 encoding.
-
Mendeley – Export the record to your personal Mendeley account.
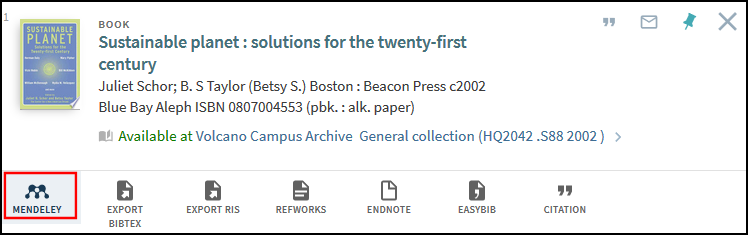 Mendeley Export Action in Brief Display
After selecting the Mendeley option, Primo prompts users to connect to their Mendeley accounts. Once connected, Primo automatically exports the record. If the export is successful, the following message will appear at the top of the page:
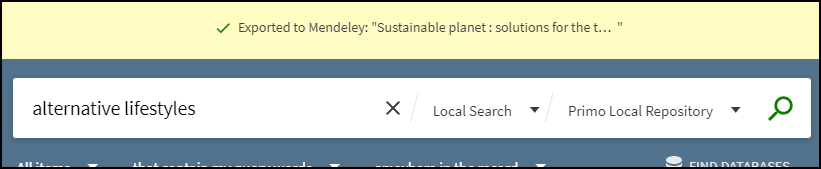 Successful Mendeley Export Message
 -
Reading List – export citations from Primo to your reading lists in Leganto. Depending on the type of user, perform the following:
-
For students, click ADD TO READING LIST In the Action's dialog box to export the record's citation to the user's personal reading list on the Collection page in Leganto:
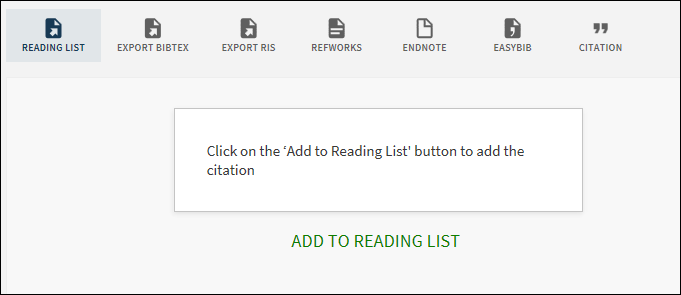 Reading List Action's Dialog Box for Students
 -
For instructors, specify the following fields and then click ADD TO READING LIST to export the record's citation.
-
Add to - Select either Collection (personal reading list) or List (class reading list).
-
Select list - If you selected the List option, select one of your class reading lists from the drop-down list.
-
Select section - If the selected reading list has sections, select a section from the drop-down list.
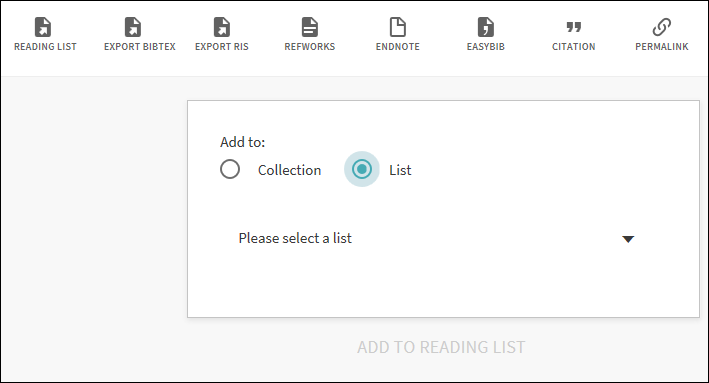 Reading List Action's Dialog Box for Instructors
 -
-
-
Selecting Items in Brief Display and My Favorites
You can use the following methods to select items for bulk application of actions:
On the Brief Results page only, the number of selections is limited to a maximum of 50 items. If this limit is reached, users are prompted to edit their selections.
-
Individual Selection – Select the check box that appears next to each item in the list.
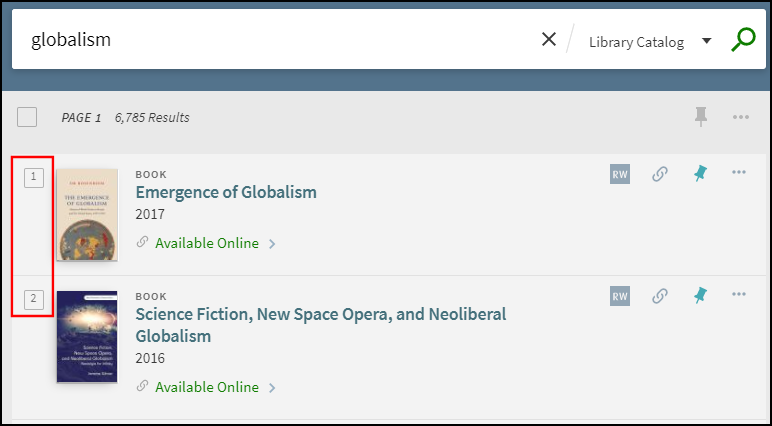 Adding Item Selections Individually
 -
Page Selection – On the Brief Results page only, select the check box that appears above the results to select all items on the page. After loading another page of results, you can select this box again to include that page's items in the export.
 Select All Check Box
 -
Top 50 Selection – On the Brief Results page only, select an item or all items, and then select Choose Top 50 Results to select a maximum 50 records in the list.
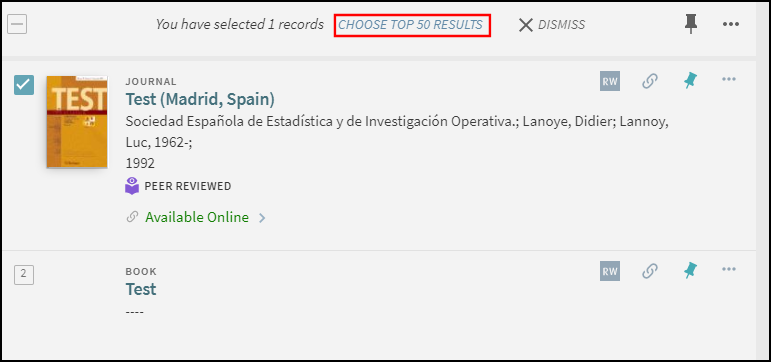 Top 50 Selection on Brief Results Page Only
 -
All Saved Records Selection – From the My Favorites > Saved Records tab only, select the check box that appears above the list to select all saved records.
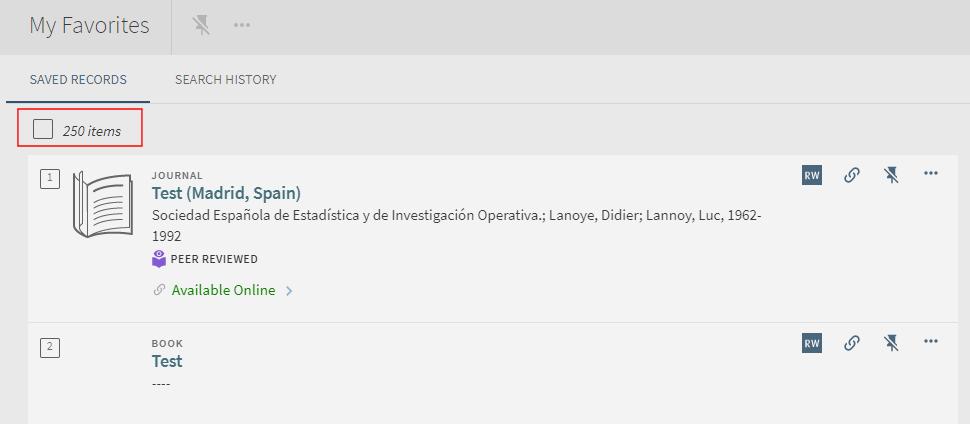 Select All Check Box for Saved Records
Using the Export All Results Option
The Export All Results option enables users to export all search results, which are placed in a file of the selected format (Excel/CSV, RIS, or BIBTEX) and sent to the specified email address.
-
The maximum number of exported results is limited to 5000 records for each of local catalog and CDI search results.
-
The sort order of search results may differ from the order of records returned in the export file.
-
This functionality is not supported on mobile devices.
-
With the Excel export only, links display as full links instead of permalinks.
-
The exported list of records will match what is displayed in the UI:
-
Dedupmrg records are exported like any other record.
-
Only the preferred record is exported for FRBR groups.
-
-
Users must sign in and select at least one item to display the Export All Results option, which appears above the results list:
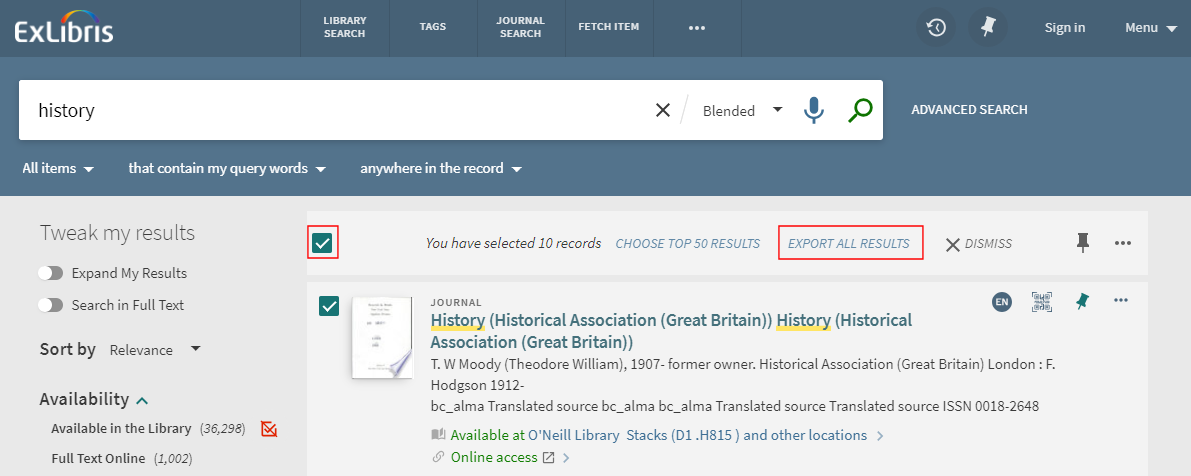 Export All Results Option
 -
Select one of the following supported formats: Excel/CSV, RIS, or BIBTEX.
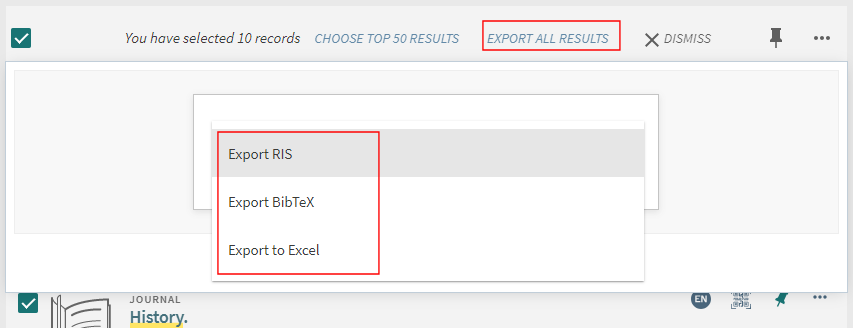 Supported Export Formats
 -
Select Send to perform the export.
If you are attempting to export more than the maximum number of records permitted, the following message appears prior to sending the export. You have the option to close the request without sending the export. In the following example, a maximum of 10,000 records (5000 local and 5000 CDI records) is exported.
 Maximum Number of Records Reached Message