
User Interface Settings
Configuring the Rapido Logos, Color Scheme, and Privacy Policy
To configure the Rapido logos, color scheme, and privacy policy, you must have the following role:
- General System Administrator
On the Branding Management page (Configuration > General > User Interface Settings > Rapido Logo and Color Scheme), you can define a header logo, email logo, and/or login page logo for your institution, or define an email logo for specific libraries. You can also change the default primary color in the user interface, and configure the URL of your institution's privacy policy.
The Rapido login button is always blue. It is not affected by the selected Rapido theme.
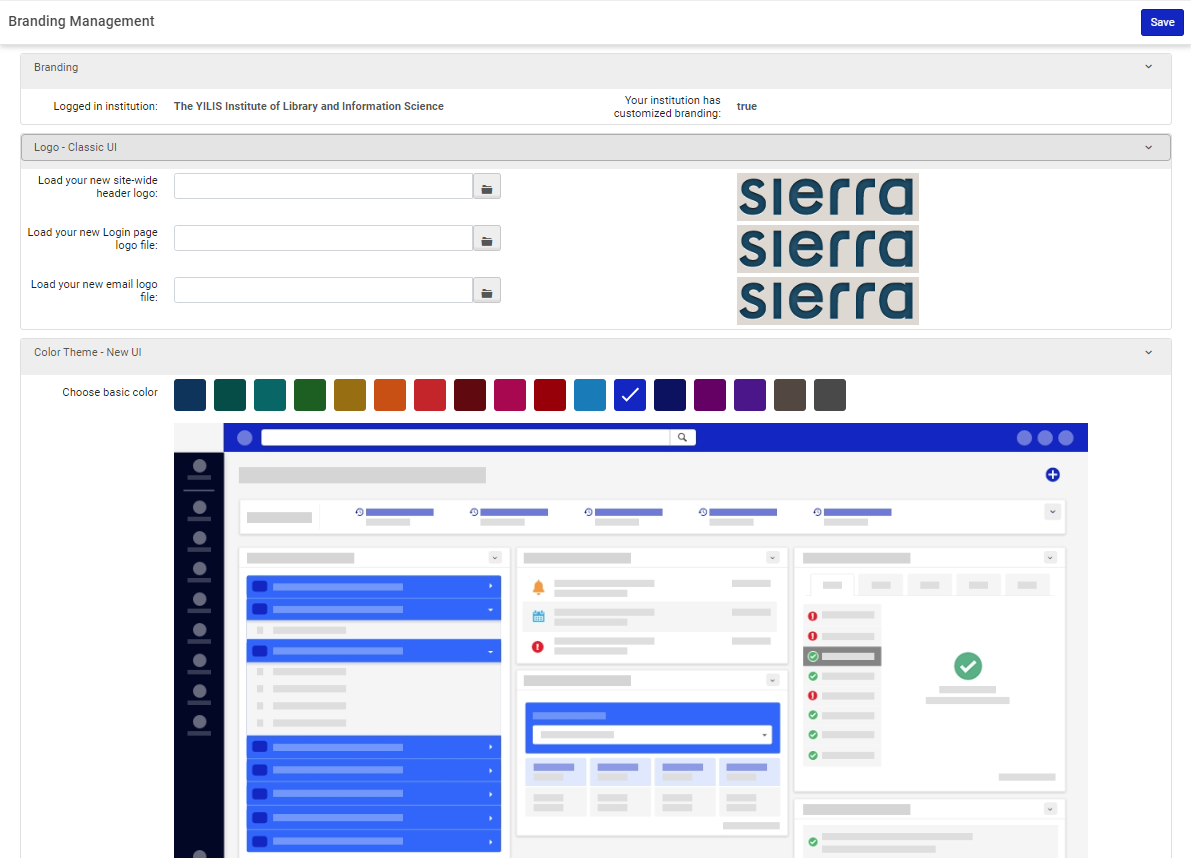
Branding Management Page
To configure the logos and color scheme for institution and particular libraries:
- On the Branding Management page, make sure that your institution is selected.
- Under Logo Upload, browse to select the following:
The acceptable formats for the logos are PNG, JPG and GIF. Logos in other formats do not display in Rapido.
Logo Required Size More Information Header logo (to be displayed in the top-left corner of Rapido) 69 pixels (width) x 26 pixels (height) Login page logo 110 pixels (width) x 36 pixels (height) Email logo 400 pixels (width) x 30-70 pixels (height) If an email logo is not uploaded, the header logo is used as the email logo.
You can define other logos for emails that go out from particular libraries. To do that, select the desired library instead of the institution.
When logos are defined on both the institution and the library levels, the logo displayed on the email is determined as follows:
- If the organization unit is Library, and a library logo exists for that library, the library logo is displayed.
- If organization unit is Library and no library logo exists for that library, the institution logo is displayed.
- If organization unit is Institution, the Institution logo is displayed.
- Select Save to save your changes. Note that to see your changes, you must clear your cache, log out, and then log in again.
To configure the institution's color scheme:
- On the Branding Management page, make sure that your institution is selected.
- In Color Theme, select the desired color theme. A preview of the selected color theme appears below the Choose basic color field.
- Select Save to save your changes. Note that to see your changes, you must clear your cache, log out, and then log in again.
To configure the URL of your institution's privacy policy:
Enter a valid URL in Privacy Policy Link at the bottom of the Branding Management page.

Branding Management Page (bottom)
When set to any value, the link Institution Privacy Policy appears at the bottom of every Rapido page with the URL set to the value you entered. Rapido does not validate that you entered a valid URL, so ensure that you do. If you enter an invalid URL, selecting the link results in an error.

Configuring CSS and Associated Images
To configure Rapido CSS and associated images, you must have the following role:
- General System Administrator
You can modify the CSS and associated image files that Rapido uses for the delivery tabs by uploading a customized CSS.
Configuring Policies
The policies configuration is not relevant at this time.
Configuring Social Login Labels
To configure social login labels, you must have the following role:
- General System Administrator
You can customize the messages used throughout the social authentication process.
You view and configure these labels from the Social Login Messages code table (Configuration > General > User Interface Settings > Social Login Labels).

Social Login Labels
You can edit the labels (descriptions). To enable editing all labels, select Customize All.
Configuring Identity Service Labels
To configure identity service labels, you must have the following role:
- General System Administrator
You can customize the messages used in the password management pages that display for internal users managed by the Ex Libris Identity Service.
You view and configure these labels from the Internal Login Messages code table (Configuration > General > User Interface Settings > Identity Service Labels).

Identity Service Labels
You can edit the labels (descriptions). To enable editing all labels, select Customize All.