Editing and Configuring Page Elements
Creative Studio provides a great number of styling options to ensure you can meet your branding guidelines and create engaging and useful information guides. The styling options provide an easy to use interface for non-technical staff by including element-specific styles. For more technical and CSS-skilled staff, Creative Studio includes out-of-the-box W3 CSS options and custom-build, page-specific classes.
Creative Studio presents many features and options for editing your pages, from a simple drag-and-drop interface and style changes to comprehensive code injects and transformation features.
For more information, see Create Studio: How to Edit Page Details and Creative Studio: How to Customize Elements.
Editing Content
To edit content on your page, select the element that you want to edit. An edit menu appears at the top of the element on the right.

The options in the element edit menu are, from left to right:
- Select the parent element of this element.
- Move the element by clicking and dragging this icon.
- Duplicate this element.
- Remove this element.
If you select the text of an element that lets you edit text, a text editor menu appears at the top of the element (on the left).

The options are:
- Bold
- Italics
- Underlined
- Strike through
- Create a link element using the selected text
Use Cases
| Duplicate a table row |
|
| Edit text |
|
| Move a map below a certain text |
|
Using the Style Settings
In addition to simple editing using the in-place menus described above, you can comprehensively format every element using the style settings menu.
By applying CSS classes to elements, you can easily stylize multiple components simultaneously. Style changes that you make are saved in all classes that you currently have selected, and therefore affect all elements to which these classes are applied. You can change a single element by creating a new class that is applied only to that element (or by not selecting any classes when you make your changes).
For more information, see Creative Studio: How to Style an Element.
Select the style icon from the tools menu.

The menu also appears when the component menu is currently visible, and you select an element.
The menu includes the following actions and areas.
| State selector |  |
Select the state that you want to edit. If you do not select a state, the changes you make in the style settings menu affect all states. If you select a specific state, the changes you make affect only the selected state. The states are:
|
| Classes |  |
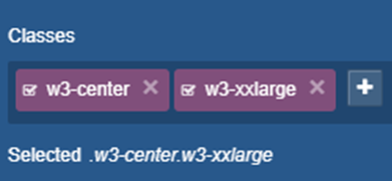
This box contains the CSS classes that are applied to the current element. Creative Studio comes included with the following CSS libraries. You can apply additional existing classes (see Using Style Sheets) or create a new class (select the +).
When making any style changes on this page (see below), you are actually changing all of the classes selected in this box. Therefore, any changes you make affect all elements that also have the selected classes applied to them. To change only this element, create a new class just for this element and ensure that only this class is selected.
|
| Component Settings |  |
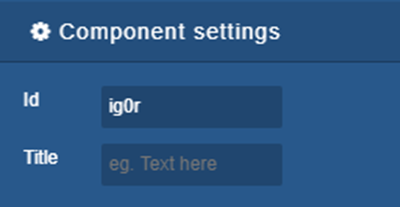
Element-specific settings. For the specific settings available for each element, see Adding Page Components. |
| The remaining sections provide a simple interface for setting CSS properties for elements. Some familiarity with CSS is helpful (see W3 Schools), but you can apply the settings and see the results in the WYSIWYG editing pane. Reminder: any changes you make apply to all elements that also have the selected classes applied to them. | ||
| General |  |
Set the following options for positioning.
|
| Dimension |  |
Set the following options for sizing, margins, and padding.
|
| Typography |  |
Set the following options to configure font elements.
|
| Decorations |  |
Set the following options to configure the element's border.
|
| Extra |  |
Set the following transition options for the element.
|

