360 Resource Manager and 360 Counter: Acquisitions Data Import for Voyager Clients
- Product: 360 Counter
How does the 360 Resource Manager Acquisitions Data Import tool work for Voyager clients?
This document is intended to help Voyager libraries merge cost data to 360 Resource Manager and 360 Counter using the Cost Data Import tool and Microsoft Access 2007.
NOTE: The suggested steps we provide here were written by a Voyager client; they were not created by -- nor are they supported by -- Serials Solutions. They serve as an example that we hope can help your library, but they may not work for all libraries.
NOTE: It is helpful to add Serials Solutions identifiers to Voyager order records as part of your standard acquisitions workflow so that they will be present in the reports you export from Voyager. More explanation about this and other ways to prepare for this process can be found in the Cost Acquisitions Data Import documentation.
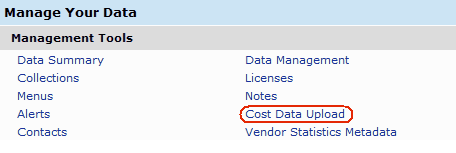
- In the Client Center, click Cost Data Upload under Management Tools in the Manage Your Data section:

- On the Cost Data Upload page, select the appropriate template. For example, if you are uploading database costs, you would select the Databases in Profile with Template option from the File to Download drop-down menu.
- Click Download. Save the file to c:\voyager\access reports\reports.mdb.
- Open Microsoft Access and select Tables > External Data >Text Files, and then open the reports.mdb file. Follow the Access prompts. Create a table for the Cost Template file.
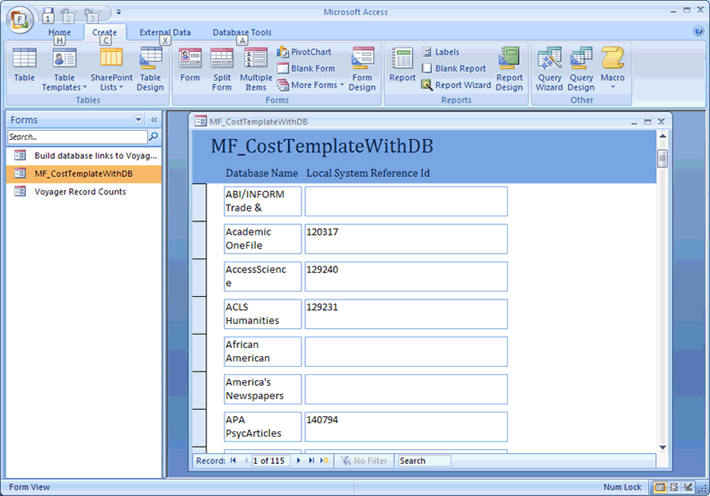
- To match the Serials Solutions data with the Voyager data, enter the Bib ID into the Local System Reference ID field. To simplify, you may try creating a form with the Access Form function using just the Database Name and Local System Reference ID:

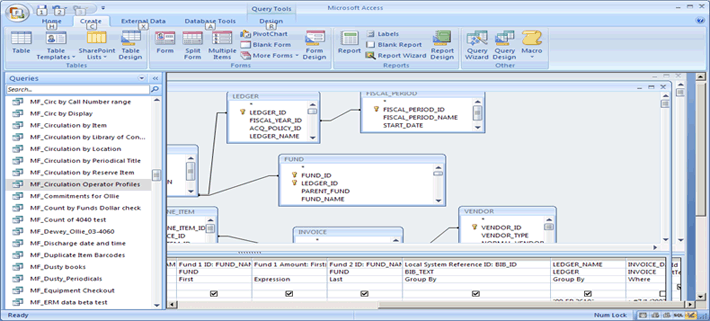
- Create a query including all of the information you want from Voyager: funds, PO number, invoice number (or voucher number), vendor, etc.:

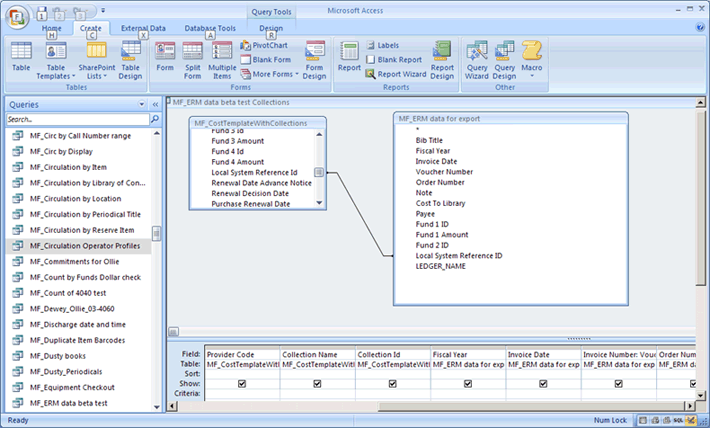
- Create a second query with the "Cost Template" table and Query 1 joined at Local System Reference ID. Select all fields from the Cost Template table and replace the field to upload with fields from Query 1 (see below):

- Run and export Query 2. Export as a text file and be sure to check the box to include headers. (In Access 2007, you can save your export profile.)
- Return to the Cost Data Upload page and upload the file you just saved.
For further details on the Cost Data Upload process, see the following:
- Date Created: 9-Feb-2014
- Last Edited Date: 21-Feb-2014
- Old Article Number: 7323

