
Best Practice Toolkit: Setting Up Import Profiles
What is it?
Directions for the process of setting up an Import Profile, which can have many benefits depending on the type of profile you create.
Import Profiles can be used to automatically load records from a supplier, automate the normalization process, and upgrade existing records. Import Profiles can save a lot of staff time on repetitive tasks and help get records ready for end users faster.
Why use import profiles?
- Import Profiles greatly increase automation in the loading of records for Alma, as well as in the automated cleanup and normalization of records.
- For end users, records are loaded into the discovery tool more quickly, improving access to the latest records the library has available.
Before You Start
Import Profiles can be set up to do a number of things in Alma, including import bib data and create PO Lines, update inventory, create physical and electronic inventory, update authority records, and more. This will free up staff time for focusing on exceptions and issues that have to be reviewed individually.
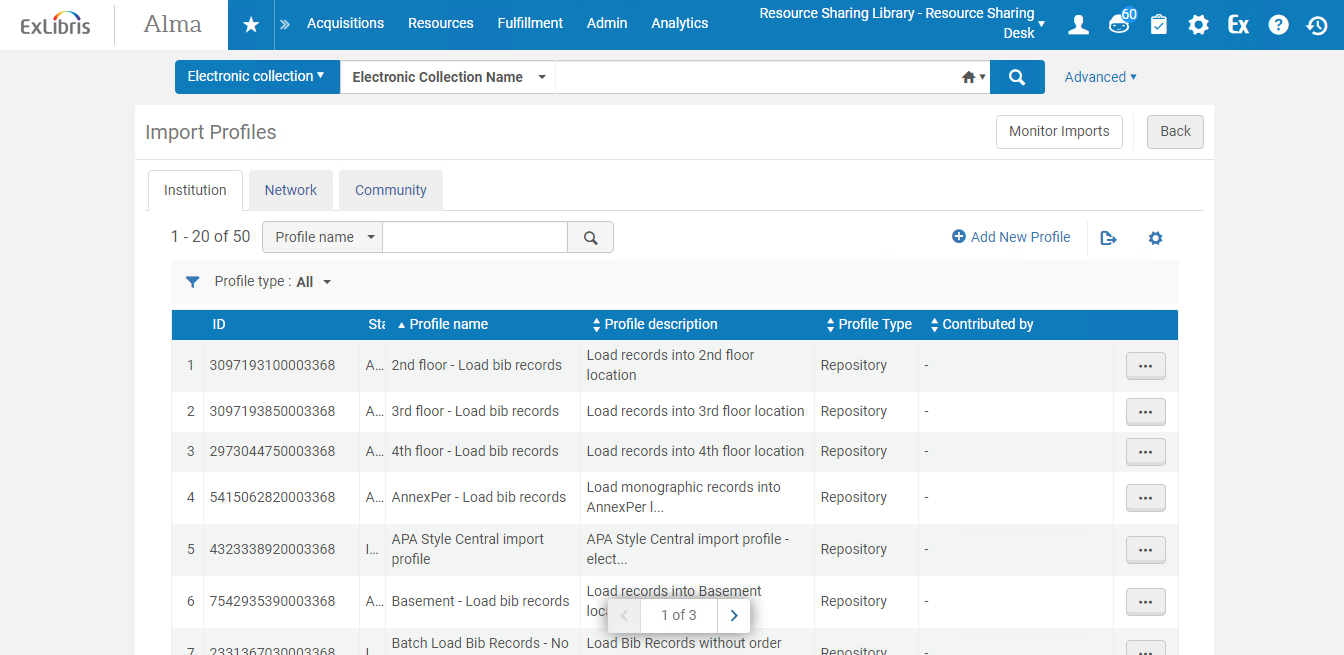
It is easy to see if you already have one or more Import Profiles set up. To check if an Import Profile is already set up on your Alma instance, go to Resources > Import > Manage Import Profiles.
- There are several different Import Profile types (outlined here) so think about what you want to set up before you get started.
- You can always use the Alma Sandbox to test an Import Profile before setting it up in Production.
Setting Up an Import Profile
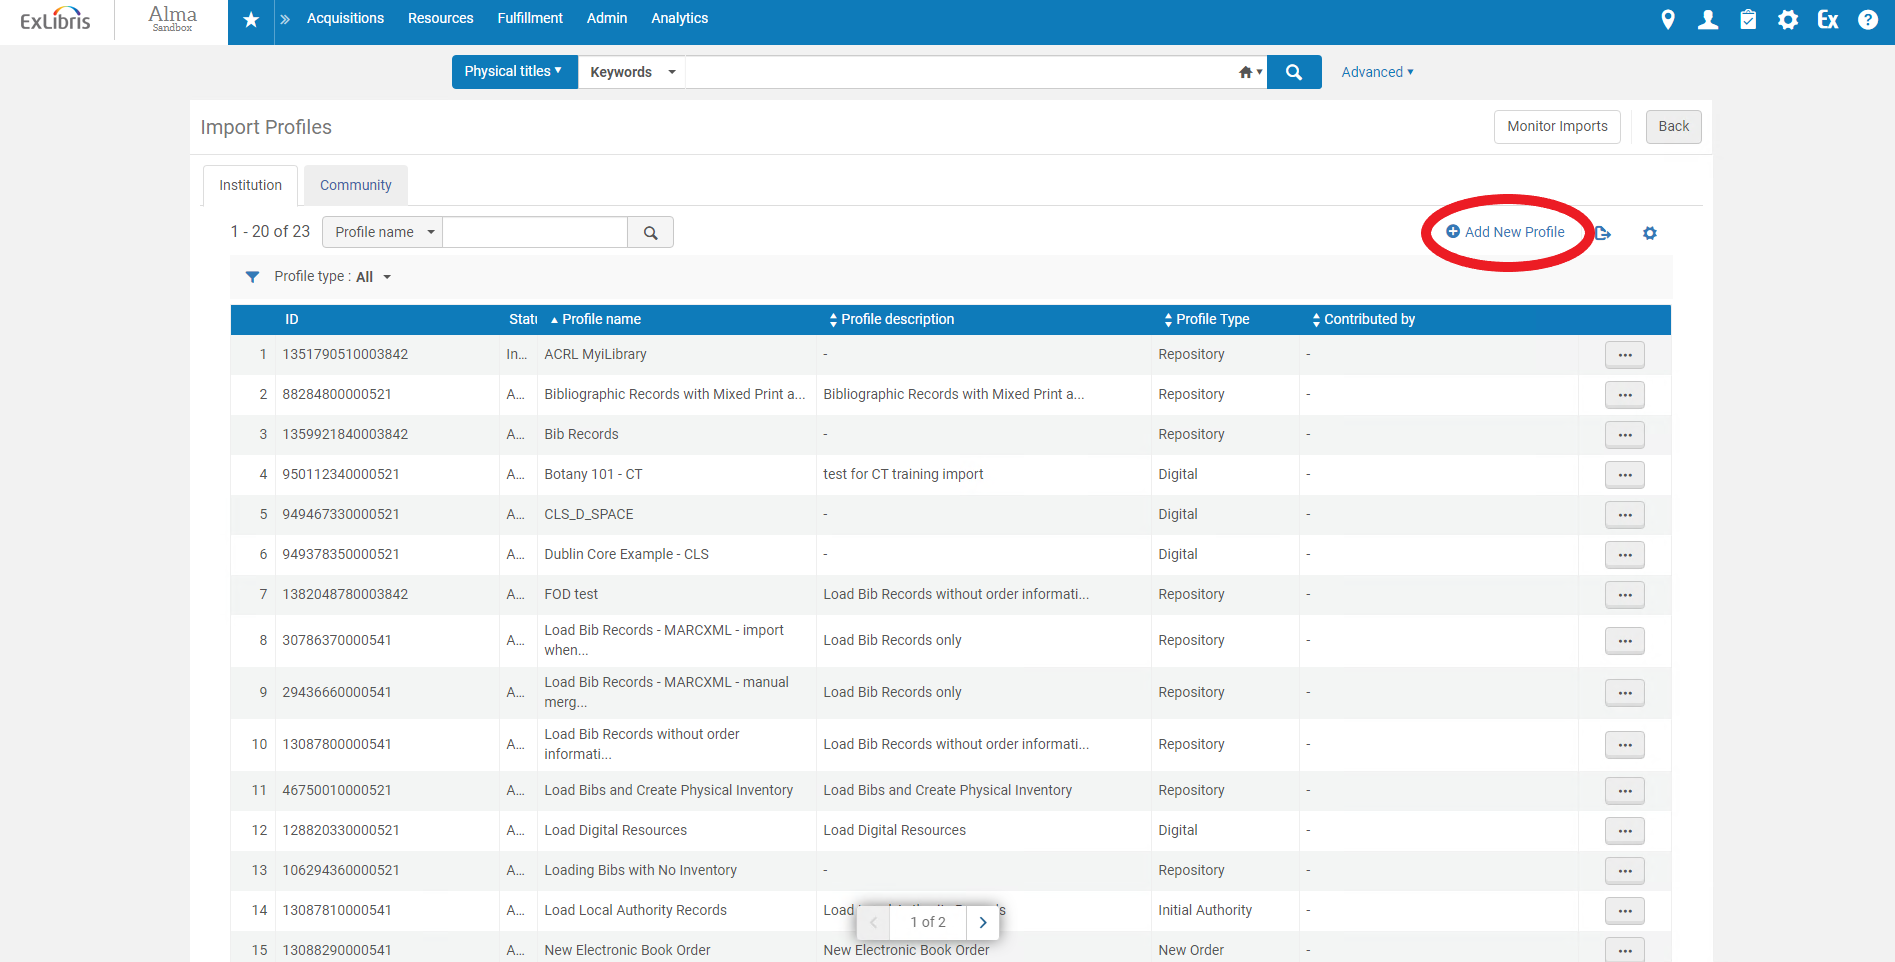
To create a new Import Profile go to Resources > Import > Manage Import Profiles > Add New Profile. Then select the type of profile you wish to set up.
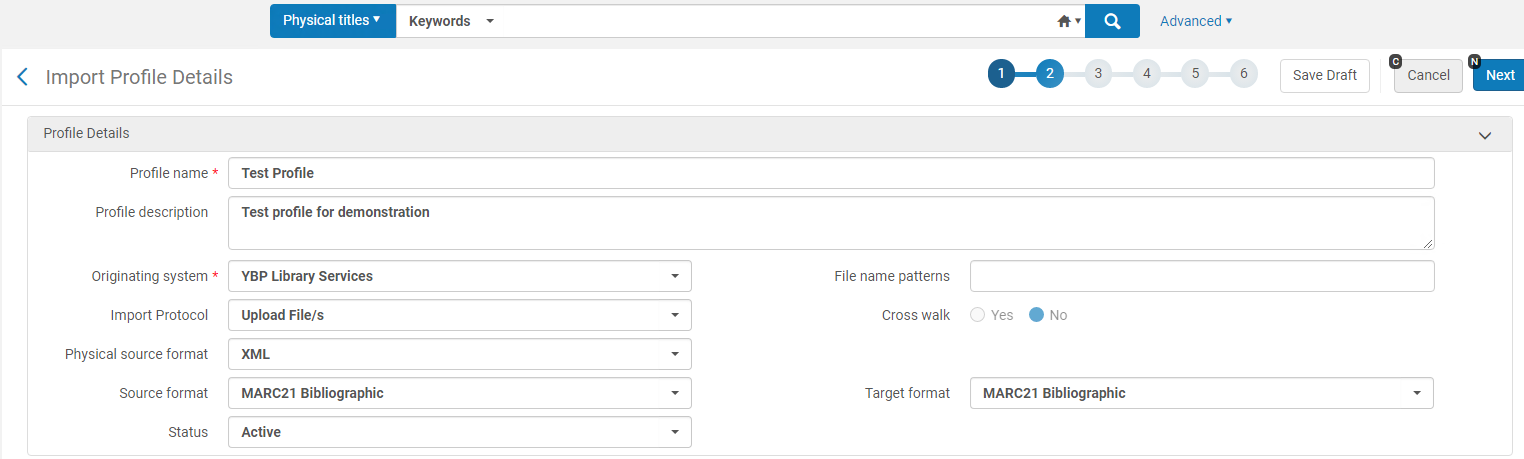
Step 1
- Enter Profile name, description, and originating system
- File name patterns can limit to certain file types (i.e. use *.xml to limit to XML files)
- Cross walk changes to Yes if Physical source format and Target format are different
- Status must be Active
- Import Protocol
- Upload Files = you have files on your computer or shared drive
- FTP/OAI = you set up a connection to the location of the files
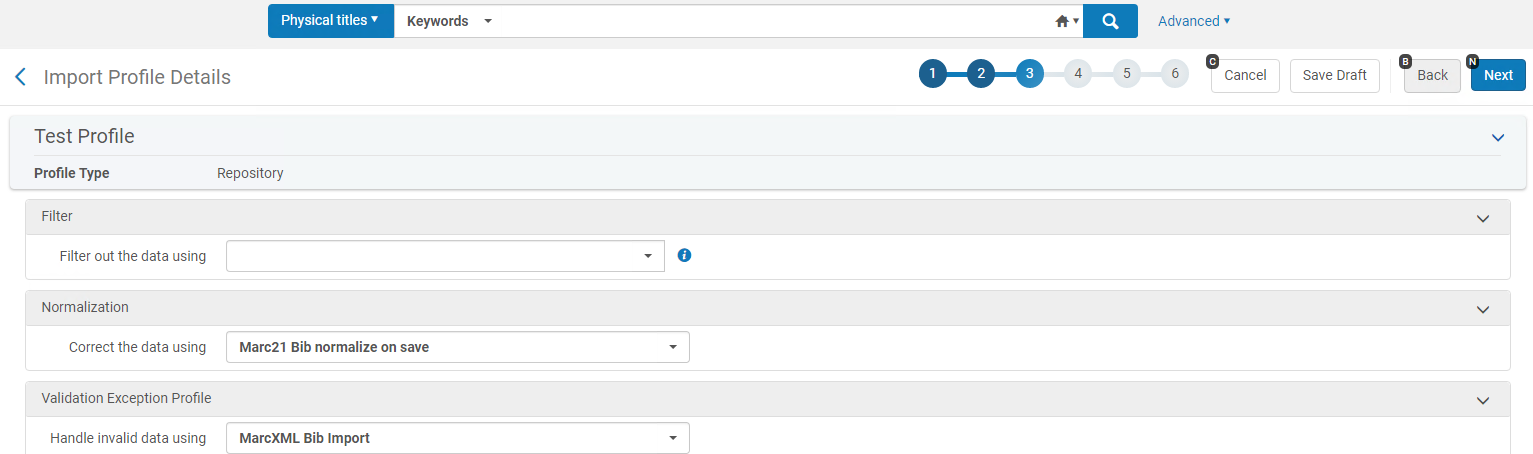
Step 2
- “Filter out the data using” stops records from being imported if they meet the selected criteria
- Normalization allows you to choose the process to normalize the records into Alma
- Validation Exception Profile
- Select how to handle invalid data as it is imported
Step 3
- Decide how to handle matching records
- Manual handling requires looking at each matched record after job completion
- Automatic handling merges, overlays, imports, or doesn’t import based on setup
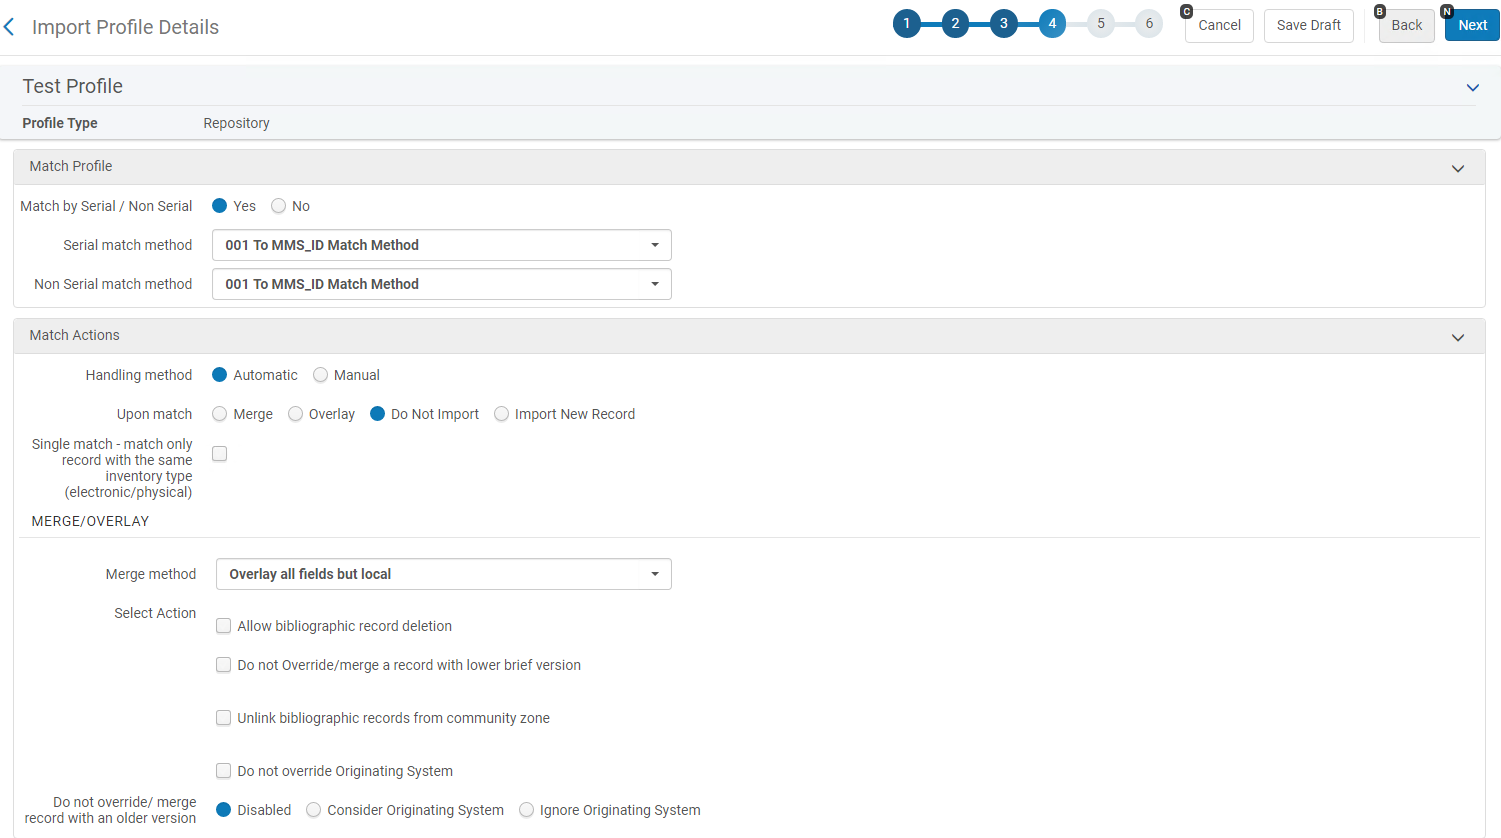
Step 4
- Decide if you need the records synchronized
- Records can be synchronized with OCLC and Libraries Australia
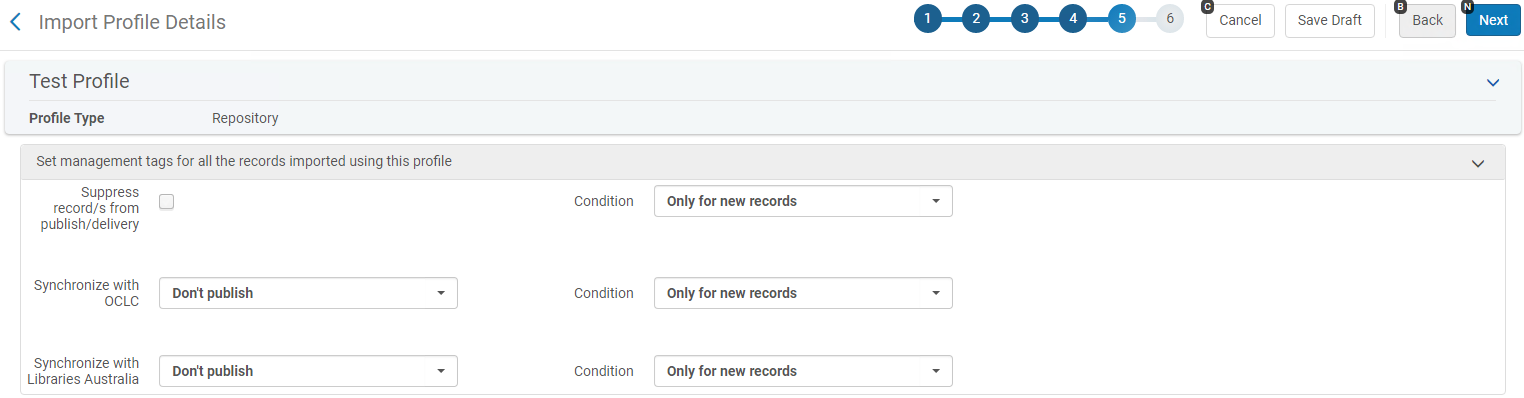
Step 5
- Decide if you want inventory created from the Import Profile (only for new bib records)
- Select Save when you are done.

Once the job is set up, you can monitor the progress/process the same way you would any other regular job in Alma. (Admin > Monitor Jobs)
Ongoing Best Practices
Since there are several types of Import Profiles available in Alma, you can get a lot of use out of this feature. Exploring your options will yield bigger results in terms of efficiencies.
Import Profiles that are no longer necessary can be deactivated without removing them, leaving them in the system if you should need them in the future.