Introduction to the Alma Mobile 2 Application
- Google Play
- Apple App Store
Supported Operating Systems
- Android
- iOS (11 or later)
Supported Devices
- iPhones
- iPads
- Android cell phones
- Android tablets
- Bluetooth-enabled, hand-held scanners
Supported Barcode Symbologies
- QR_CODE
- DATA_MATRIX
- UPC_E
- UPC_A
- EAN_8
- EAN_13
- CODE_128
- CODE_39 (see the note below)
- CODE_93
- CODABAR
- ITF
- RSS14
- RSS_EXPANDED
- QR_CODE
- DATA_MATRIX
- UPC_E
- UPC_A
- EAN_8
- EAN_13
- CODE_128
- CODE_39 (see the note below)
- ITF
For sites with barcodes that use extended ASCII characters (such as >, the greater than symbol) that require Extended Code 39 symbology support, it is recommended that you use a bluetooth-enabled scanner connected to your mobile device that supports that symbology.
Getting Started and Logging In
https://<subdomain>alma.exlibrisgroup.com
For example: https://caccl-laccd.alma.exlibrisgroup.com
- Using the Apple App Store or Google Play, download the Alma Mobile app.
- Locate the Alma Mobile icon on your mobile device and start the app.
Alma Mobile IconThe Getting Started pages appear.These pages appear in the language identified as the default language in the mobile device's language setting when the language is one that is supported by Alma. Separately, you need to use your Alma Mobile settings to identify the language to be used while working with Alma on your mobile device. See Working with Settings for more information.
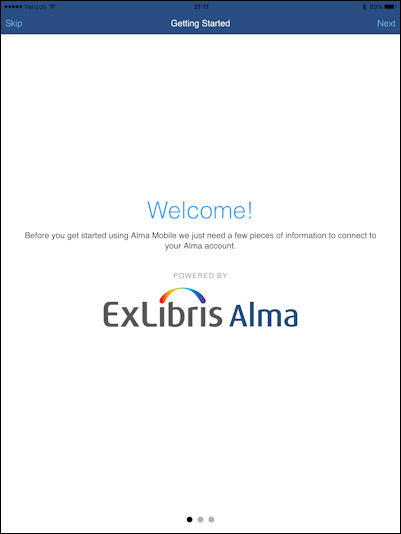 Getting Started Page 1
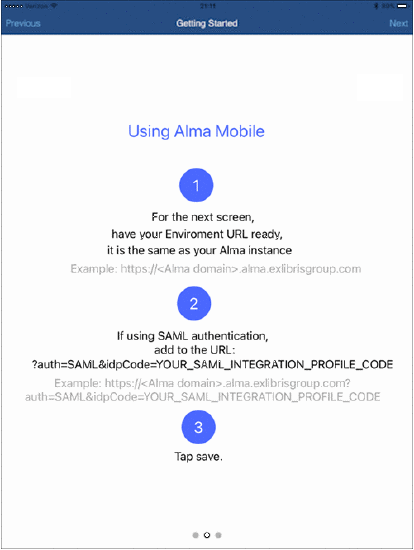 Getting Started Page 2
 Getting Started Page
 - Tap Start app. The URL / Authentication configuration page appears.
This page will appear in English.
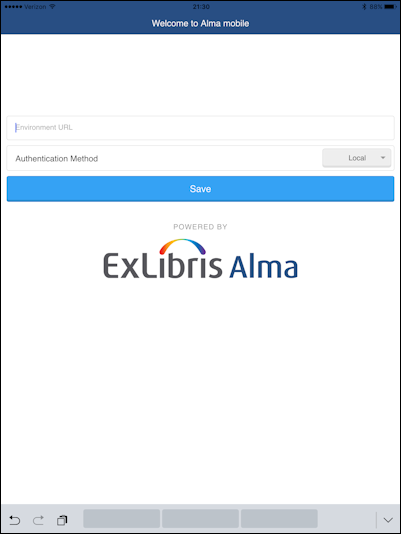 URL / Authentication Page
 -
Enter your institution-specific URL. For example:
https://caccl-laccd.alma.exlibrisgroup.com
If you do not have an institution-specific URL, enter your institution URL as described in the Getting Started pages. This is your Alma instance as in the following generic format where mng is replaced with mobile:- Production:
https://
<institution_code> .alma.exlibrisgroup.com - Sandbox:
https://<hostname>
For example, ap01 with institution code 852ALMA_INST, the full link is: https://sandbox01-ap.alma.exlibrisgroup.com?institution=852ALMA_INST.alma.exlibrisgroup.com?institution= <institution_code>
If using SAML, modify the Alma URL to include ?auth=SAML&idpCode=SAML_PROFILE where SAML_PROFILE is the name of your SAML integration profile as defined in Alma at Configuration > General > Integration Profiles.
If using CAS, modify the Alma URL to include ?auth=CAS&idpCode=CAS_PROFILE where CAS_PROFILE is the name of your CAS integration profile as defined in Alma at Configuration > General > Integration Profiles.
If using social login, modify the Alma URL to include ?auth=social. Once connected, Alma Mobile presents the available social login options.
If using Alma local authentication, modify the Alma URL to include ?auth=local.
- Production:
-
Tap Save. The Alma log-in page appears.This log-in page will appear in English.
 Alma Login
 -
Enter your Alma log-in user name and password. The Alma Mobile options appear.
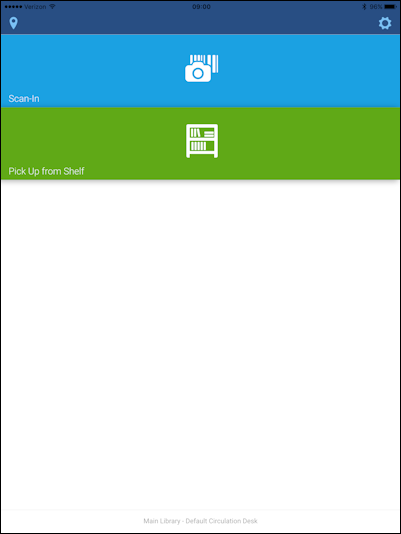 Alma Mobile Options
Working with Settings
- Languages
- External Links
- Tap the gear icon to open the Settings pane.
-
Tap Languages to display and/or select the preferred language option for the Alma Mobile user interface. The sorted list of language setting options will be updated over time and as additional languages are supported by Alma.
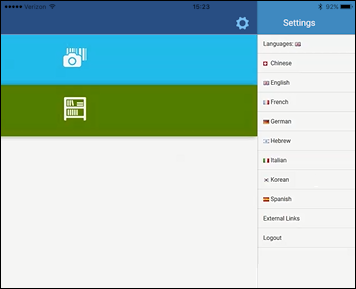 Language Settings for the User Interface
 -
Tap External Links to conveniently switch from Alma Mobile to one of the following external links:
- Ex Libris Ideas
- Ex Libris Facebook
- Ex Libris Twitter
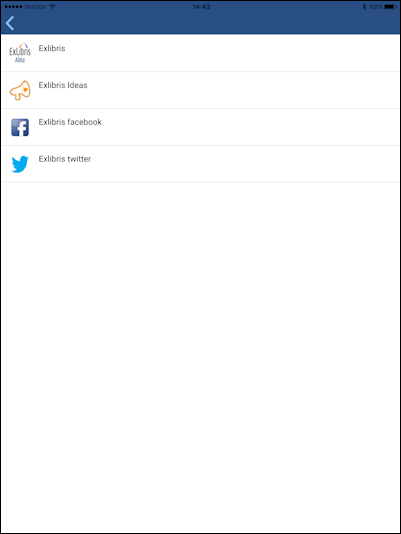 External Links
 - Tap the gear icon to close the Settings pane.
Logging Out of Alma Mobile
- Tap the gear icon to open the Settings pane.
-
Tap the Logout action.
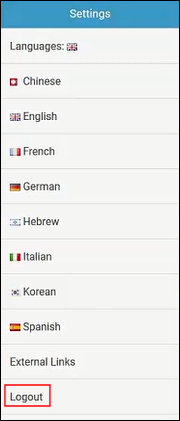 Logout ActionA confirmation of your Logout action appears.
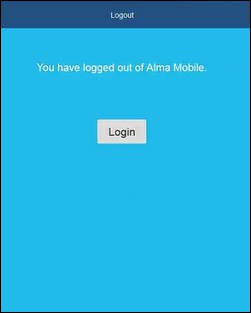 Logout ConfirmationTapping the Login button will take you back to the Login page (see Getting Started and Logging In).

