Creating the Toolbar Installation Packages
The Primo Toolbar Installer Creator Utility uses the PrimoInstallerConfig.xml and PrimoToolbarManifest.xml files to create installation packages for Firefox and IE. Each browser supports installations for public and private computers.
Public installations do not support user logon, search history, and user preferences.
The installation packages (.zip files) contain the following files:
-
setup.exe – The main start file that verifies installation prerequisites and loads the installer file.
-
PrimoFirefoxToolbarInstaller.msi – The Primo Toolbar installation file for Firefox. This file contains the Toolbar installer and reads the parameters from the configuration files.
-
PrimoIEToolbarInstaller.msi – The Primo Toolbar installation file for Internet Explorer. This file contains the Toolbar installer and reads the parameters from the configuration files.
-
PrimoIEBarSettings.xml – This file contains the Primo Toolbar installation parameters.
-
PrimoIEToolbarVersionManifest.xml – This file contains the version parameters.
To create the Primo Search Toolbar installation packages:
-
Create the versions manifest file. For more information, see Creating the Versions Manifest File.
-
Store the new or updated manifest file under the following directory on the Primo server, where <r/> indicates the release in which Primo was initially installed and <x/> indicates the instance number of the Primo installation:/exlibris/primo/p<r/>_<x/>/ng/primo/home/system/search/conf
-
Run the Primo Toolbar Installer Creator Utility from Start > Programs > Primo Toolbar Administration to create the installation files for all configurations.
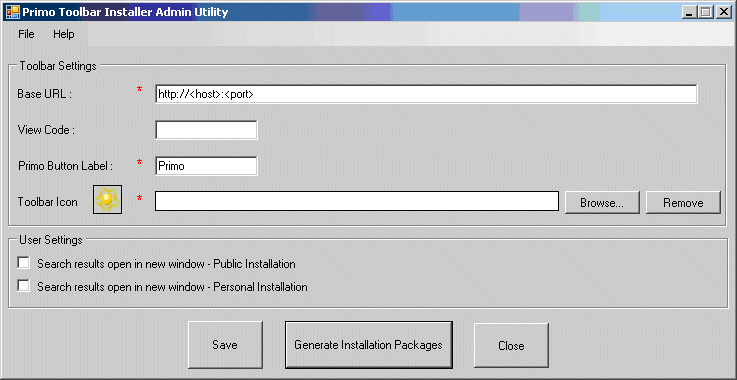 Primo Toolbar Installer Admin Utility
 -
Fill in the following fields on the Primo Toolbar Installer Admin Utility or click Load to load settings from a PrimoInstallerConfig.xml file, which was previously created:
-
Base URL – Specify the URL of the Primo site.
-
View Code – Specify the default view of the Primo site.
-
Primo Button Label – Specify the label for the Primo button on the Toolbar.
-
Toolbar Icon – Specify the icon to be used for the Toolbar.
-
User Settings – The User Settings area contains two check boxes that allow you to specify whether the search results should open in a new window for personal and private installations.
-
-
Click Save to save the settings to the PrimoInstallerConfig.xml file.The Save As window displays.
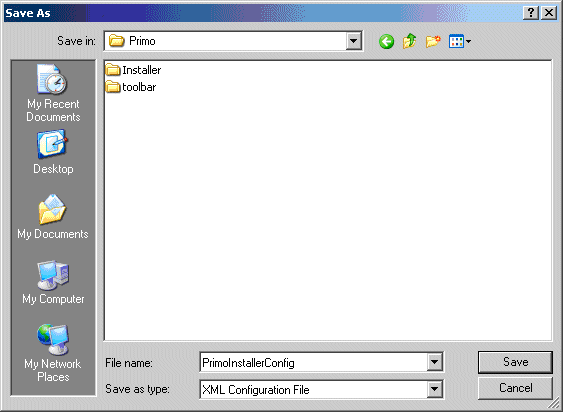 Save As Window for Primo Installer Configuration File
 -
Select the folder in which to save the file and click Save.
-
Click Generate Installation Packages from the Primo Toolbar Installer Admin Utility.The Select Primo Config File window displays.
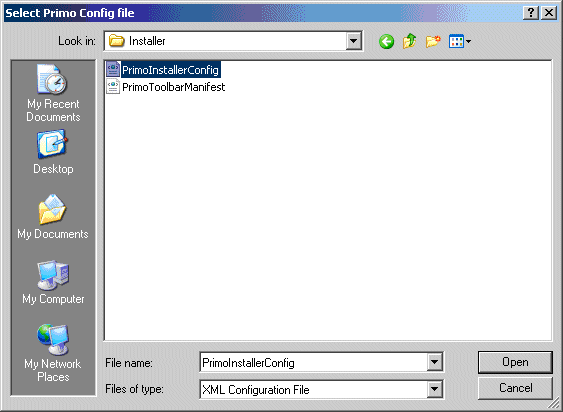 Select Primo Config File Window
 -
Select the PrimoInstallerConfig.xml file that you created in Step 6.The Select Primo Version Manifest File window displays.
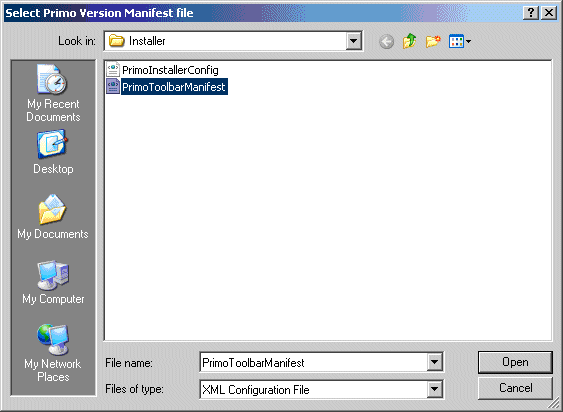 Select Primo Version Manifest File Window
 -
Select the PrimoToolbarManifest.xml file that you created in Step 1.The Browse for Folder window displays.
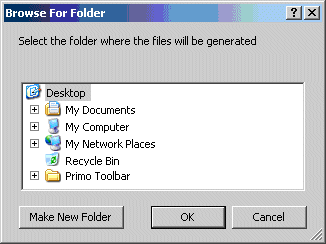 Browse for Folder Window
 -
Select the folder in which to save the installation packages and click OK.The Package Generation window displays.
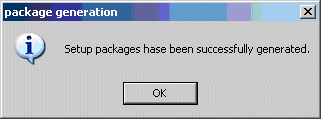 Package Generation Window
 -
Click OK.
-
From the Primo Toolbar Installer Admin Utility, click Close to exit the utility.

