
Managing Plug‐Ins
Managing Plug-Ins
Managing plug-ins with Rosetta involves accessing file directories on the server and working with the Rosetta Administration interface.
Before you begin:
- Have the JAR file containing your plug-in.
To install and configure the plug-in:
- Upload the JAR file to the application custom plug-in input directory.
The location of the input directory is relative to the operational_shared directory (can be found in the HfrGeneralParameters table's operational_shared parameter). The full path is .../operational_shared/plugins/custom/. - Install the plug-in using the application plug-in management UI.
- On the custom Plugin List page (Administration > System Configuration > General > Plug- In Management), click the Add Plug-In instance button.
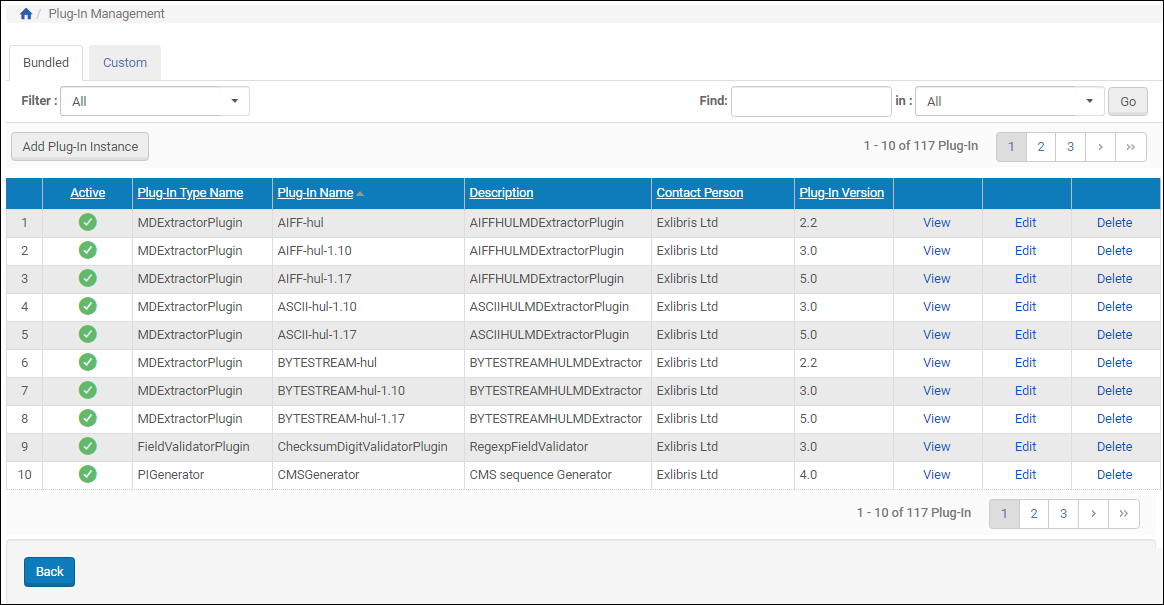
Plug-In Management Page
A list of available plug-ins opens. The plug-in you installed should appear in the list. Scroll or use the Filter or Find feature to help you find it.
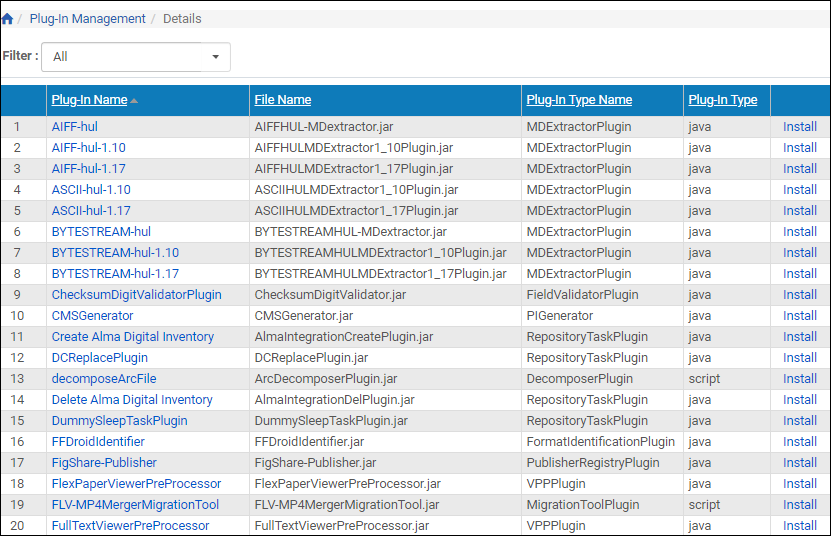
List of Available Plug-Ins
- When you find the plug-in you want to install, click the corresponding Install link.
- The Plug-In Information page for that plug-in opens.
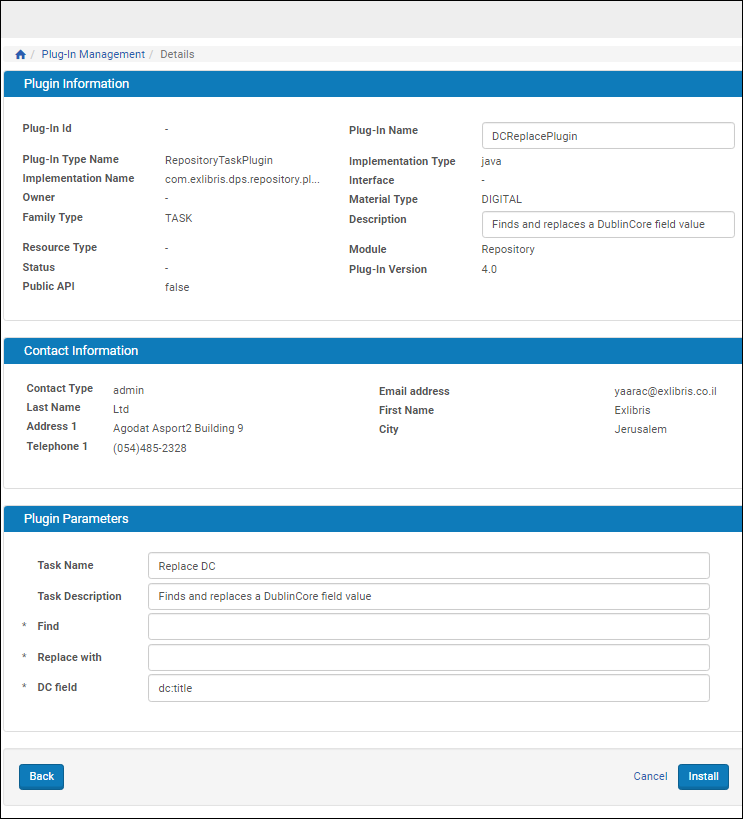
Information for Existing Plug-In
- Enter a name in the Plug-In Name field and a Description to reflect it.
Because you are installing and not editing, Rosetta will create a new entry in the plug-in list.
- Add or change values for all required parameter fields.
If you are installing a variation on an existing plug-in, you must rename the plug-in and enter values in the required parameter fields before Rosetta will allow the installation to be completed.
- Click install.
The new plug-in is installed in the system and appears on the Plug-In List page, available for use.
To create another plugin instance with different initialization parameters values, repeat step Step d, making sure the plug-in name is unique.
To change the initialization parameters of an installed plug-in:
- From the Plug-In Management page (Administration > System Configuration > General > Plug- In Management), find the name of the plug-in whose parameters you want to change and click its corresponding Edit link.
- Change the initialization parameter values and click Save.
To stop using a given plug-in:
From the Plug-In Management page (Administration > System Configuration > General > Plug- In Management), select the Delete link corresponding to the row of the plug-in you want to disable.
To upgrade a (custom) plug-in:
From the Custom tab of the Plug-in List page (Administration > System Configuration > General > Plug- In Management), click the Upgrade button.
An upgraded version of the plug-in is deployed.