Administrative Structure
Configuring a Consortium

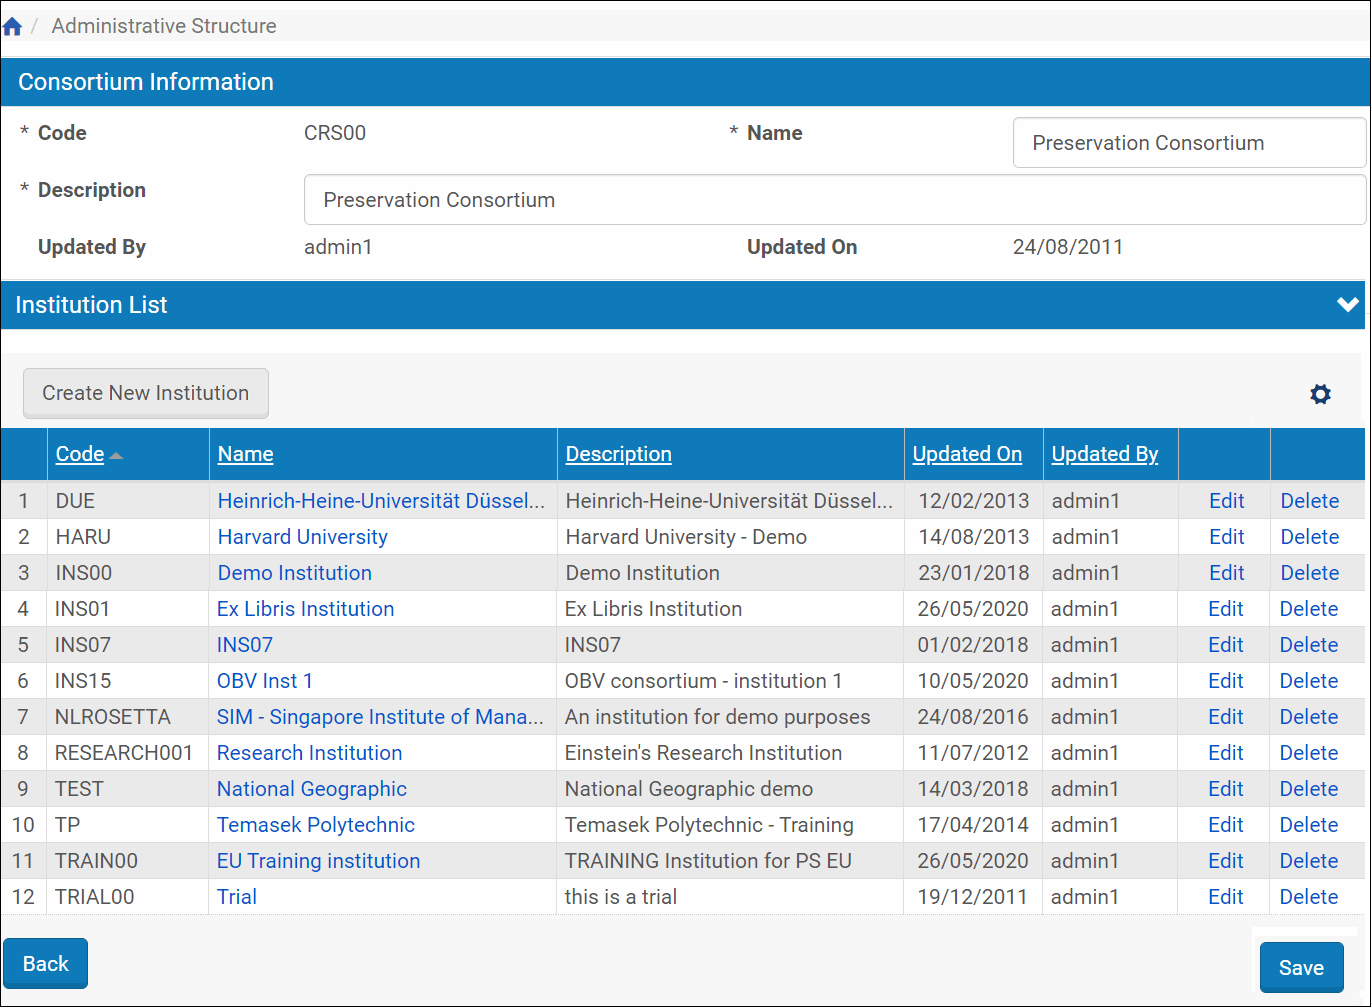
Updating a Consortium
- From the Advanced Configuration home page, click Advanced Configuration, then the Administrative Structure heading. The List of Institutions page opens.
- In the Consortium information pane, modify the fields that you want to update.
- Click Save.
Configuring Institutions Within a Consortium
- Viewing Institutions Within a Consortium
- Adding a New Institution
- Updating an Institution
- Configuring an Institution to Work With a Patron Directory Service
- Deleting an Institution
Viewing Institutions Within a Consortium
- Access the List of Institutions page from the Administrative Home page: click Advanced Configuration > Administrative Structure.
- The List of Institutions page opens.
Adding a New Institution
- Open the List of Institutions page by clicking Advanced Configuration > Administrative Structure from the Administration Home page.
- Click the Create new Institution button. The institution information form opens.
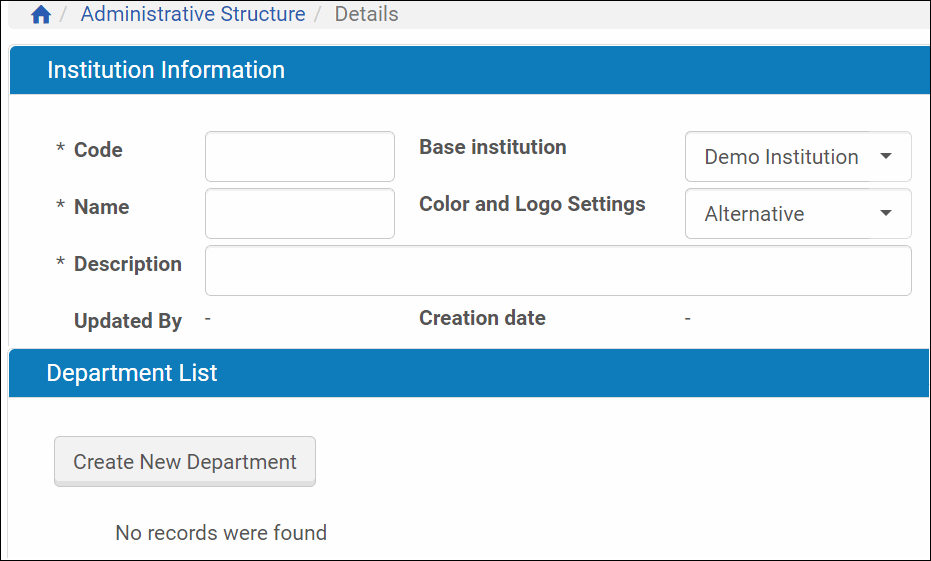
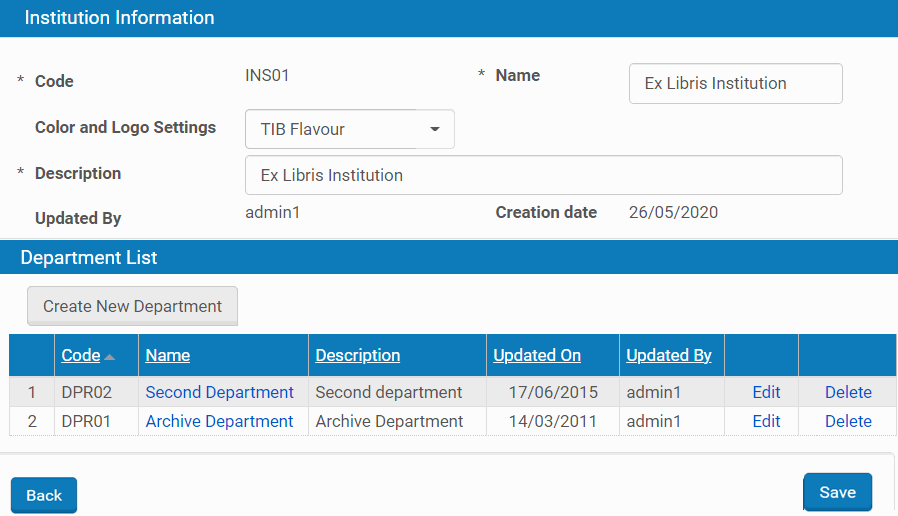
Institution Information Form/List of Departments
- Enter information in the Code, Name, and Description fields.
The code is any alphanumeric combination (but cannot start with a number) that has meaning within the context of your institution. It will also be used for identification purposes within the Rosetta system.
Institution Name value is limited to 50 characters.
- Select a Base institution from the drop-down list of existing institutions.
The base institution determines default settings for institution-level items like metadata profiles, SIP processing rules, and SIP routing rules.
- Click Create New Department.
Every institution must create at least one department before it can be saved to the database and included as a member of the consortium.
- Enter a Code, Name, and Description for the department and click Add.
The department information displays on the Department List section of the List of Departments page. - Add as many departments as you need for your institution.
- Click Save.
The new institution is displayed in the Institution List pane and is saved in the Rosetta system.
At the top of the list, Rosetta indicates your username and password for the new institution. This username and password is necessary to prevent your current user information from being shared with other institutions. To add users to your new institution, log out and log in again with the new username and password.
Updating an Institution
- On the Institution List page (see Viewing Institutions Within a Consortium), in the Institution List pane, locate the institution with which you want to work and click Edit.
The Department List page opens.
- In the Institution Information pane, modify the fields that you want to update.
- Click Save.
Configuring an Institution to Work With a Patron Directory Service
- On the Institution List page (see Viewing Institutions Within a Consortium), in the Institution List pane, locate the institution you want to configure for PDS and click the corresponding PDS text link. The Ex Libris PDS Configuration page opens.
- Fill out the PDS Configuration form and click Save & Continue to move through the remaining configuration pages.
Deleting an Institution
To delete an institution:
- On the Consortium Information page (see Viewing Institutions Within a Consortium), in the Institution List pane, locate the institution that you want to delete and click Delete. The confirmation page opens.
- Click OK.
Configuring Departments Within an Institution
- Viewing Departments Within an Institution
- Adding a New Department
- Updating a Department
- Deleting a Department
Viewing Departments Within an Institution
- On the Consortium List page (see Configuring a Consortium), in the Institution List pane, locate the institution with which you want to work and click Edit. The Institution List page opens.
- Locate the institution within which you want to view departments and click Edit. The Department List page opens.

Adding a New Department
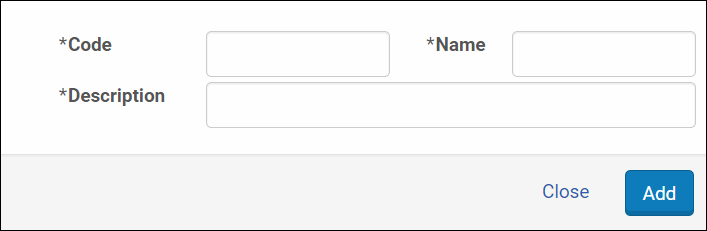
- On the Department List page (see Viewing Departments Within an Institution), click the Create New Department button.
A blank department form opens in a light box over the page.

New Department Form
- Enter information for all three required fields.
- Click Add.
The new department is displayed in the Department List pane and is saved in the Rosetta system.
Updating a Department
- On the Department List page (see Viewing Departments Within an Institution), in the Department List pane, locate the department you want to change and click Edit.
The department information displays in a light box over the page. - Modify the fields that you want to update.
- Click Save.
Deleting a Department
- On the Institution Information page (see Viewing Departments Within an Institution), in the Department List pane, locate the department that you want to delete and click Delete. The confirmation page opens.
- Click OK.
The department is deleted from the Rosetta system.
Remote Institution Monitoring
Member Institution Configuration
- Set the enable_remote_reports_user parameter (Admin UI > General > General Parameters) to true.
- Take the key from the remote_access_key parameter to enter in the consortium institution.
- Click Update.
Consortium Institution Configuration
- Set the remote_management parameter (Admin UI > General > General Parameters) to true.
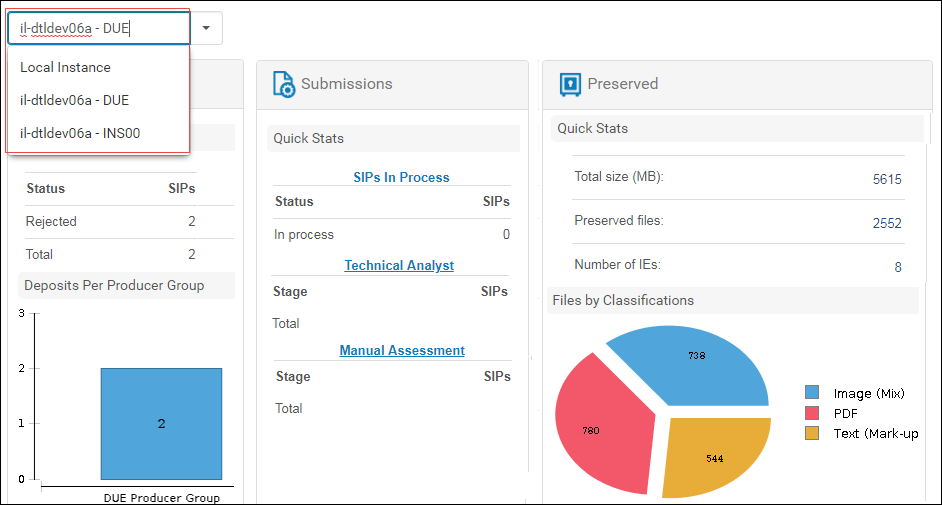
- Open the Remote Instances for Reports mapping table (Admin UI > General > Mapping Tables). The following appears:
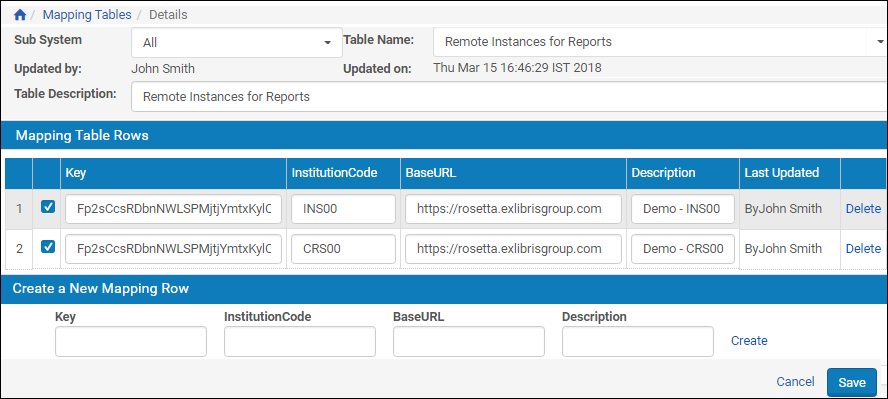
Remote Instances for Reports
- For each member institution for which you want to view reports, enter the key, institution code, base URL, and description.
- Click Save.
A drop-down list appears that allows you to display the reports provided by another instance that is not part of your consortia: