
How do I set up Patron Self-Registration?
- Product: Voyager
- Product Version: 7.2.1
Question
How do I configure Patron Self-Registration (PSR) for Tomcat WebVoyage?
Answer
- Set up Tomcat process
- Add or uncomment the following lines to /m1/shared/apache2/conf/ActivatedVirtualHosts/xxxdb_vwebv_httpd.conf (change xxxdb as needed)
JkMount /webvoyage ajp13_lb_xxxdb_PSR

JkMount /webvoyage/* ajp13_lb_xxxdb_PSR - Copy the contents of /m1/voyager/xxxdb/tomcat/PSR/conf/workers.properties.template into /m1/shared/apache2/conf/jk/workers.properties
Typically, use port xx33.
- Add or uncomment the following lines to /m1/shared/apache2/conf/ActivatedVirtualHosts/xxxdb_vwebv_httpd.conf (change xxxdb as needed)
- Set up voytomcat.ini file
- Verify that the OPAC service IP and port are correct in /m1/voyager/xxxdb/tomcat/PSR/context/webvoyage/ini/voytomcat.ini.
- Typically, the host will be localhost and the port would be 7000, but the server hostname or IP may be more appropriate.
- Make any additional customizations to remaining files.
- patron.xml: controls which form fields display on the page, and which ones are required
- patron.css: controls look and feel of the page
- patron.xsl: edit only if you have advanced changes you must make
- CLASSIC WEBVOYAGE ONLY: patron.html: controls page itself (headers, scripts, logo, etc.)
- Set Default Patron Group in System Administration > OPAC Configuration > Patron Self-Registration. Ensure patron group has permission for OPAC activities.
- Open the URL as defined in voytomcat.ini file.
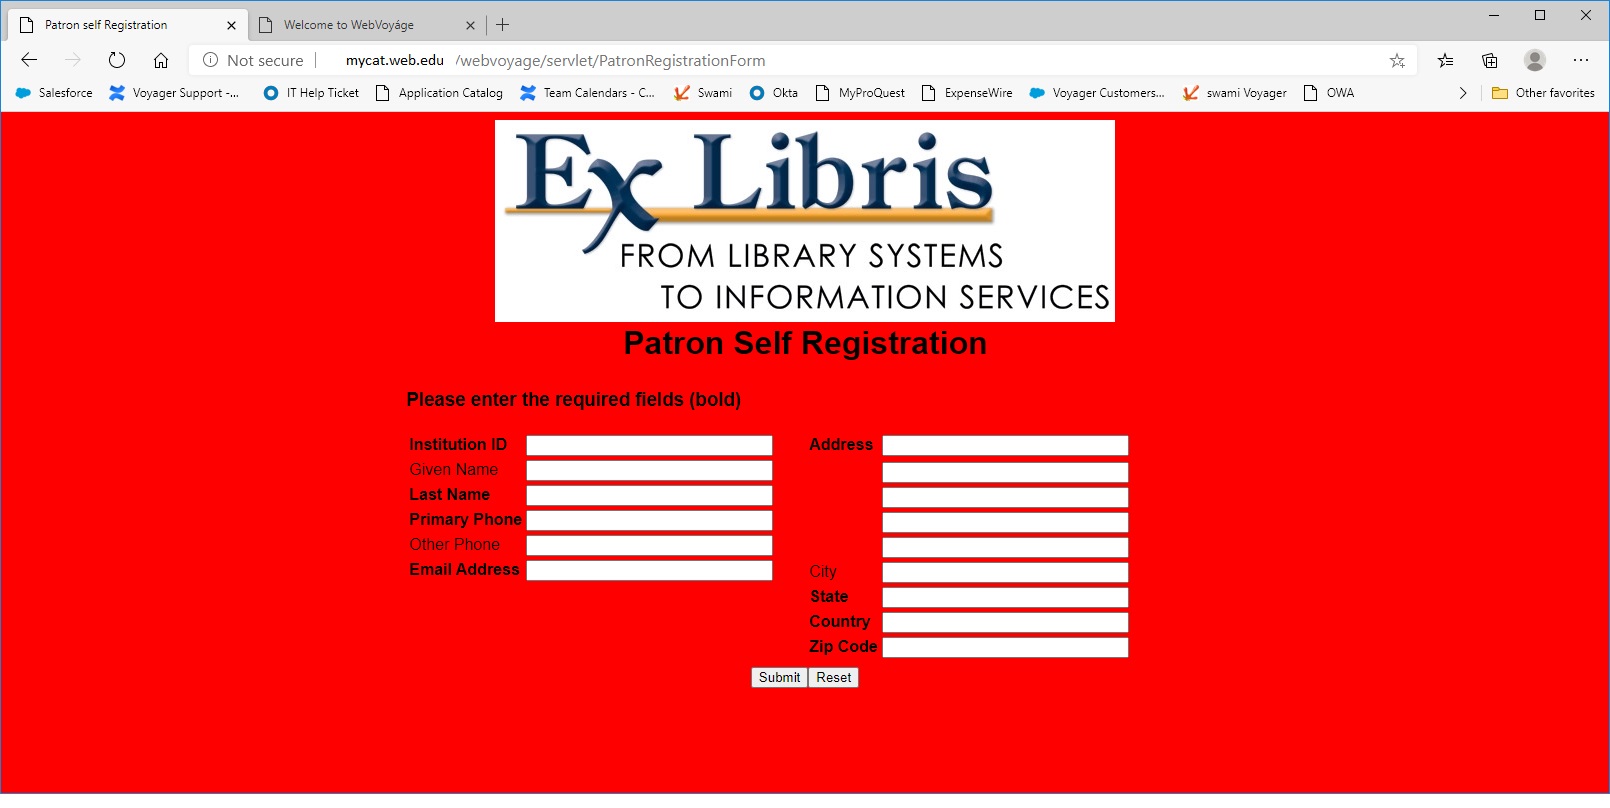
Example of Patron Self Registration screen (your screen may look different)
Additional Information
See Chapter 8 ("Patron Self-Registration") in the WebVoyage Architecture Overview and Configuration Modules guide for additional help on customization, as well as other important information about the Patron Self Registration process and configuration in System Administration.
Note that once a library patron inputs the required information, a patron record is created in the Voyager Circulation module for that person, but it does not include a barcode, and the patron status is set to "Other". Patrons will need to contact the Circulation Desk to have a barcode added. See: In Voyager Patron Self-Registration can the default patron status be set to "Active"?
Note that this Article assumes you are running Tomcat OPAC as your primary OPAC on port 80, and the Classic OPAC is not being used.
There is also a Patron RESTful Web Service, which allows a patron to self register, that is configured in Voyager System Administration > Web Services > Patron Self-Registration. See the Developer Network: https://developers.exlibrisgroup.com/voyager/apis/restfulwebservices/patron/ The RESTful service is available for Voyager 9.0 and later. A major difference between the PSR described in this article and the RESTful web service is the latter creates "Active" status patrons with "dummy" barcodes (the "dummy" barcode is a combination of the date and the patron ID code, e.g., "202010083977").
- Article last edited: 09-Sept-2020