
Google Developer Console Account Access
|
Create a New Account
Create a New Placeholder App
In the Google Play Console, create a new Placeholder App for campusM.
- Visit https://play.google.com/apps/publish and log in to your institution’s account.
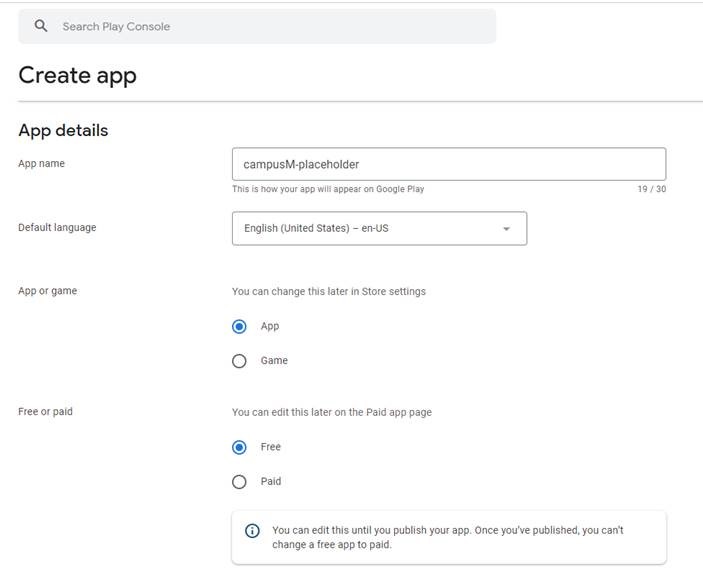
- Select Create app.

- Configure the parameters as follows:
- App name: campusM-placeholder
- App or game: App
- Free or paid: Free
- Select all options in the Declarations section.
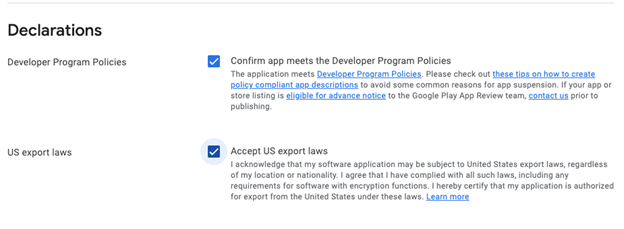
- Select Create App.
Grant Ex Libris Access to Your Google Play Developer Console
- Visit https://play.google.com/apps/publish and log in to your institution’s account.
- Search for "IAM" and then select the IAM option.

- Leave the Set access expiry date checkbox clear.
- Under Permissions, select Add app.

- Choose the campus-placeholder app.
- Select Apply. The permissions page displays:

- Set the permissions according to the image above.
- Select Apply.
- Select Invite User.
Access is granted to the Google Play developer console.
Google Cloud Project
Sign into the Cloud Console at Cloud Console Sign-In.
If you do not already have a Google Cloud Project, you must create a new project before granting Ex Libris access, as follows:
-
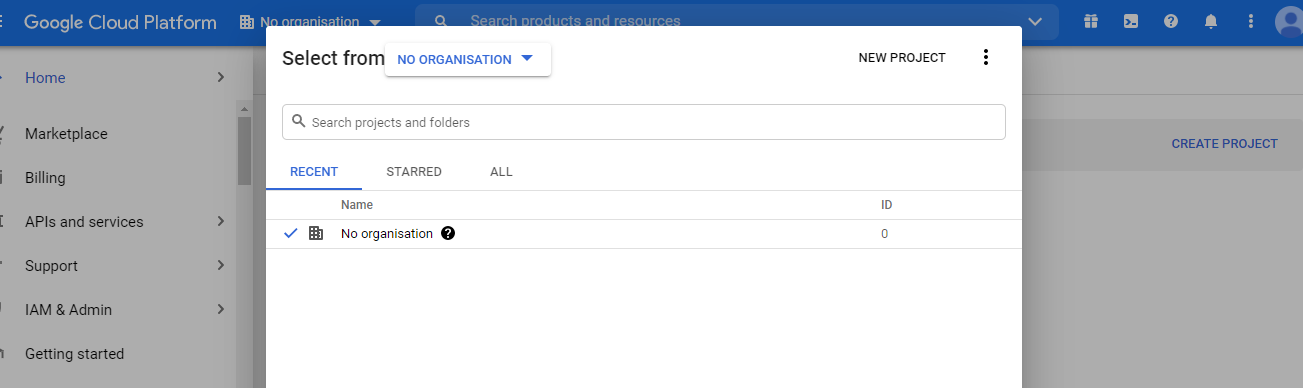
Navigate to Select a project in the header of the page, and in the resulting modal, select NEW PROJECT.
-
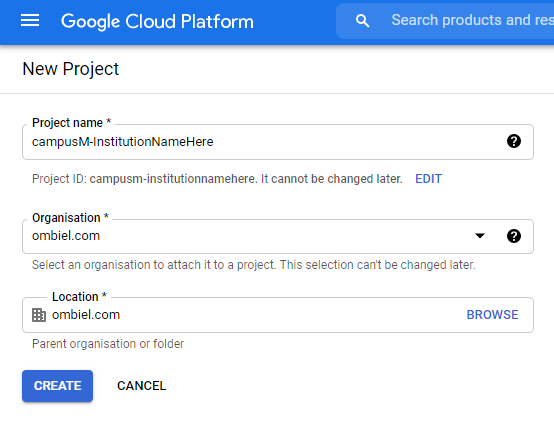
Enter a Project name e.g. campusM-InstitutionName and CREATE. Include the institution name or name abbreviation within the project name.
Grant Ex Libris Access to Your Google Cloud Project
-
Visit https://console.developers.google.com/apis/dashboard and log into your institution’s account.
-
Click to expand the menu, and then select IAM & Admin.
-
Navigate to IAM.

-
Select Grant Access.
-
In the Add Principals field, enter the campusM email address for your region:
Region campusM Store Authorized User (Email) APAC ExlibrisMobileAppsAPAC1@exlibrisgroup.com EMEA ExlibrisMobileAppsEMEA1@exlibrisgroup.com NA ExlibrisMobileAppsNA1@exlibrisgroup.com -
Configure the role to be Project > Owner.

-
Select Save.
Why Does Ex Libris Require Access to Your Google Cloud Project?
- Google Maps - Our native Android app integrates with the Google Maps API which requires access to Google Cloud.
- Push notifications - Our native Android app requires access to Google Cloud to enable GCM (Google Cloud messaging).
Providing Ex Libris with Your Google Developer Service Account
The Service Account is different from your Google Developer Account. It is created via the Google Cloud console, when logged in to your Google Developer Account.
- Log in to your Google Cloud Console (https://console.cloud.google.com).
- Enable the Google Play Android Developer API for the cloud project you've just created.

You are automatically redirected to the API/Service Details page.
- Select the Create Credentials button on the far right.

-
In the form that appears, under Select an API, select Google Play Android Developer API, and then select Application data as your data preference.

-
Select Next. The Create service account form opens.
-
Enter your preferred Display Name for the Service Account and add a brief description.

-
Select Create and Continue.
-
In the second step, assign a role to your account by clicking on the Select a Role dropdown menu. Add the following permissions:
-
Firebase Admin
-
API Keys Admin
-
Service Usage Admin
-
Owner
-
-
The IAM Condition and third step are not required, so you can skip them by clicking Continue and then Done. This brings you back to the main screen.
-
In the left panel, select the Credentials menu. You should now see your new Service Account listed, identified by its unique email address.

-
Copy the Service Account email for a later step.
-
In the Service Accounts section, select Manage Service Accounts.

-
When the context menu appears, select Manage Keys.

-
In the next window, select the Add Key button and choose Create New Key from the context menu.
-
In the popup window, select the recommended JSON key format and then select Create.

- Download the JSON file and provide it to campusM.
-
Go to the Google Play Console (https://play.google.com/console). On the Users and Permissions page, select Invite New Users.

-
Paste the Service Account email address you copied earlier into the provided space. Leave the Set access expiry date checkbox unchecked.

- Under Permissions, select Add app.

- Choose the campus-placeholder app.
- Select Apply. The permissions page displays:

- Set the permissions according to the image above.
- Select Apply.
- Select Invite User.
Congratulations! You've successfully completed the process. Your Service Account is now active and operational. Don’t forget to provide campusM with the JSON file you downloaded.
App Store Listing – Containing or Displaying Ads
On the Google Play Store, Android users will sometimes identify that customer's apps have the label "Contains Ads." campusM never shows advertisements within the product, and have no intention of doing so. However, this is necessitated by Google"s policy towards third party content and what it defines as an advertisement.
- Native ads: My app includes ads natively, indistinguishable from other content (e.g. sponsored articles, ads within a feed, etc).
- House ads: My app renders a small banner to promote my other apps.
- Banner and interstitial: My app integrates with an Ad SDK to show banners and/or interstitials.
This includes things such as Sports events promotion, promoting other Institutional products or portals, links to third party content such as the Olympics, etc. As such, by default, we include "contains ads."
Billing Requirement for Maps API
Google are rebranding their mapping technologies and adjusting the pricing structure for their use. As a result, campusM customers will need enable billing with a credit card against their Google Developer account by the 11th June 2018.
Google’s pricing table (https://cloud.google.com/maps-platform/pricing/sheet/) makes it clear that campusM customers will not be charged for the mobile maps that are used as part of our native apps. So there is no expectation that you will be required to pay anything additional to Google for campusM as a result of their new pricing structure. However, they are explicit about the need for billing against the developer account to keep it in good standing and enable the app to be available and up-gradable through the Play Store.
Google have provided a transition tool that will guide you through adding the required billing details to your account: https://mapsplatformtransition.withgoogle.com/
You will need your developer account login details and a payment method.
Note that all of the campusM mobile apps have a Google Maps Platform API key.
To find out more about the changes Google are making to their mapping platform please visit: https://cloud.google.com/maps-platform/user-guide/.