Best Practices Toolkit: Purging Users
What is it?
Directions for the process of creating a Purge User job to clean out your users if you have never done so in the past.
You should purge users periodically as part of your maintenance routines to clean up your instance of Alma. Inactive/expired users may also need to be regularly purged in order to comply with privacy legislation.
Why Purge Users?
- Keeping Alma clear of extraneous patron records is good for managing the system and can reduce potential errors.
Before You Start
Once the Purge Users Records job is initiated, there is no way to abort it. The job will run to completion and any users that fulfill the specified criteria will be deleted.
The Purge User job allows you to delete users in bulk from your Alma instance. The job will remove users whose purge date has passed. You can also delete users directly, but this is done for individual users.
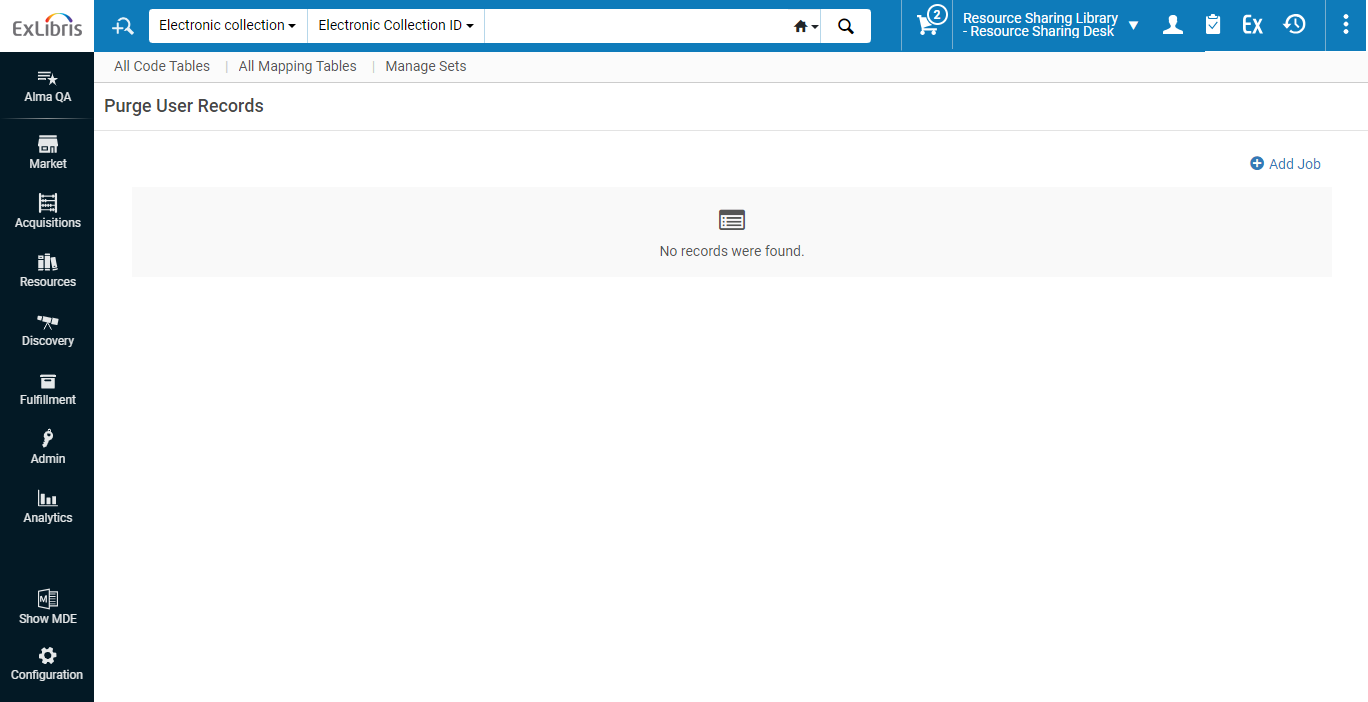
It is easy to see if you already have one or more Purge User jobs set up. To check if a Purge User job is already set up on your Alma instance, go to Admin > User Management > Purge User Records.
Things to Keep in Mind
Users will not be deleted if:
- They have a balance due on their account.
- They have outstanding loans.
- They have any assigned PO lines, POs, or invoices.
- They have any locked bibliographic records.
- They have any assigned import profiles.
- They are currently working in the MD Editor.
- The user record is currently locked by a running job.
- (If Esploro is enabled for your institution) they have associated assets or grants.
Purging Users
Before setting up the Purge User job, you should check their settings in the Delete User Policy: Alma Config > User Management > General > Delete User Policy. The option you select will impact what data is kept for Alma Analytics.
The purge users job does not delete users with Resource Sharing requests that are on the Hold shelf.

Unless you select Fully Remove, the patron’s statistical information will be retained in Analytics.
The Purge User job is set up by going to Admin > User Management > Purge User Records > Add Job.
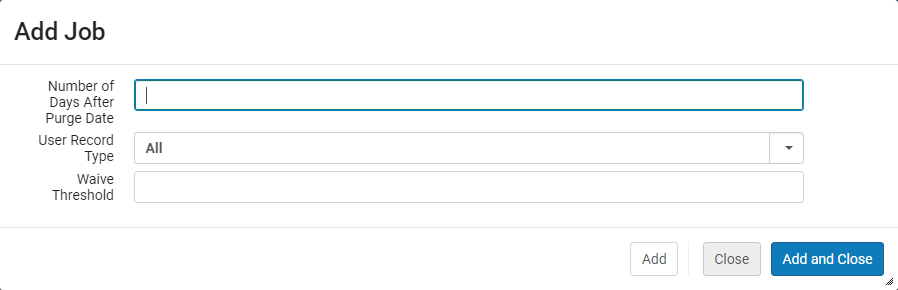
Here, you need to fill in four different fields to set up the job.
| Number of Days After Purge Date | This applies a grace period to the user’s purge data. The default is 0. Users without a purge date do not get purged by the job. |
| User Record Type | Limit the job to specific record types. |
| User Group | Limit the job to specific user groups. |
| Waive Threshold | Set the amount owed by users that is ignored when purging. Users owing more than this amount aren’t purged. The default is 0. |
Once the job is set up, you can monitor the progress/process the same way you would any other regular job in Alma (Admin > Monitor Jobs).
Ongoing Best Practices
It is recommended you set up different purge jobs for different patron groups (i.e. undergrads, grads, etc.).
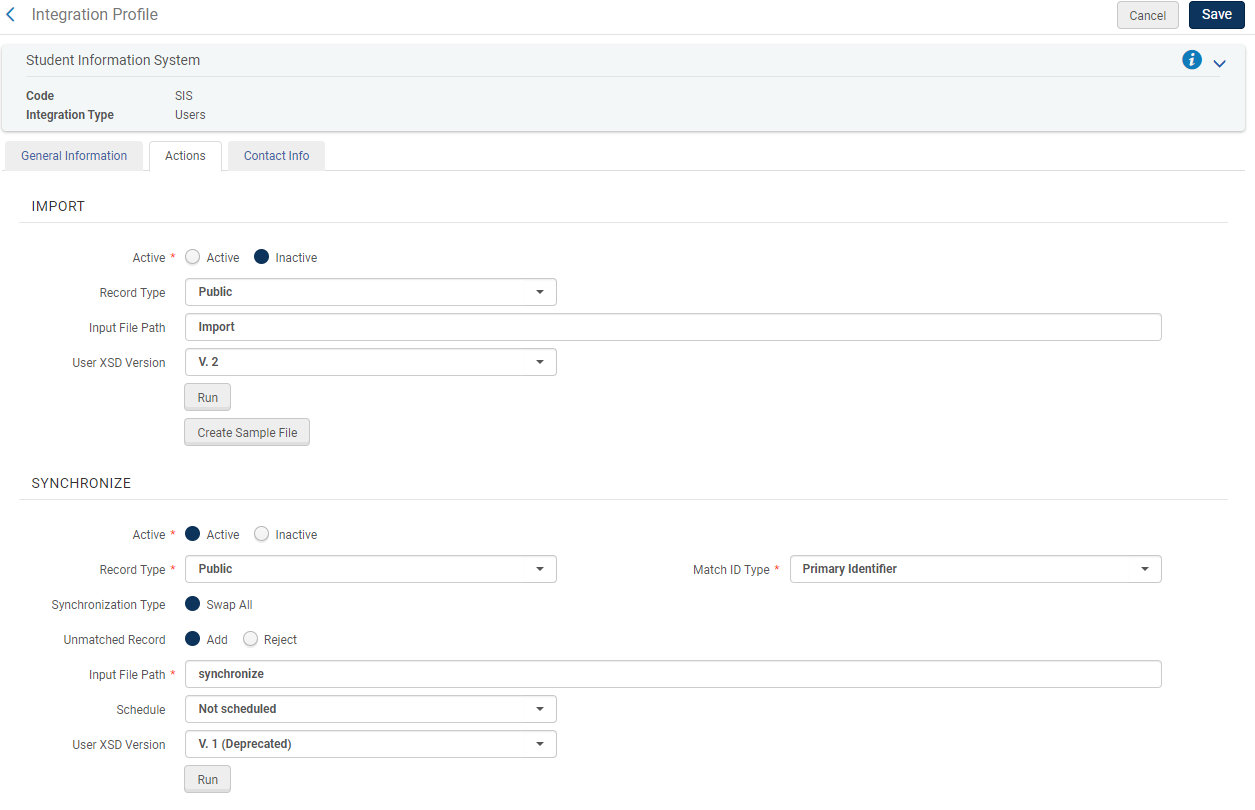
Check the Student Information System (SIS) Integration Profile (Alma Config > General > Integration Profiles).
Under the Actions tab, the Synchronize portion should be active, and Import should be inactive. After the initial load, the Import part of the profile is no longer needed. It shouldn't hurt anything to have both Import and Synchronize on, but you may want to turn Import off as it is unnecessary.