
Working with Organizational Units
- Organizations Manager
This page describes how to manage Organizational Units in Esploro for your institution.
For information about managing the organizational affiliations of the organization's researchers, see Working with Researchers.
Watch the Organizational Units video (4:04).
Viewing Organizational Units
To access the Organizational Unit hierarchy, navigate to Research Management > Organization > Manage Organizational Units.
Select the arrow ( ) beside a unit in the hierarchy to drill down and view its sub-units.
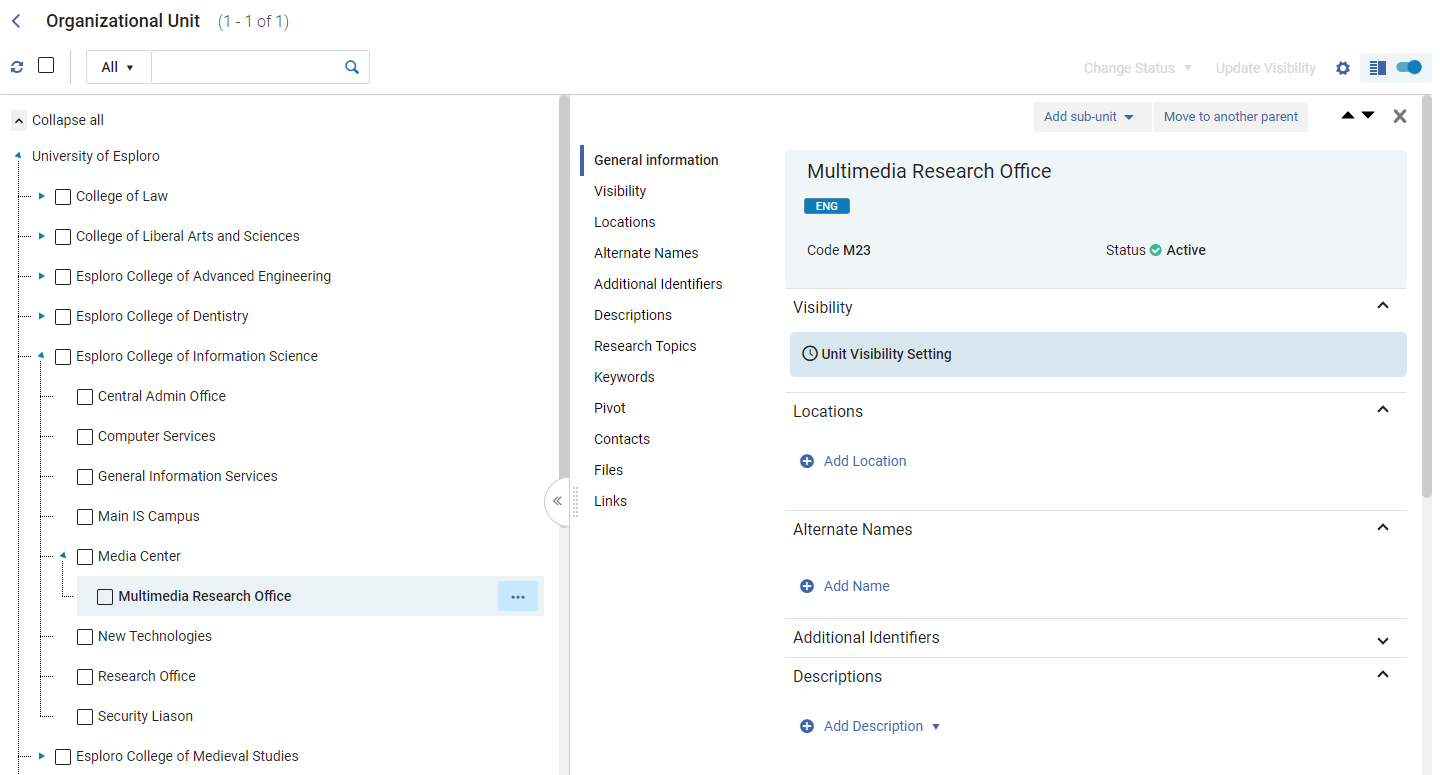
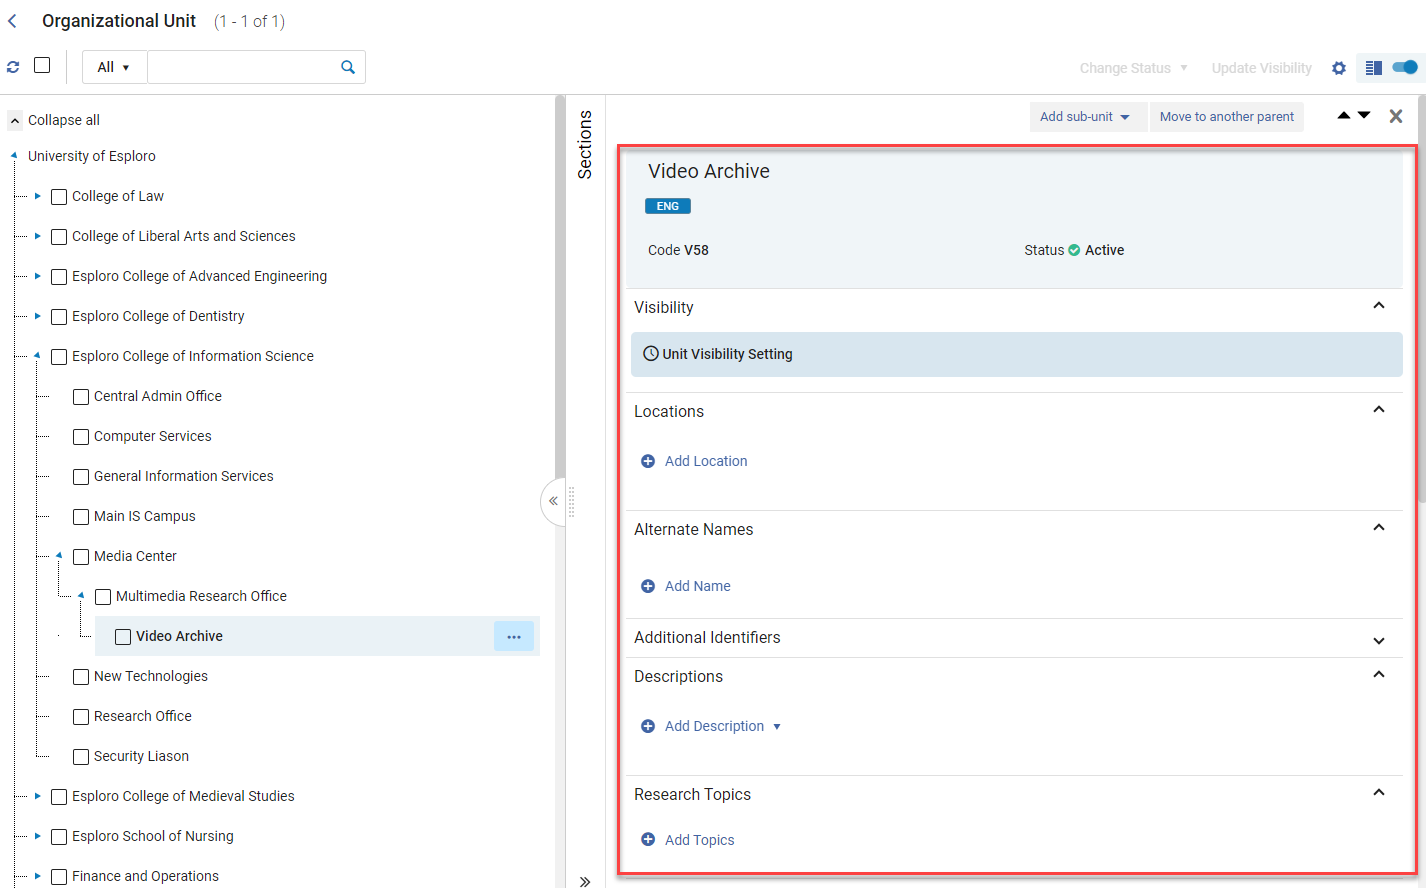
Select the name of a unit in the hierarchy to open its properties in the Details pane and to make its row actions accessible. If you are in split-screen view, the Details pane opens beside the Organizational Units tree. Otherwise, it opens in place of the Organizational Units tree.
Adding Sub-units
You can add sub-units to any unit in the Organizational Unit tree. The tree supports up to six levels.
- In the Organizational Unit tree, select the unit to which you want to add the sub-unit.
- From the row actions menu on either side of the split screen, select Add sub-unit. A New sub-unit dialog box opens.
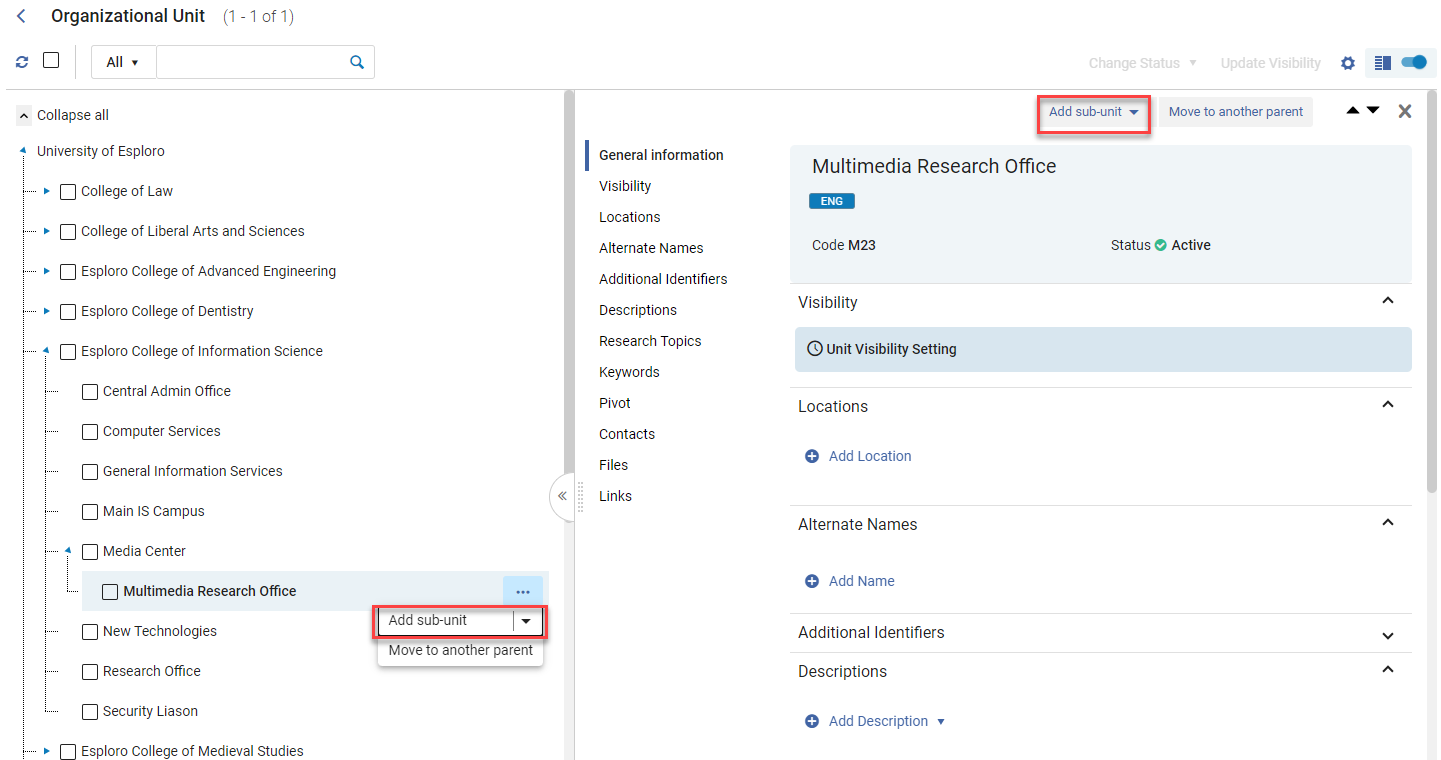 Add Sub-unit Option
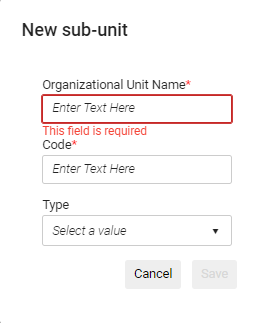 New Sub-Unit Dialog Box
 - Enter a name and code for the new unit, and, optionally, select a type. For information about configuring the list of types, see Configuring Organizational Unit Types, below.
- Select Save. The new sub-unit is added to the Organizational Unit tree.
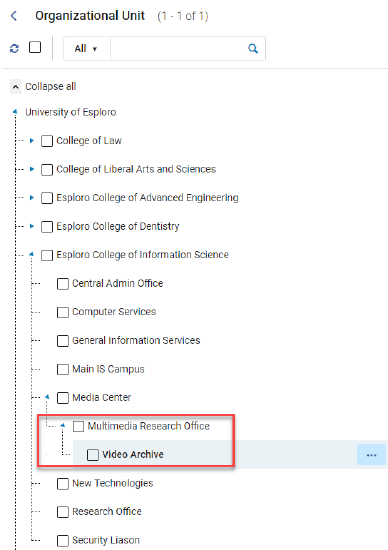 Sub-unit Added to Hierarchy
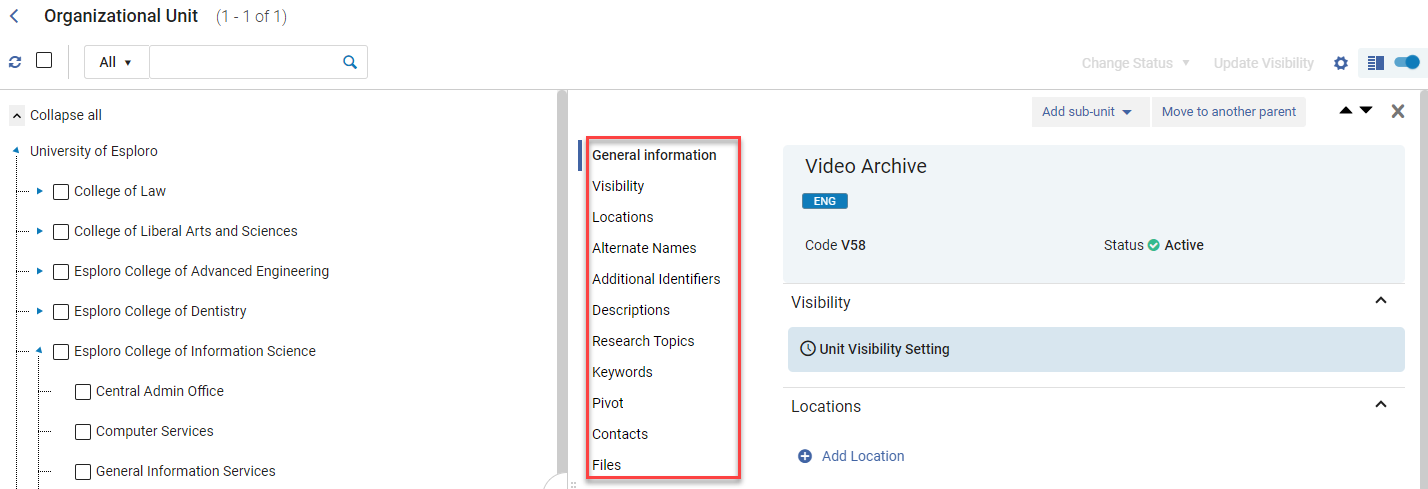
Organizational Unit Sections
When the properties of the selected unit are open in the Details pane, they are divided into sections, and the Sections menu for the selected unit appears beside them. (If the menu is collapsed, as in the first illustration below, select  to expand it.)
Viewing and Editing the Contents of the Sections
You can navigate between sections in the Details pane in one of the following ways:
- Drag the scroll bar up or down.
- In the Sections menu, select the section you want to view.
Editing a Section
You can edit a section by selecting the section and then selecting the Edit icon in the section. Select Save when you have finished editing the section.
![]()
Fields that Support Multiple Languages
Some fields allow you to add text in multiple languages. These fields have language controls above them.
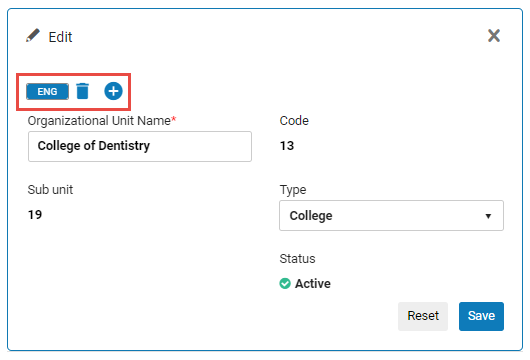
The languages for which text has been entered in the field appear as a series of icons. The selected language icon (e.g., ![]() ) indicates the current language. Select a different language icon to see the text in that language.
) indicates the current language. Select a different language icon to see the text in that language.
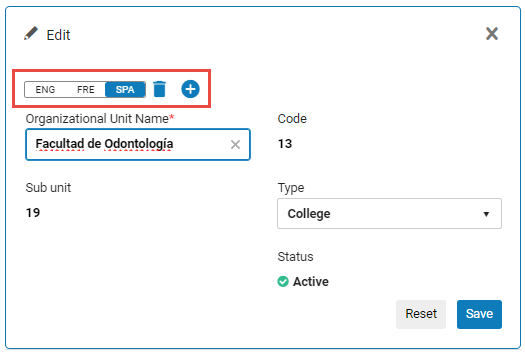
Select  to add additional languages and enter text in those languages.
Configuring the Settings in the Organizational Unit Sections
The following sections can appear for Organizational Units. If you do not see a section, it may be hidden. See Hiding and Reordering Information for Research Management for more information.
Multiple entries can be added for all sections, except for the General Information and Pivot sections.
General Information Section
The General information section manages the basic information for the unit.
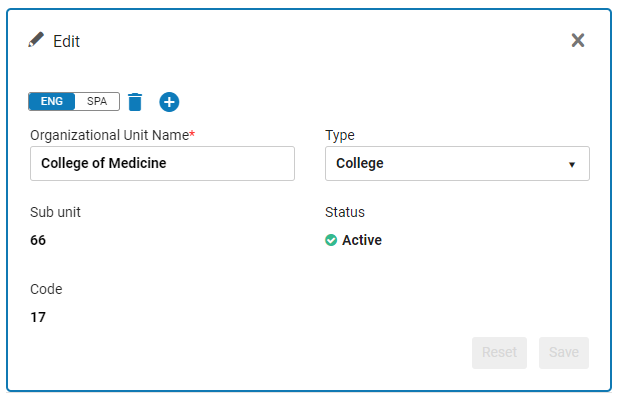
The following fields and options exist for the General Information section:
- Organizational Unit Name - The name of the Organizational Unit. Note that the name can be translated into multiple languages (see Fields that Support Multiple Languages, above).
- Code - Defined when creating a sub-unit.
- Type - These are configurable - see Configuring Organizational Unit Types.
- Status - Active/Inactive status displays but cannot be updated here (see Activating/Deactivating Organizational Units to see how to update). Inactive units are not available for use in Researchers, Output, Projects, etc.
- Sub unit - The number of sub-units under this Organizational Unit.
- Save - Save the settings and exit the section.
- Reset - Revert to the original options before editing.
Visibility Section
This section controls visibility of the Organizational Units in the portal.
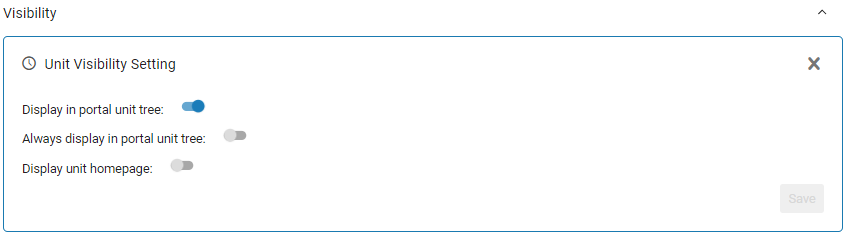
Display in portal unit tree — Display the Organizational Unit in the portal tree only when the unit has related assets or profiles. See Profile Search Results for more information.
Always display in portal unit tree — Always display the Organizational Unit in the tree, even when the unit has no related assets or profiles.
Display unit homepage — Control whether the homepage for this unit will display or not; see Configuring the Organizational Unit's Homepage, below.
The visibility fields can also be updated in bulk from the Organizational Unit tree; see Bulk Visibility Updates to Organizational Units, below.
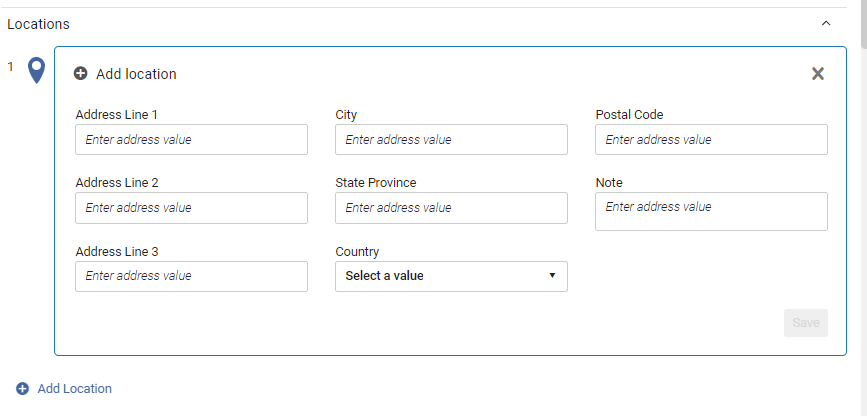
Locations Section
In this section, you can add location information for the unit. Multiple locations can be added.
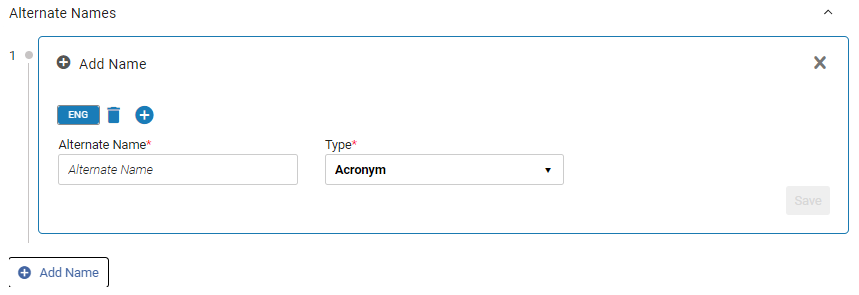
Alternate Names Section
Add alternate names for the Organizational Unit: acronyms, alternative names, and previous names. If acronyms are added, the first one is displayed in the General Information section. Note that the names can be translated into multiple languages (see Fields that Support Multiple Languages, above).
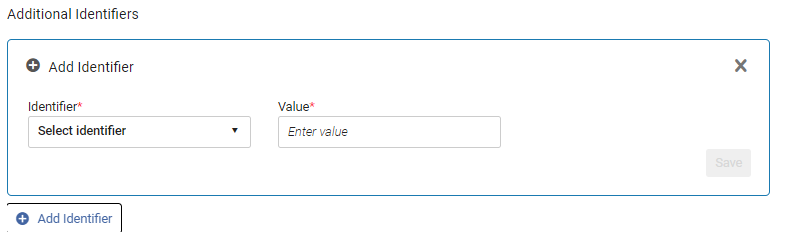
Additional Identifiers Section
Add additional identifiers, in addition to the Organizational Unit code.
Descriptions Section
Add descriptions - Banner, General, Detailed, and/or Other - for the Organizational Unit. Descriptions can be translated into multiple languages (see Fields that Support Multiple Languages, above).

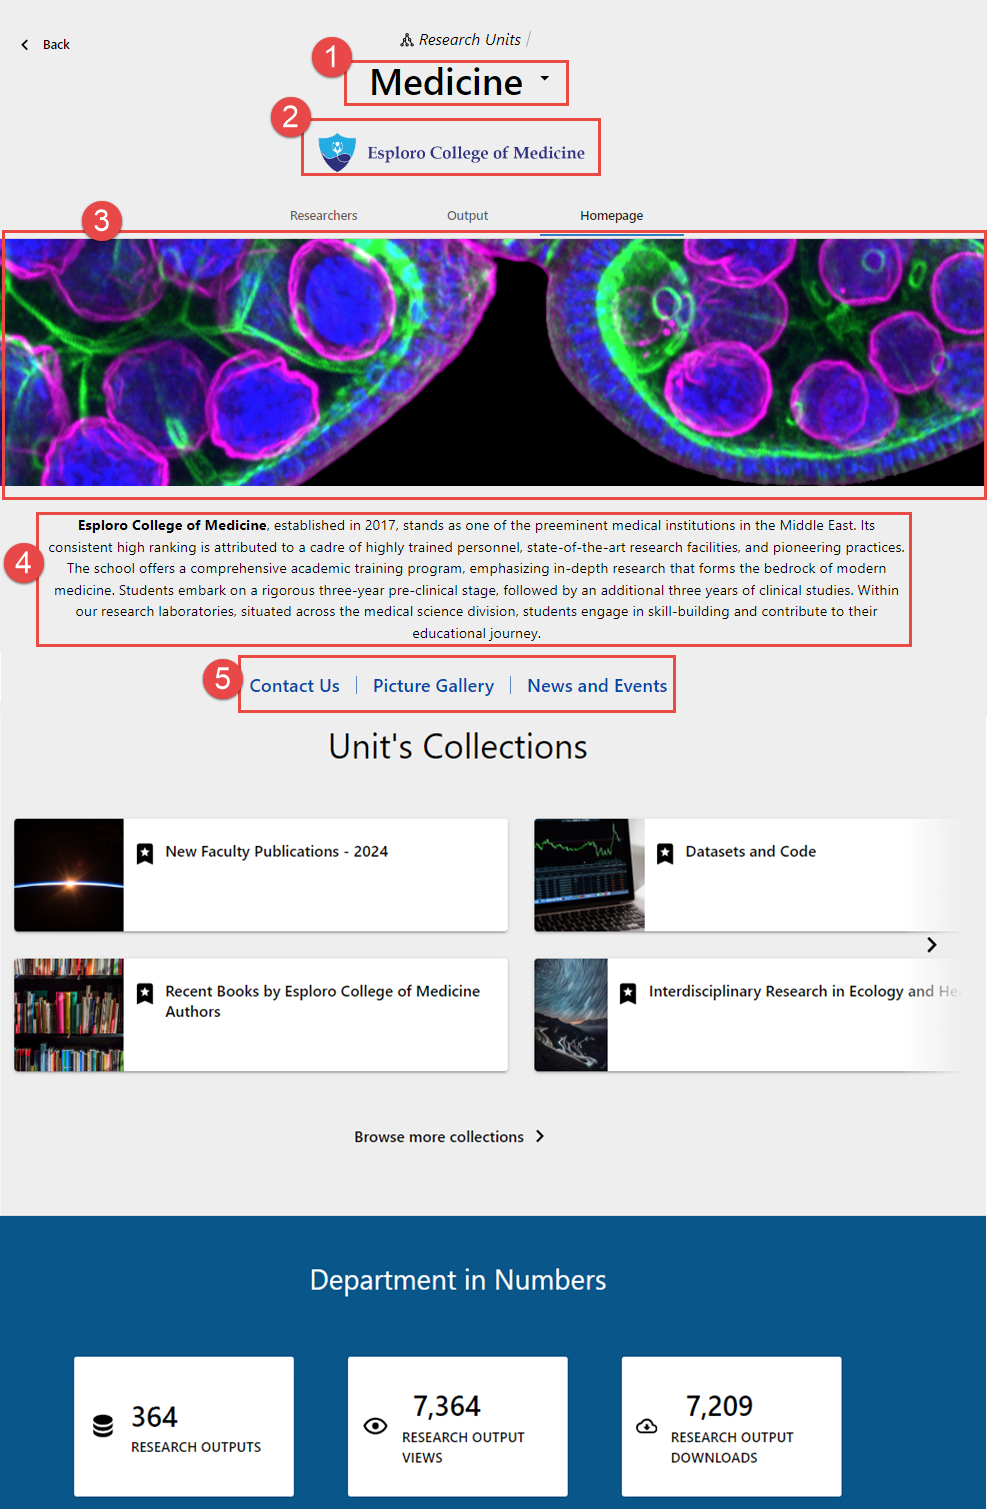
The descriptions are handled as follows:
- The Banner description is displayed in the Portal below the name of the Organizational Unit in the header section of the page (#1 in the illustration below).
- If the unit has a homepage in the Portal (see Configuring the Unit's Homepage, below), the General description is displayed there (#2 in the illustration below).
- Detailed and Other descriptions are only displayed in the Hub.

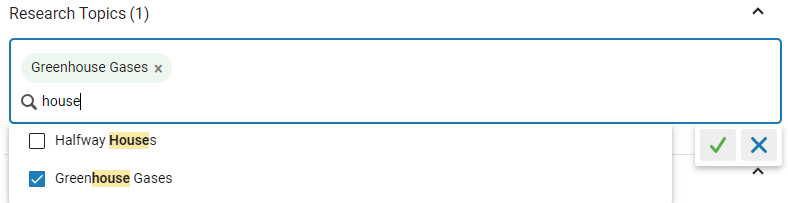
Research Topics Section
Attach research topics to the Organizational Unit by selecting them from a predefined list of research topics. The list is not configurable.
Keywords Section
Add keywords to the Organizational Unit. Keywords are free-text terms describing the unit's focus and activities. They can be added in multiple languages (see Fields that Support Multiple Languages, above).
- Select Add Keywords.
- In the text box, type a keyword.
 Text Box for Adding Keywords
 - Select the checkbox of the keyword you typed. The keyword is added above the typing area.
 New Keyword Added Above the Typing Area
 - When you have finished adding keywords, select the Save button (
 ).
).
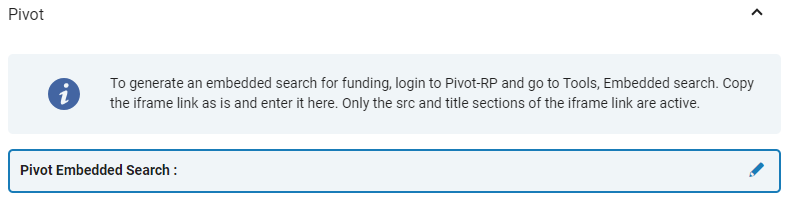
Pivot Section
You can embed a Pivot-curated search that has been created for the Organizational Unit.
Contacts Section
Add a contact/s to the Organizational Unit.
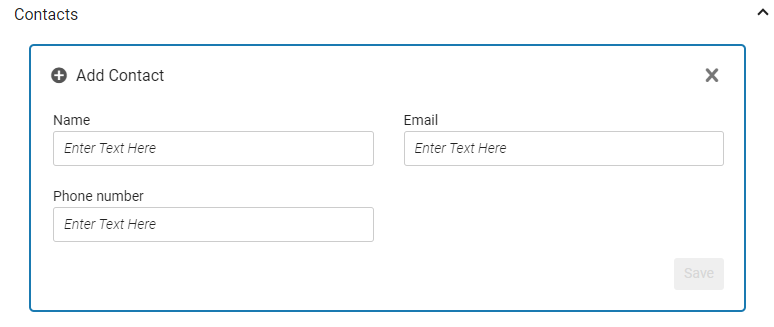
None of the fields are mandatory. At least one field, however, must be entered in order to save a contact.
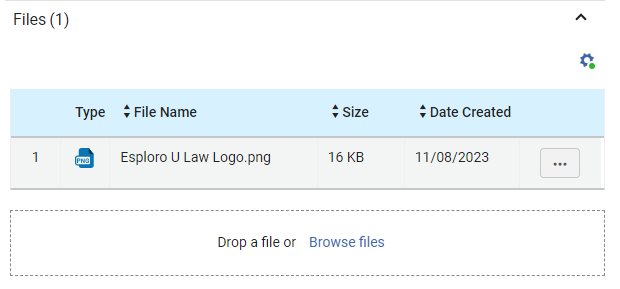
Files Section
In this section, you can add files to the Organizational Unit. After you upload a file, if you mark it as a logo or a gallery image, and the unit has a homepage, it may appear in the homepage; see Configuring the Unit's Homepage, below. All other files that are added in this section are saved here in the unit's settings, but are not visible in the portal.

- In the Files section, either drag and drop the file into the Drop a file or Browse files box, or select Browse files to navigate to the file and select it. The file is added to the database.
If you just want to store the file with the Organizational Unit, you do not have to do anything else, although you may wish to continue to the next steps in order to configure some additional settings for the file. If you want the file to be used as the unit's logo or gallery image, you must configure some of these settings, as explained below. - In the file's row actions, select Edit. The file's settings open below its row.
- Fill in the fields as follows (all fields are optional):
- Display Name – Enter text to display instead of the file name in the file settings here in the File section.
- Content Type – Select Logo to use the file as the logo for the Organizational Unit, or Gallery to use it as the gallery image of the unit (see Configuring the Unit's Homepage, below).
- Access rights policy – Not currently in use.
- Descriptions – Enter a description of the file. For gallery images, this text is used as alt-text (see Configuring the Unit's Homepage, below).
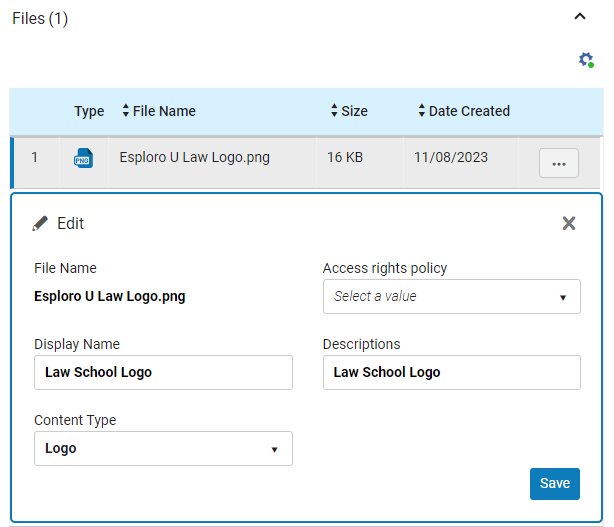
- Select Save.
Links Section
In this section, you can add links to the Organizational Unit.
Handling of Links
The handling of the links depends on their Content type, as follows:
- Banner links appear in the Portal in the header section of the page, below the name (and optional banner) of the Organizational Unit.
- Homepage links appear in the unit's homepage in the portal, if the unit has a homepage; see Configuring the Unit's Homepage, below.
- Links of any other content types are saved here in the unit's settings, but are not visible in the portal.

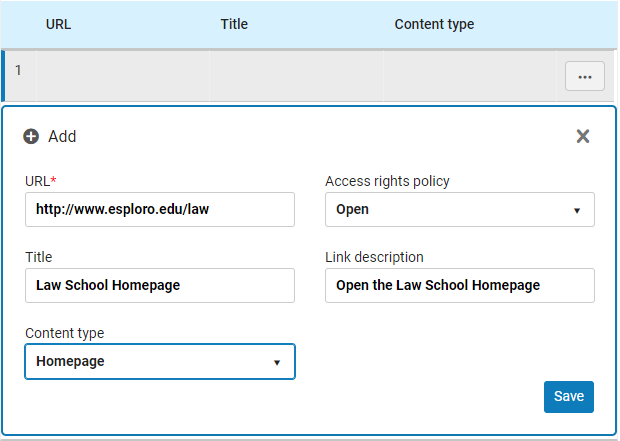
Adding a Link
Enter the URL (mandatory) and then add the following information as needed.
- Title - Enter the text of the link. For homepage links, if a Title is defined in the link settings, it is used in the portal as the link text. If it is not defined, the link URL appears.
- Content type - Select the type of content for the link (see above).
- Access rights policy - Select the policy as either Open (visible on the profile) or Closed (not visible on the profile).
- Link description - Add a description for the link.
Performing Actions on Organizational Units
You can move, activate, deactivate, and modify the visibility settings of Organizational Units. If an Organizational Unit has no associations with other entities in the system, you can delete it.
Moving Organizational Units
You can move an Organizational Unit to a different location in the hierarchy.
You cannot move an activated unit to a deactivated unit (see Activation/Deactivation of Organizational Units, below).
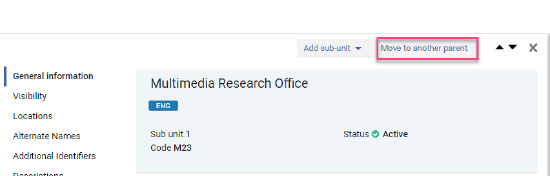
- Select the unit, and then select Move to another parent from the row actions menu.
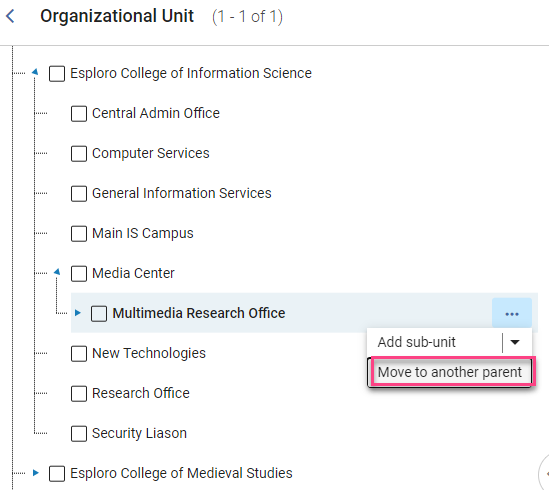
The Move to another parent option is also available in the details pane.
- Select the required parent to move to and then select Confirm. Note that you must enter a full word in order to see a list of options from which you can choose the required parent.
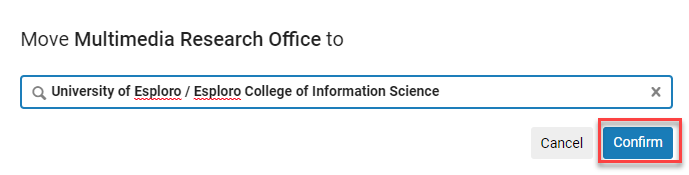
- Select the new parent unit, and then select Confirm. The Organizational Unit is moved to the new location.
Activating and Deactivating of Organizational Units
You can activate or deactivate one or more Organizational Units in one action.
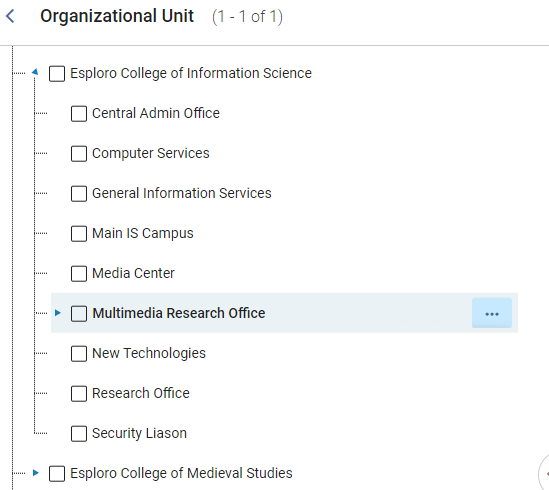
- Select the checkboxes next to the relevant units. If you select a parent unit, the status change is applied to all of its child units, but you can clear the checkboxes of child units as required before implementing the status change.
- In the Change Status dropdown list, select the status you want to apply to the selected units. A confirmation message appears.
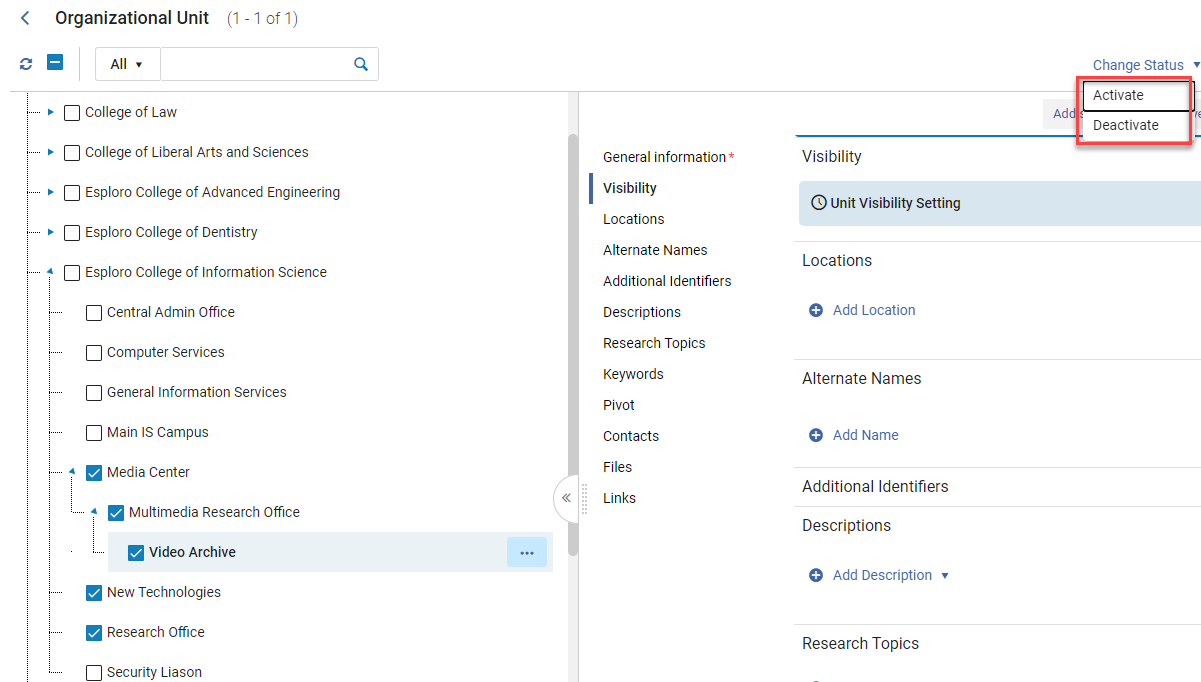
- In the confirmation message, select Activate/Deactivate. The statuses of the selected units are updated.
Bulk Visibility Updates to Organizational Units
You can update the visibility setting of multiple Organizational Units in one action.
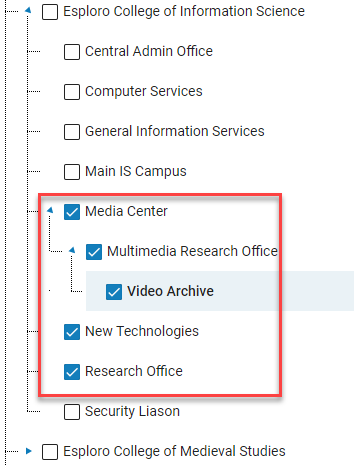
- Select the checkboxes next to the relevant units. If you select a parent unit, the status change is applied to all of its child units, but you can clear the checkboxes of child units as required before implementing the status change.
 Selected Organizational Units
 - Above the Organizational Unit tree, select Update Visibility. The Update Visibility dialog box opens.
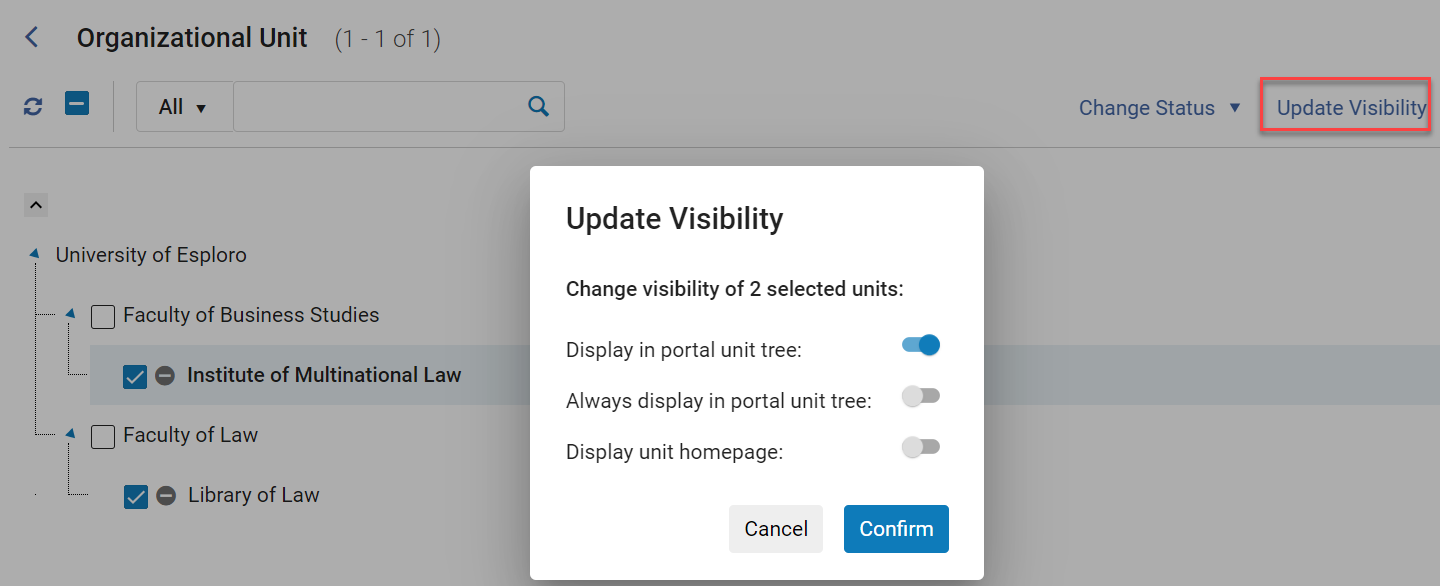 Update Visibility Dialog Box Open After Update Visibility Is Selected
 - Select the relevant visibility setting. For more information on visibility settings, see Visibility, above.
- Select Confirm. The visibility settings of the selected Organizational Units are updated.
Deleting Organizational Units
Organizational units that have no associations to other entities in the system can be deleted. Associations that prevent an Organizational Unit from being deleted are: assets, media mentions, projects, grants, activities, research resources, researchers, or sub-units.
- In the Organizational Unit tree, select the unit. If it can be deleted, a Delete button appears at the top of the Details pane.

- Select Delete, and then, in the confirmation message, select Confirm. The unit is deleted.
Configuring Organizational Unit Types
You can configure Organizational Unit types at Configuration > Research Administration > Organizations > Organizational Unit Types.
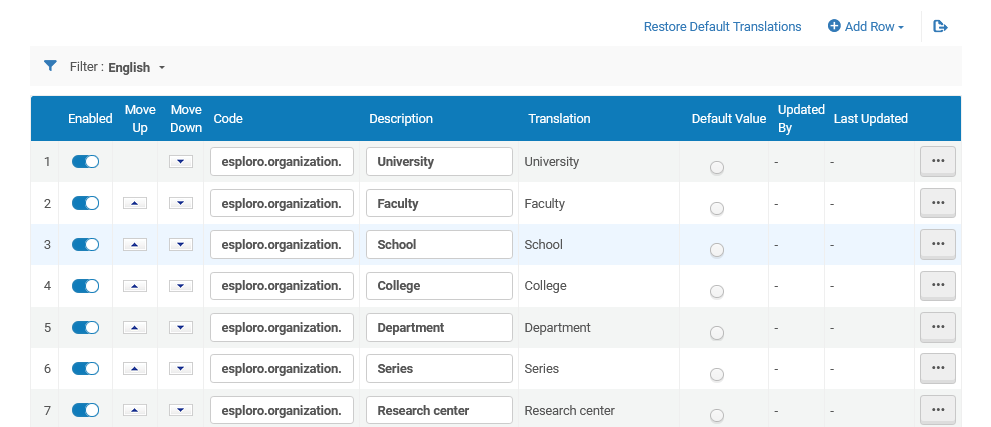
You can add, edit, delete, enable or disable types. You can select the default type and reorder them. Select Save after making updates.
The changes made on this page impact how the types display in the dropdown list when adding or editing an Organizational Unit or an external research organization (see Adding Sub Units).
The predefined unit types are:
- University
- Faculty
- School
- College
- Department
- Other
- Research center
- Library
- Administration
- Service
- Institute
Configuring an Organizational Unit's Homepage
Some of the settings in these sections affect the configuration of the Organizational Unit's homepage in the portal.
A homepage appears in the Homepage tab of the Organizational Unit in the portal if the following conditions are met:
- In the Organizational Unit's settings, under Visibility, Display unit homepage is selected; see Visibility Section, above. Note that visibility is controlled per unit.
- In the Research Portal configuration page, in the Organizational Unit Tree tab, the Homepage tab is Active; see Configuring the Research Portal. Note that this setting is global – it affects all units and the display in general in the portal's Organizational Units page. If the tab is deactivated, no homepages will display. In addition, if the Unit's Collections and/or Department in Numbers sections are activated for the Homepage tab in the configuration page, they appear in the Homepage tabs of all units (as in the illustration below).
- Organization Unit Name – Configured in the General information section.
- Logo image – If you add a file in the Files section, and mark it as a logo file there, it is displayed in the unit's homepage in the portal.
For best results, it is recommended to use common image formats, such as JPEG or PNG. No minimum or maximum file sizes are defined, but for best results, the logo file should not be larger than about 500 KB.
The name of the unit, followed by the word "logo," is read as alt-text (for accessibility) for the logo in the homepage.
If you mark multiple files as logo files, the last file that was marked as a logo file is displayed in the unit's homepage. Logo files that were added previously in the Files section are saved in the unit's settings, but are not visible in the portal. - Gallery image – If you add a file in the Files section, and mark it as a gallery file there, it is displayed in the unit's homepage in the portal.
For best results, it is recommended to use common image formats, such as JPEG or PNG. No minimum or maximum file sizes are defined, but for best results, the gallery file should be between 100 KB and 2 MB. The gallery image is displayed at full width, with an aspect ratio of 7.5:1, so a landscape-oriented image should be used.
The contents of the file's Descriptions field is read as alt-text (for accessibility) for the gallery image in the homepage.If you mark multiple files as gallery files, the last file that was marked as a gallery file is displayed in the unit's homepage. Gallery files that were added previously in the Files section are saved in the unit's settings, but are not visible in the portal.
- Description – If you add a General description in the Descriptions section, it is displayed in the unit's homepage in the portal.
- Links – If you add a link in the Links section, and in its Content type field, select Homepage, it appears in the unit's homepage in the portal. If you add multiple homepage links, they are all included in the homepage.