Browse Search
A browse search returns an alphabetical list (based on the type of browse selected and the search terms specified by the user), whose entries return a list of related records.
To implement this functionality, you must configure and enable at least one type of browse list, which the system uses to determine the scope of the search. Although the system uses browse lists instead of search scopes to perform the search, you must have a scope code that has the same name as the institution for which you are enabling the Browse functionality. If you do not already have a scope for the institution, you must create one. Note that the system automatically creates this scope when a new institution is created. The active institution is always the institution to which the view belongs.
If you have a multi-institution view that belongs to a central institution, you can ensure that the central institution is linked to all of the browse entries by creating a browse list that combines all of the institutions. For more information, see Configuring a Cross-Institutional View.
The system creates browse lists per institution from the Browse section of the PNX during the normalization stage of the pipe. For more information on the Browse section and the normalization rules, refer to Configuring the Normalization Rules.
Additional space may be required in order to create indexes for each browse list. For more information, refer to Check Browse Readiness Script.
In order to use the Browse searches, you may need to configure a redirect rule for the Primo X-services realm. For more information, see Verify Primo X-Services Test.
The Browse Search Interface
If a browse list is active for the view, the Front End displays the Browse Search link in the Main menu. When a user clicks the link, the Browse Search Page opens and displays the Browse Search tile, which includes a drop-down list containing the Browse lists (such as Subject) that have been enabled.

Browse Search Link
To start a browse search, users must select a browse list and enter a search query in the search box. In the following example, the user has performed a search in the By title browse list:
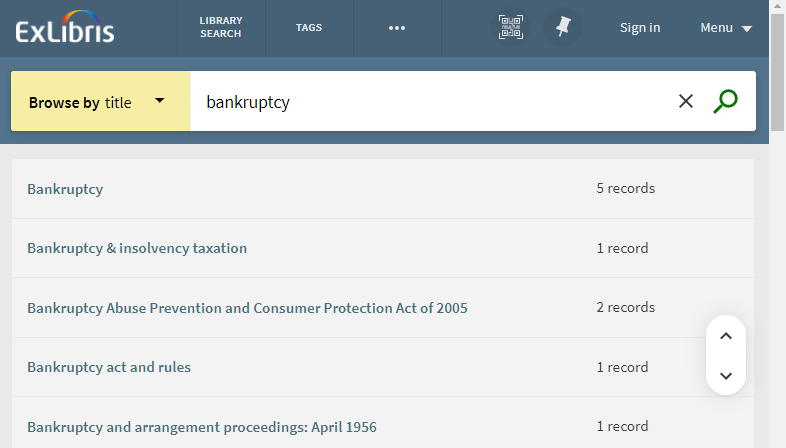
Browse Search Page
For Primo cloud institutions, the maximum number of viewable records is limited to 2000 for each item in the results list. For example, if an item in the above example contained 3000 records, paging beyond its first 2000 records would be blocked.
The Headings Results List
Browse searches that use the author, title, and subject browse lists return a list of headings and the number of linked PNX records, which display in the brief results page format and include facets. Users can click the headings to display a list of the linked PNX records.
If the necessary additional data is included in the harvested records from the PNX, the list of headings may also include cross-references (as shown in the figure below) and subject authority type. For more information, see Additional Data Needed from the ILS.
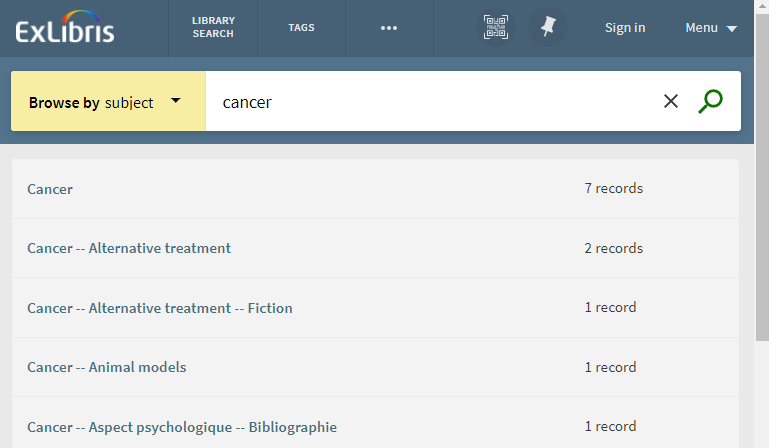
Headings Results with Cross-References
Browse and FRBR
The headings browse list (authors, title and subjects) display a list of headings. The number that displays next to heading is the number of records that contain the heading. When the user clicks on the heading, the system displays the linked PNX records on the Brief Results page. This is done by running a regular search for the heading. As in any other results list, the system displays facets for the records in the set and it also groups the records based on FRBR. This means that the number of records that display may not match the number of records because the system displays only the preferred record and a link to the other records in the FRBR group. Also note that some of the records in a FRBR record may not contain the heading that was invoked.
Call Number Results List
A search for call numbers lists the PNX records in tabular format, with the call number displaying in the first column. Clicking the title opens the PNX record in full display.
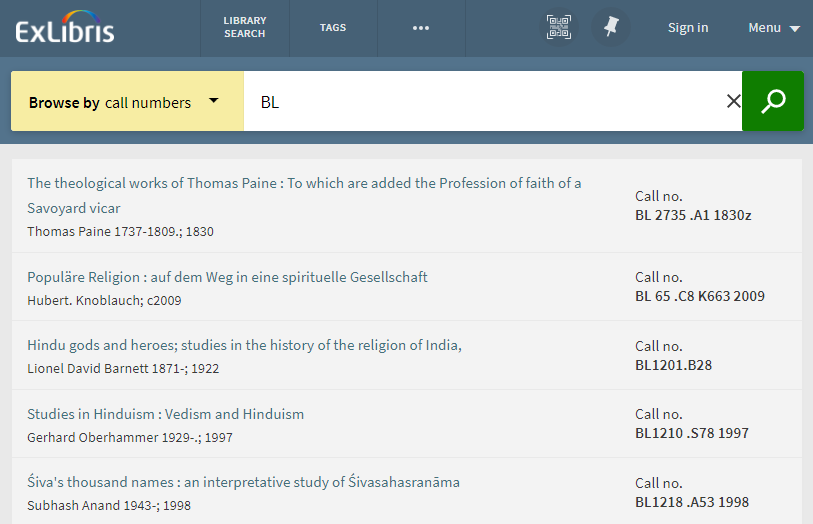
Call Number Results
Back Office Configuration
The following sections describe how to configure the following aspects of the Browse page:
For new installations, the author, title, and subject browse lists are enabled by default. Because institutions have different call number types, call number lists are not enabled by default.
Enabling Browse Lists
The Browse Lists mapping table in the Frontend subsystem configures the following aspects of the Browse feature:
-
Activate browse lists. You must configure at least one browse list in order to display the Browse page in the Front End. This can be defined per institution and view.
-
Define default sort order for the list of PNX records that are linked to a heading.
-
Define the call number sort procedure that the system uses to normalize the call numbers browse list.
-
Define the order of lists in the Browse drop-down field.
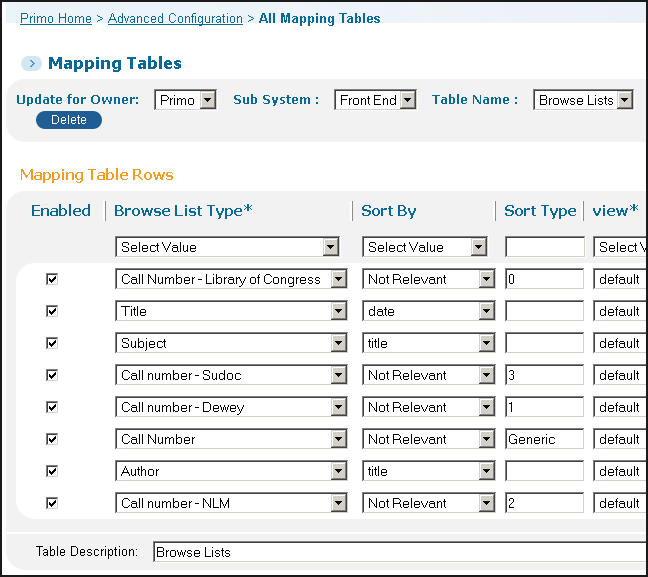
Browse Lists Mapping Table
For multi-institution environments, you can define the Browse Lists mapping table at the installation and institution levels. If the Primo installation has many institutions, it may be best to disable the lists at the installation level and customize the table per institution so that every institution can activate and configure Browse as needed.
The mapping table contains the following columns:
| Column | Description |
|---|---|
|
Enabled
|
Enables the mapping row.
|
|
Browse List Type
|
Defines the type of browse list to display. The following types are valid:
|
|
Sort By
|
Defines the field to use for sorting the list of PNX records linked to the heading. This column is not relevant for call numbers.
|
|
Sort type
|
Defines the normalization procedure to apply to the Call number browse list (both for indexing and run-time). Currently, the following types are supported:
Call numbers with a different type number (for example $$T8) or with no type number at all (no $$T) are defined with the Generic call number type. |
|
View
|
Allows you to define a separate Browse list drop-down list per view.
Once a single line is defined for the view, only those rows will be taken for the active view.
|
|
Order
|
Defines the order of the lists in the browse drop-down list, where 1 is the first item in the list.
|
|
Is Enabled
|
Select Yes from the drop-down list to enable this browse list. Note that the Enabled field must also be selected.
|
Configuring Labels for Browse Lists
The following code tables allow you to define the labels used with the Browse functionality:
-
Browse Lists Labels – Defines the entries that display in the Browse drop-down field in the Front End.
 Browse Lists Labels Code Table
 -
Browse Labels – Defines all other labels used for the Browse feature.
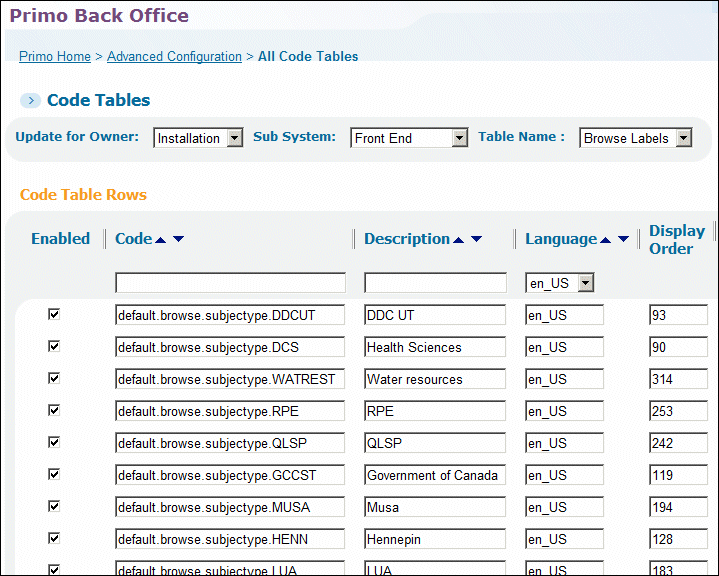 Browse Labels Code TableYou can include additional subject types by adding a new code in the following format:default.browse.subject.type.The label for the authority type column in the list of subjects is blank out of the box, but it can be changed locally by updating the following code:default.browse.col.authoritytypeAn authority type displays only if it is included in the data from the ILS.
Configuring the Browse Tile
For the classic Primo UI only, the Browse > Bottom field on the Edit HTML Attributes page (Static HTML tile) in the Views Wizard defines the area below the Browse Search box. By default, it specifies the browse.html file, which is blank. As with other tiles, you can customize this tile as needed.
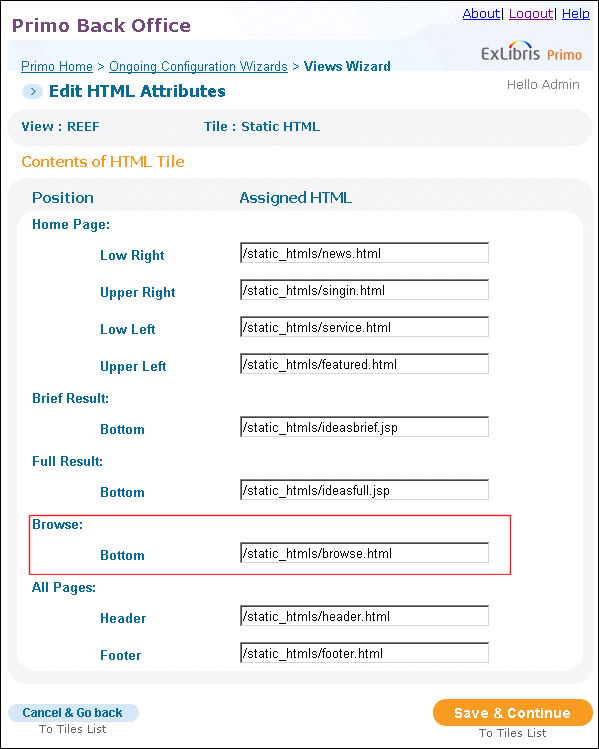
Static HTML Tile

