
Basic Preservation Plan
- Create a Preservation Set – The workflow starts by creating a preservation set of files.
- Create a Preservation Plan – Once a preservation set is created, the analyst can create a plan that is built around the preservation set.
- Execute the Preservation Plan – After the plan is created it can be signed-off on and executed. There is no testing or alternatives involved.
Creating a Preservation Set
Sets can be either logical according to search criteria whose members can change each time the search is run or an itemized fix-set where you select the members of the set manually.
- Click Add Set from the manage Preservation Sets page
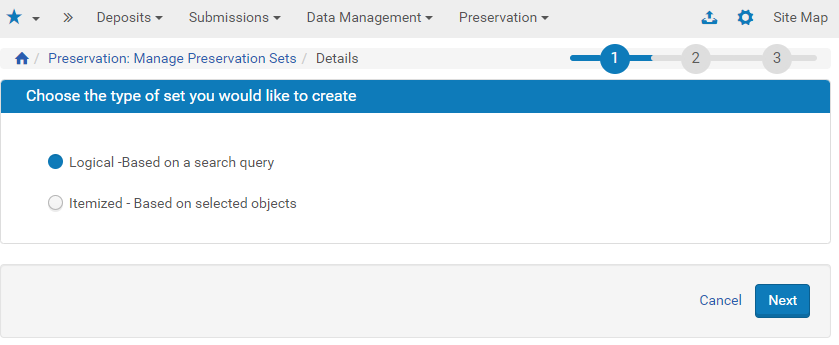 Choose Set Type
 - Select the type of set that you want to create and click Next.
Depending on the type of set you want to create, see the following:
- Creating Logical Preservation Sets
- Creating Itemized Preservation Sets
Creating Logical Preservation Sets
You can create logical preservation sets.
After selecting the option to create a logical set, the following is displayed:
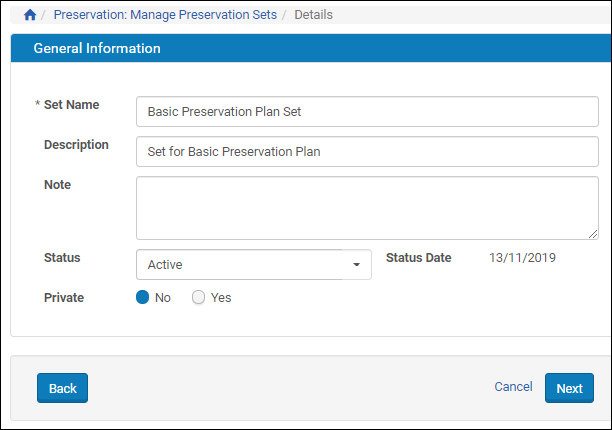
- Fill in the fields and click Next. A search page appears to create a logical set of files.
 Create Logical Set - Details
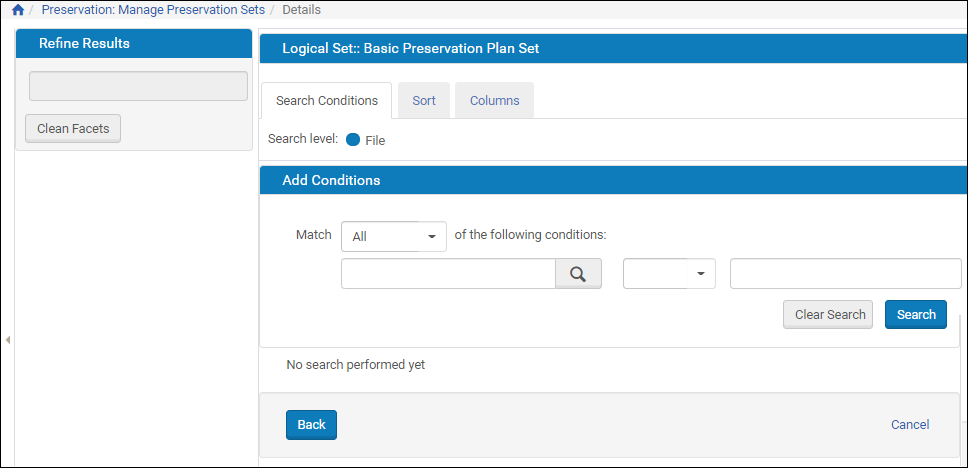
 - Search for the files to create the set. For example:
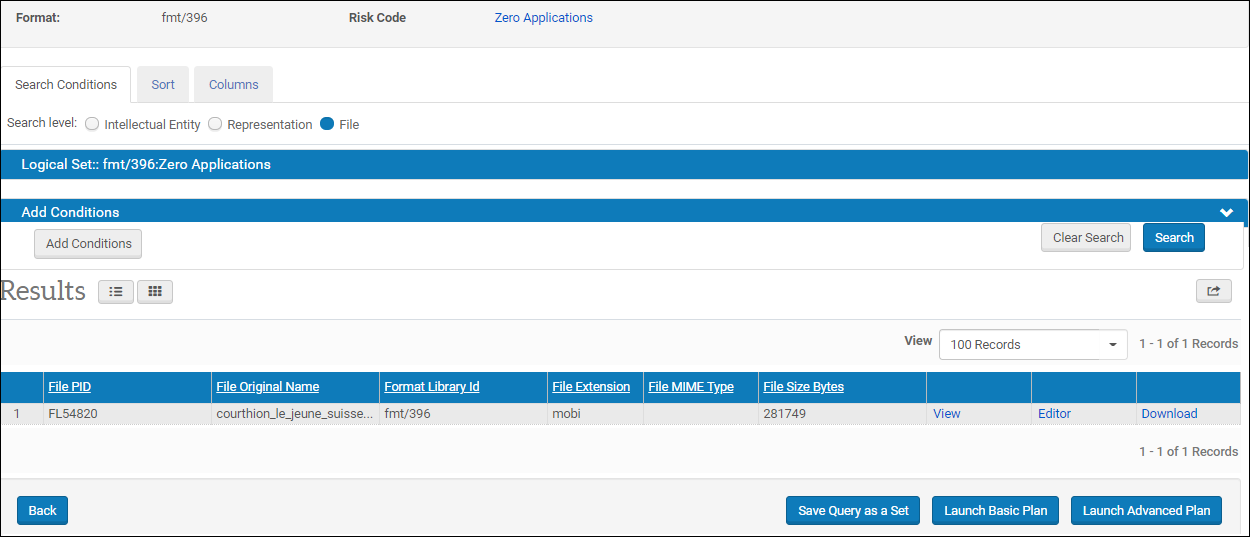 Search Results
 - Click Launch Basic Plan from the list of sets to create a preservation plan with the basic workflow. For more information, see Creating a Preservation Plan – Basic Workflow.
Creating Itemized Preservation Sets
You can create itemized preservation sets.
After selecting the option to create an itemized set, the following is displayed:
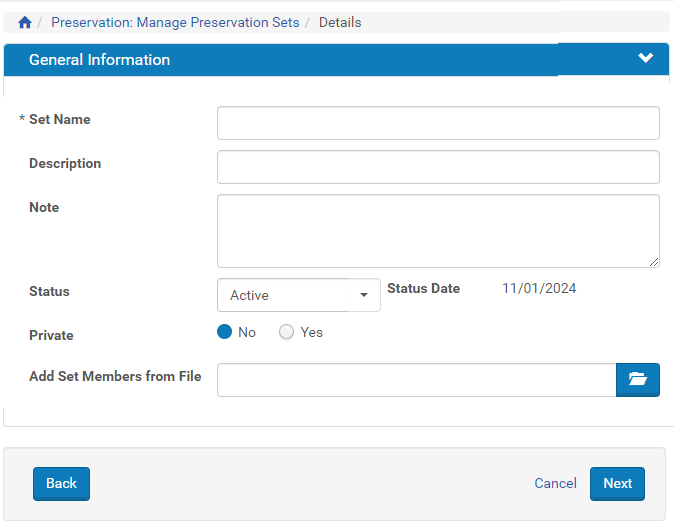
- Fill in the fields. If you want to add members to the set from a file, select the file in the Add Set Members from File field.
- Click Next. The following is displayed.
Create Itemized Set - Details
- Search for the files to create the set. For example:
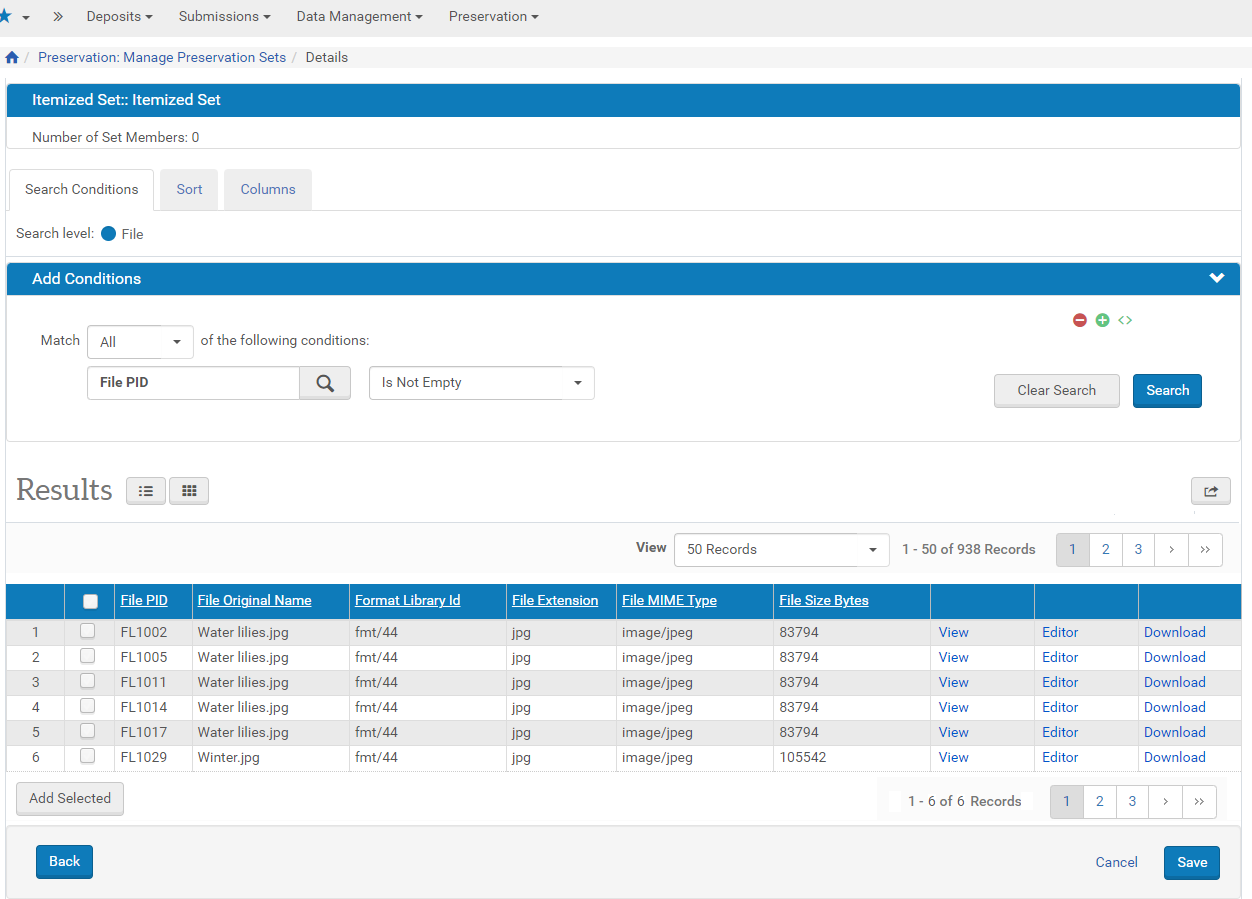 Search Results
 - Select the files that you want to add to the set, click Add Selected, and click Save.
The files are added to the itemized set.
For more information on creating an itemized set, see the similar workflow under Data Management at: Creating an Itemized Set.
- Click Launch Basic Plan from the list of sets to create a preservation plan with the basic workflow. For more information, see Creating a Preservation Plan – Basic Workflow.
Creating a Preservation Plan – Basic Workflow
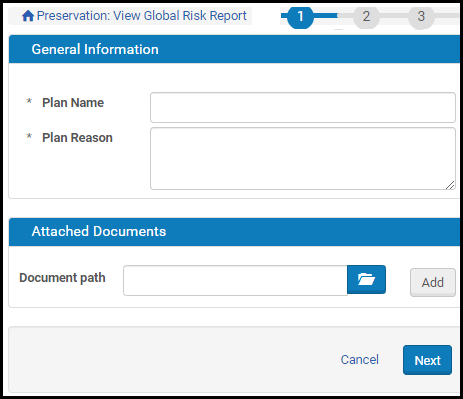
- In the General Information section of the page, enter a name for this plan and a reason for adding it to the Preservation plan database.
- To attach a supporting document to the test plan, click the Browse button in the Attached Documents section, locate the document you want to attach, and select it.
The path and filename display in the Document path field. - To upload the file, click the Add button. Information about the file displays in the Attached Documents section.
- Click Next. The following appears:
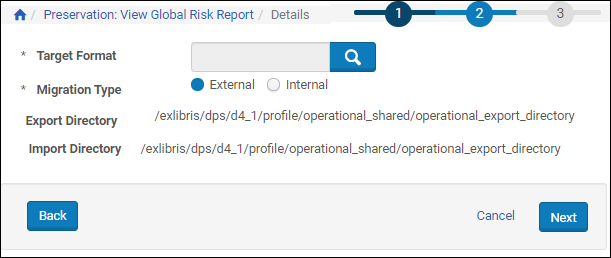 Create Basic Preservation Plan - Step 2
 - Select a target format. This is the format to which the source files' common significant properties should be automatically compared. The drop-down opens a list of available formats in the Format Library.
- Select a migration type:
- Internal – The plug-in field is displayed. Select a plug-ins that work with the selected format.
- External – read-only directory paths for outgoing files (Export Directory) and returning files (Import Directory) are displayed.
The exact mechanism for uploading the new files coming from an external preservation action is described in the of the Rosetta Staff Guide. - Click Next. The following appears:
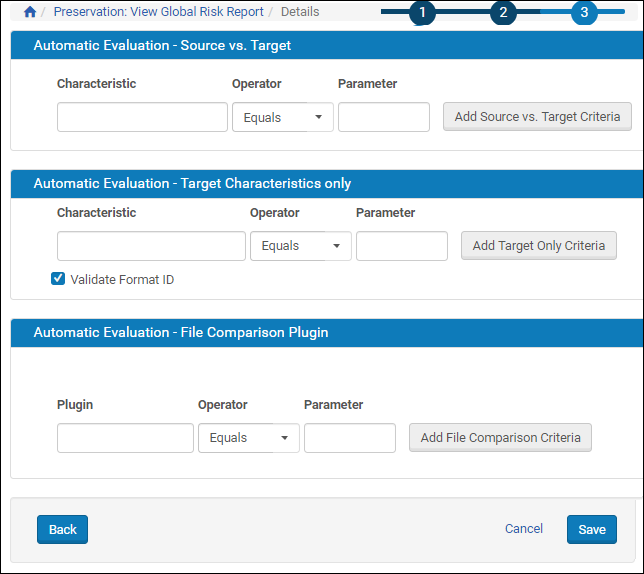 Create Basic Preservation Plan - Step 3
Three types of evaluation, based on the format source and target for the alternative, display on this page.
Basic Preservation Plan - Step 3 Type Description Automatic Evaluation - Source vs. Target The user selects the properties of the classification group that should be measured by the system when it compares the original format file to the migrated file (for example, File extension must equal file extension). Automatic Evaluation - Target Characteristics only The user selects the target file properties that are not compared to those of the original file, but are measured according to the selected operators and parameters (for example, File size smaller or equal 3MB). Select Validate Format ID to validate the target's file format (as selected in the first step of the alternative wizard) and inform the user when viewing the plan results if conversion succeeded or not. Automatic Evaluation – File Comparison Plugin The user selects a plugin, an operator, and a parameter to define the criteria for comparing the files. - Use the drop-down menus and text fields to indicate parameters for automatically evaluating the alternative source compared to the target or the target on its own.
- Click Save. Your signed off preservation plan is completed.