
How to implement a normalization rule in Alma Metadata Editor
- Product: Alma
Question
What are the steps of composing and implementing a Normalization Rule?
Answer
- Go to Resources > Cataloging > Open Metadata Editor > verify you're using the New MD Editor
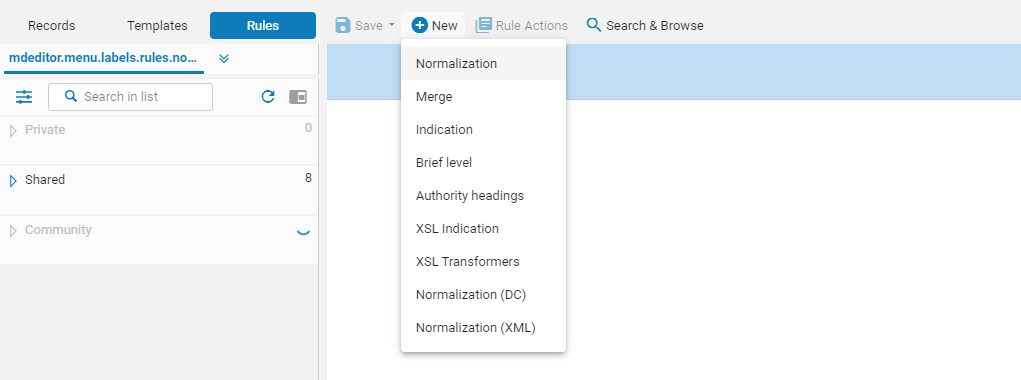
- On the Left pane of screen click on Rules tab > New > Normalization
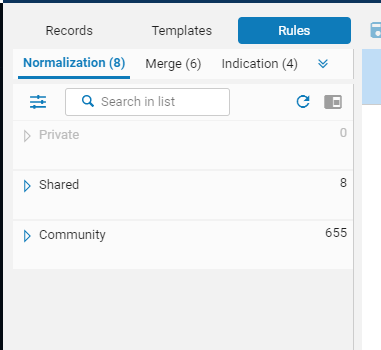
- To work with existing Normalization Rules:
- Open MD Editor > Rules Tab > inside the Left pane you can view existing rules under Private, Shared, or Community
- Open MD Editor > Rules Tab > inside the Left pane you can view existing rules under Private, Shared, or Community
- Test the rule on a record:
- In Records Tab open the record you want to test on
- Select the split screen icon
 located in the Left pane
 - Go to Rules tab
- Click on Rule. This will cause the rule to show up in the split screen
- Click Preview. The rule will be replaced by the Normalization rules preview.
- Either click 'Back to normalization rules' or 'Apply changes' located at the bottom of the Normalization rules preview side
- Create a Normalization Process:
- Configuration Menu > Resources > Cataloging > Metadata Configuration
- Select one of the profile links, for example: MARC21 Bibliographic
- Click on Normalization Processes tab
- Click Add Process and complete the Process Details wizard steps
- Add a Task Step > click Add Tasks > Select the MarcDroolNormalization process from the Process list > Add and Close
- Task Parameters Step > choose Author Number Generation Routine from drop-down menu
- Click Save
- Run the MARC21 Bib normalization job on a set of titles
- Note: Read here on "How to batch update Holding records through Normalization Rules"