
General Settings for the Research Portal and Profiles
General Settings
To configure general Esploro settings, you must have the Configuration Manager role.
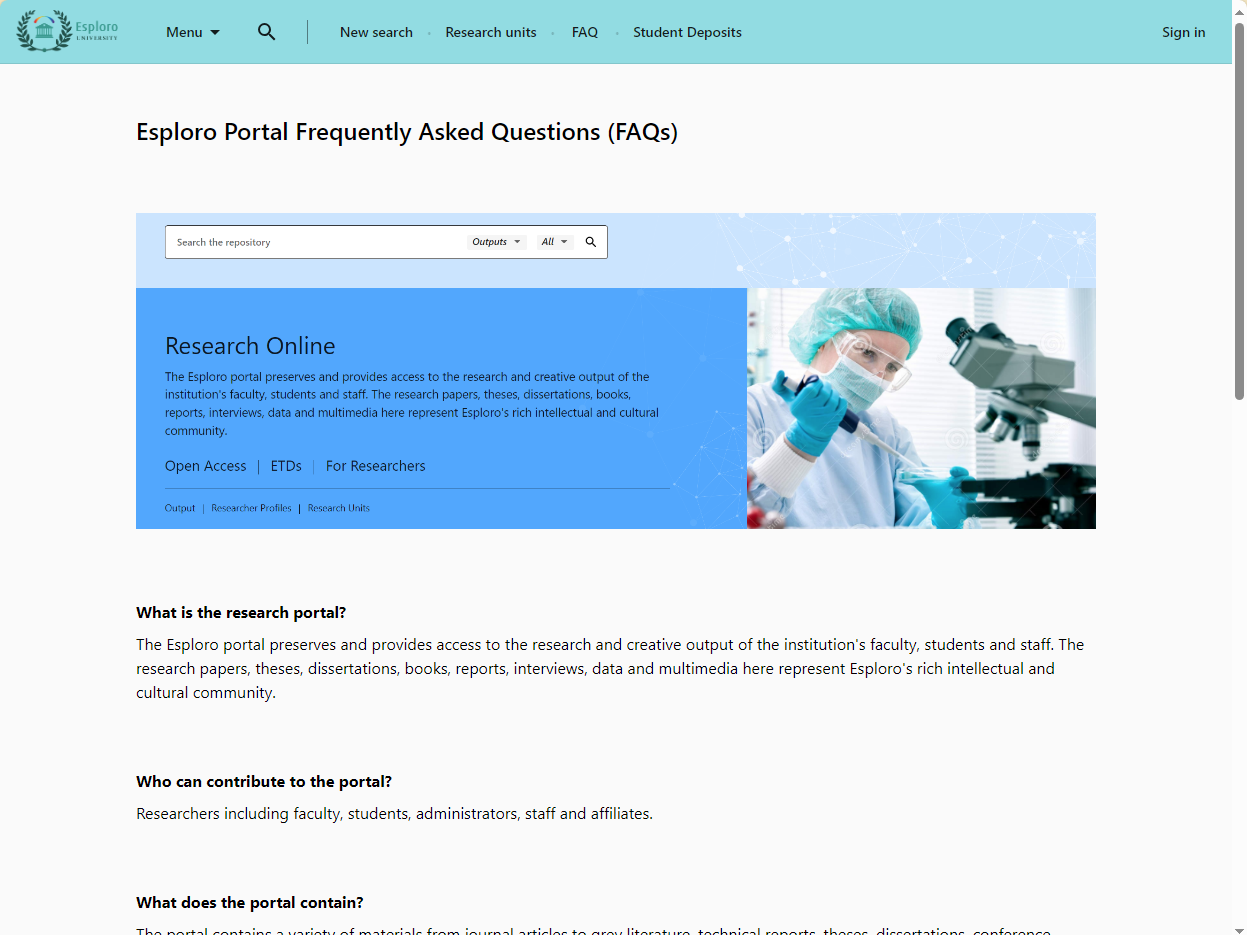
This page explains how to configure the branding of the portal (the color scheme and logos), the labels that appear in the portal pages, and the date display. It also explains how to add general pages, such as FAQs or other informational pages, to the portal.
For configuring the research portal, see here. For configuring researcher profiles, see here.
For a video on general settings in the research portal, watch How to Customize your Research Portal (4:40).
Branding
Branding has two main components: configuring the color scheme of the portal and adding logos for display in the portal.
You can configure the color scheme of your institution's Research Portal and Researcher Profiles by specifying a primary color and an accent color that Esploro should use as the basis of the coloration of the pages and components of the portal. Optionally, you can also specify two additional colors – a secondary color and a tertiary color – to use in the portal. You can choose any of the colors you specify for use as the background colors of the portal-page headers and footers, and for the text of links.
You can also add three logos for use in the portal: logos for use on light and dark backgrounds (Esploro automatically chooses the best one to use in each location in which a logo appears in the portal), and a favicon to insert in the browser tabs of portal pages.
For general recommendations on optimizing the appearance of brand logos in Ex Libris products, see Logo Provision Guidelines.
- Navigate to the Branding page: Configuration menu > Portal & Profiles > General Settings > Branding. The Branding Management page opens.
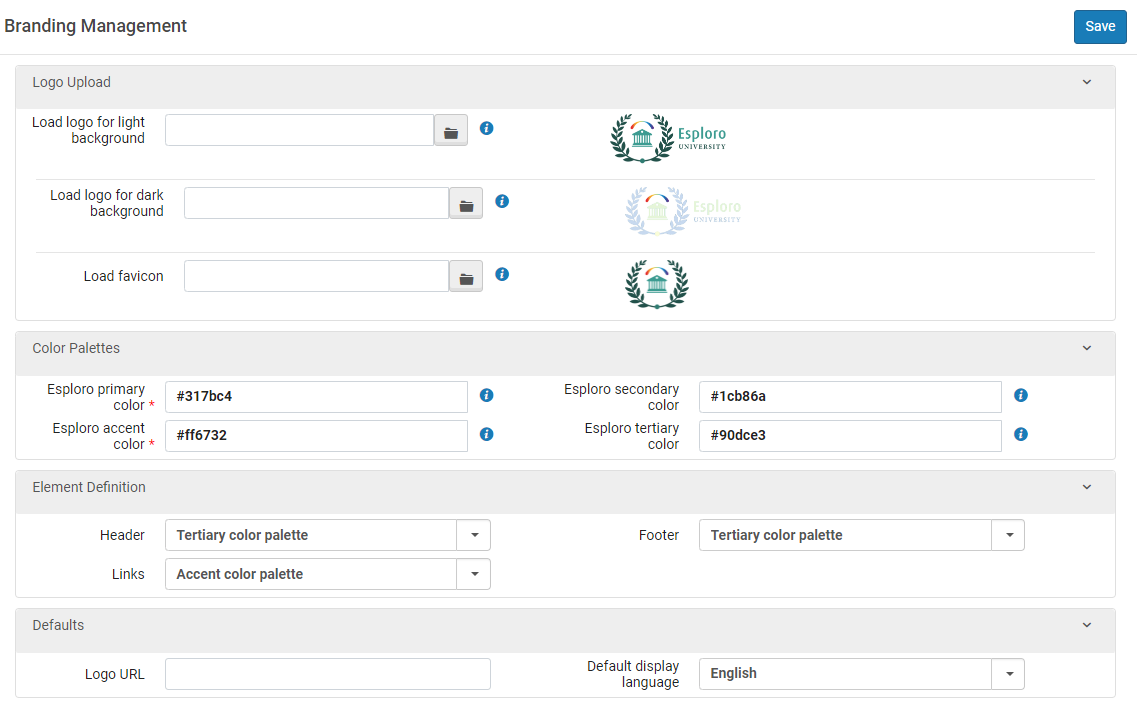
- Load logos for light and dark backgrounds (maximum size,10 MB each), load a favicon, define the colors of your color palettes, and select the colors for the header, footer, and links from among the colors you define (see Branding Colors, below). Colors in the Color Palettes section must be defined using six character hex values.
- Under Defaults, you can configure the following:
- Logo URL – The URL of the page in the portal that should open if the portal user selects the logo of the institution in any of the portal pages. If you leave this field blank, the home page of the portal is used. To use a different page, enter only the part of that page's URL that follows the site's address. For example, if the page's URL is my-institution.esploro.edu/my-page.html, enter my-page.html.
- Default display language – If more than one language is supported in your portal, select the language in which the portal will be displayed when it is first opened.
- Click Save.
Branding Colors
- Primary Color
- On the Home Page, as the background colors of the two regions immediately below the header: the background color of the first region (#1 in the illustration below) is derived by Esploro from the primary color, while the background color of the second region (#2) is the primary color itself. (For information about configuring the contents of these regions, see Configuring the Research Portal.)
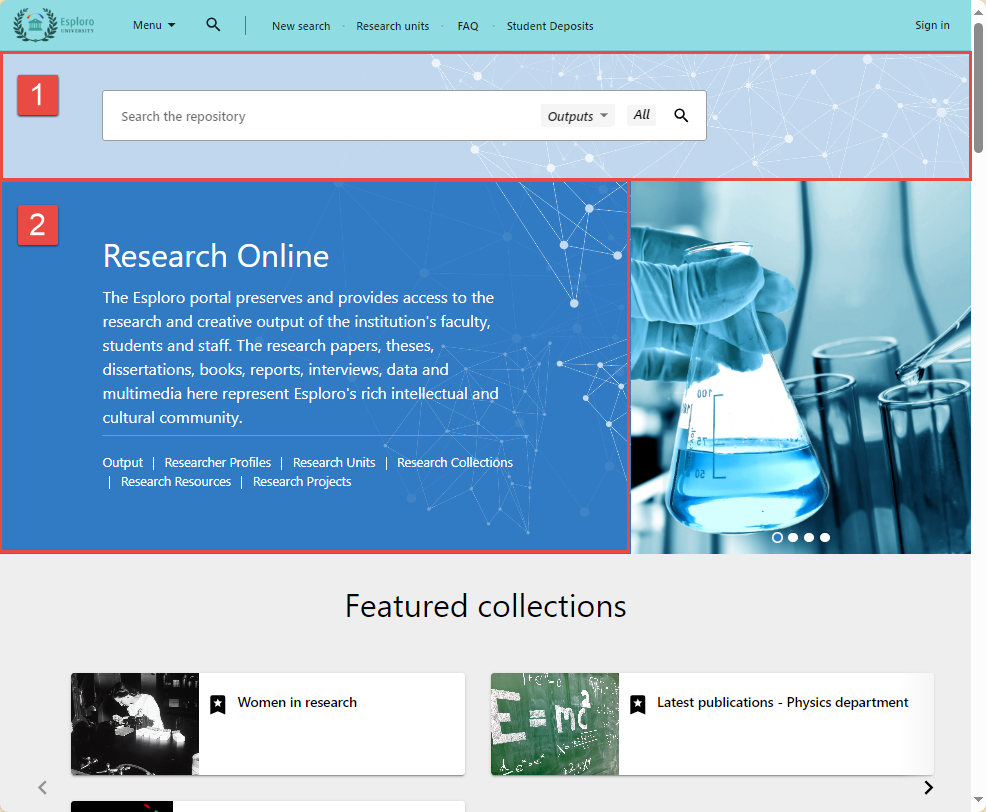
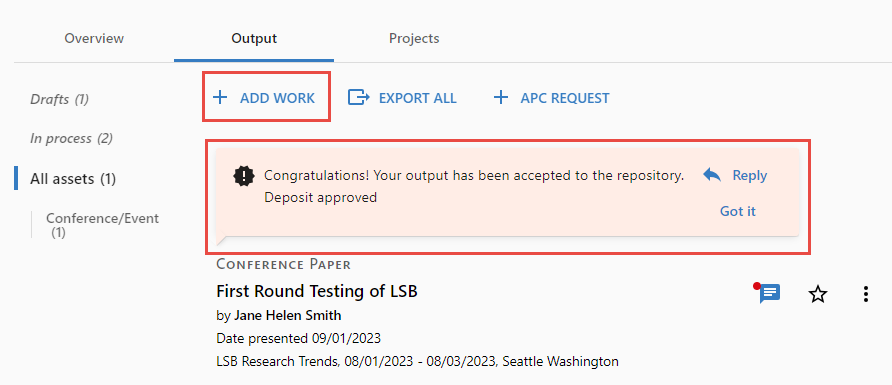
- For buttons and actionable text (such as ADD WORK in the illustration below) throughout the portal.
- On the Home Page, as the background colors of the two regions immediately below the header: the background color of the first region (#1 in the illustration below) is derived by Esploro from the primary color, while the background color of the second region (#2) is the primary color itself. (For information about configuring the contents of these regions, see Configuring the Research Portal.)
- Accent Color
- A color to use whenever an accent color is required in a page to emphasize certain elements in the page, such as buttons or progress bars, or to highlight some information, as in the background of the Congratulations note in the image above.
- Optional Colors
- The secondary and tertiary color definitions are optional. If you define them, you can also select them to use for the background colors of the headers and/or footers, and for link text. If you leave the optional colors blank, only the primary and accent colors are available for these purposes.
Labels
You can view and change the portal and profile labels in a series of code tables in Configuration Menu > Portal & Profiles > General Settings > Labels.

You can customize labels for many different parts of the portal such as the search bar, repository metrics, etc. Open each code table by selecting Customize in the row actions list. Locate the label that you want to change, modify the description, and select Customize. The other features on these code tables (add, enable, disable, move up/down, and default value) have no meaning and no effect. Do not delete any rows.
If you want to change the order of the fields in the Student Deposit Form, do not change the order of the labels in the Student Deposit Form Fields tables.
You should change the order of the fields in the Student Deposit Profile Details (Configuration > Repository > Manage Student deposit profiles).
Date Display Settings
Repository managers can set the format of dates displayed in the Research Portal.
- Navigate to the Other Settings page (Configuration Menu > General > Institution Settings > Institution Settings).
- In the esploro_date_format row in the Parameter Value cell, click Customize and type a date format. The information in the Description column describes the correct way to format dates.
- Click Save.
General Portal Pages
You can add general pages to the portal such as FAQs, About, etc. Each page must have a title and must contain at least one section. A section must contain text and/or an image, and can optionally have a heading.
Watch the How to Create a General Page video (4:22).
- Navigate to Configuration > Portal and Profiles > Research Portal > General Page Configuration.
- Select the Add Page button. The General Page Details page opens.
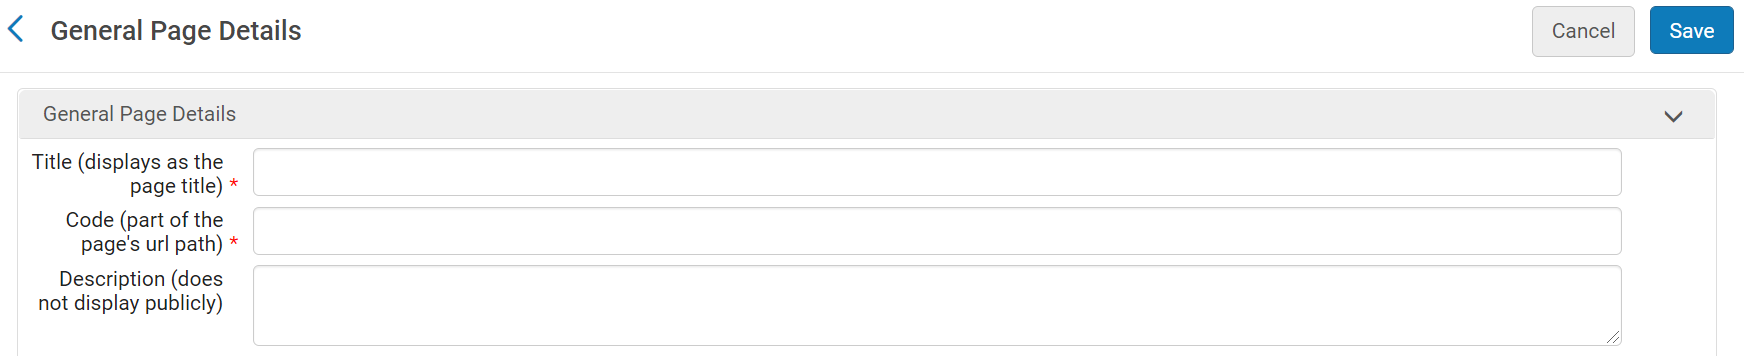
- Fill in the Title (which displays as the page name on the browser tab and as a Heading 1 on the page) and the Code (which forms part of the URL). The Code must be unique and cannot include special characters.
- The Description is optional and does not display on the page.
- In the Sections for Page area, select Add Section. A dialog box opens.
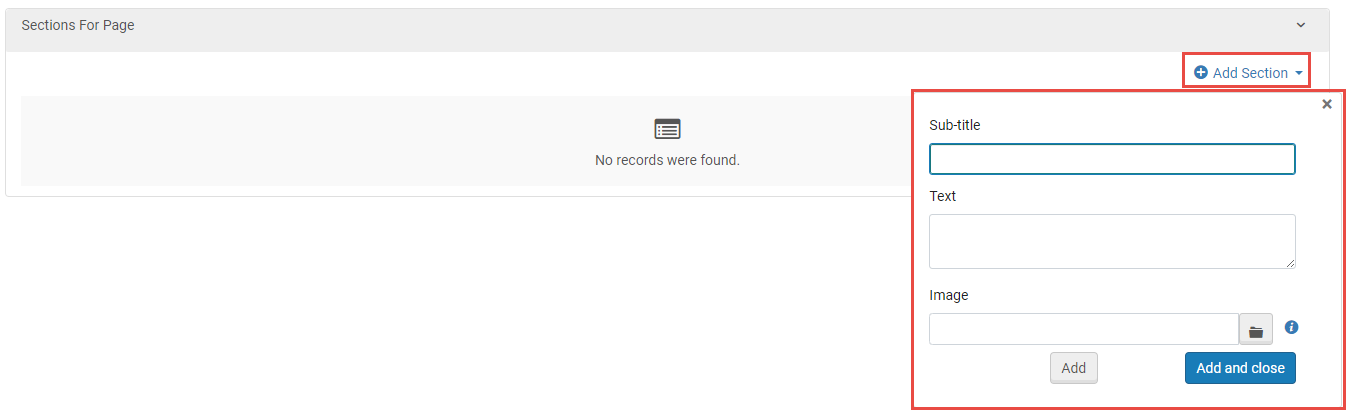
- If you want to give the section a title, under Sub-title, enter the text of the title. Text entered in this field displays as a Heading 2 above the contents of the section.
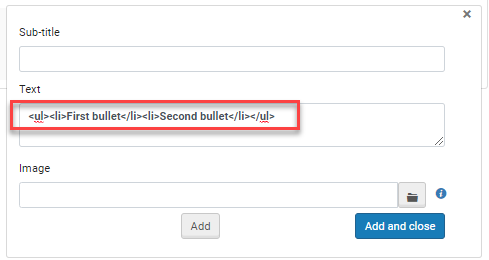
- In the Text field, enter the text you want to display. HTML tags are supported. They need to be in the correct HTML format in order for the text to display correctly on the page.
Each section must include text and/or an image. A maximum of 4,000 characters, including HTML code, can be included in the Text field of each section.
- In the Image field click the folder icon to browse for an image.
You can add a customized alt message for an uploaded image in Code Tables > Research Portal General Page Alt Image Labels. From the row actions menu select Customize and then select Add Row. In the Code field enter the following text:
research.portal.general.page.{{PAGE_CODE}}.image{{SECTION_NUM}}.alt
In the Description field enter the text you want to appear. - You can select Add to add the section and then add another one, or Add and close to add the section and close.
- To go to the created page, from the row actions menu select Go to Page.
- To make the page accessible from the portal, from the row actions menu, select URL, copy the URL, and then add it to the Header/Footer or Homepage section. See Header Footer Tab and Homepage Tab for details.