
Logging in and Creating a List
For more information, watch Log In and Create a List.
Accessing Leganto
Students and instructors generally access an embedded version of Leganto from within an LMS. Login is automatic when your institution is configured for single sign-on.
In some cases, an instructor may see a Quick Start Welcome screen instead of the Login page or My Lists page; see The Quick Start Welcome Screens.
After logging in, you see a Welcome screen, unless you or Ex Libris has disabled this. After closing the Welcome screen, you see the Lists page.
Log out by selecting Log out in the user menu.

If you have lost your username or password, or require any assistance, contact your library.
Guests access Leganto from a shared link. Guest access is available for all published list that are shared with Anyone. The My lists/All lists toggle is disabled and only All lists is available.
For mobile access, see Logging in and List Structure.
Creating a List
You can create a new reading list from scratch from the Lists page.
- From the Lists page, select Create list.
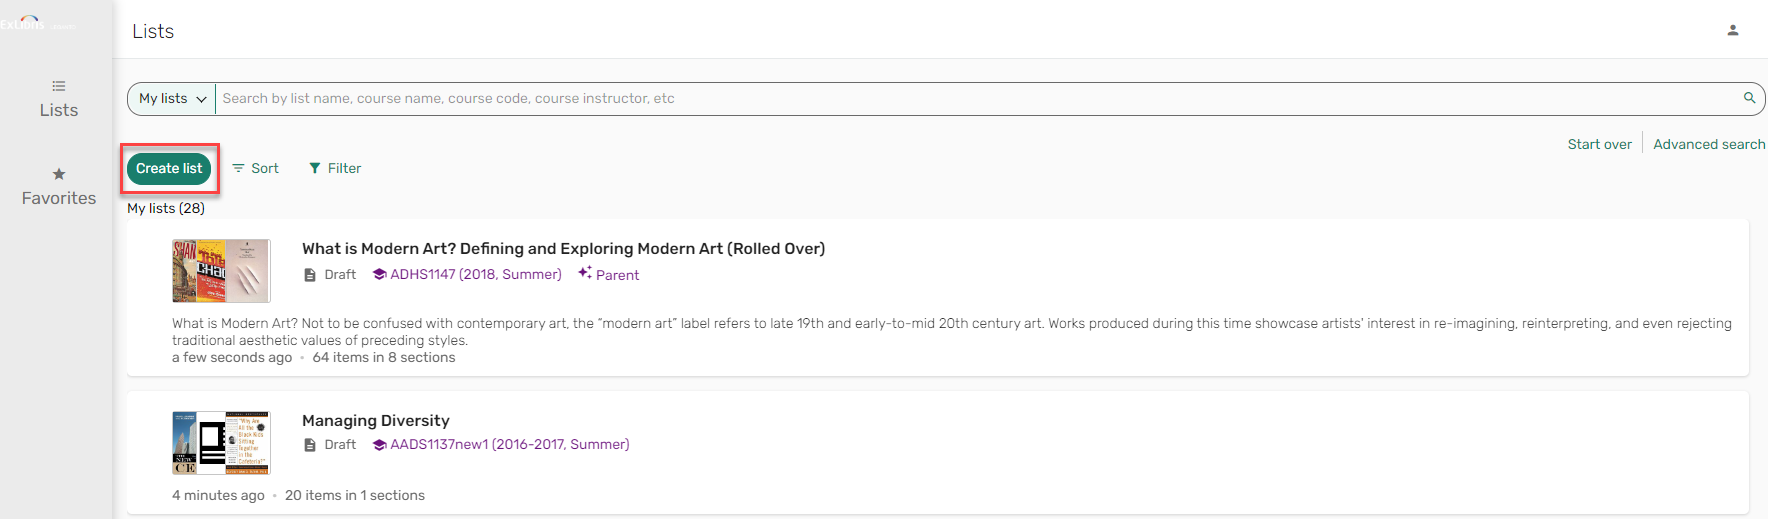 Create list
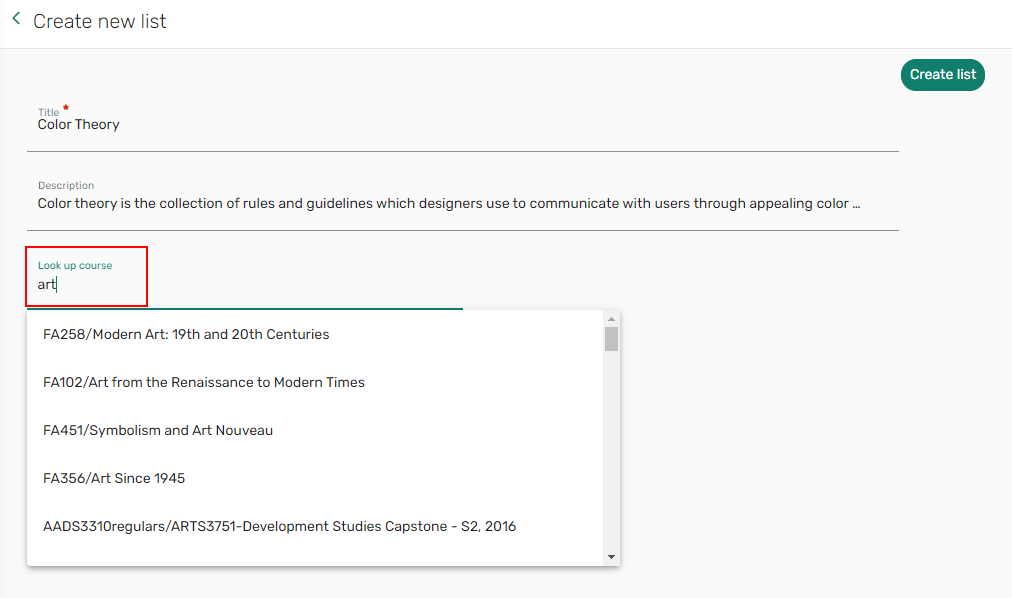
 - Enter a Title, and if relevant, a Description.
- Start typing the course code or name to see course options.
You can also create the list without associating the list with a course. If needed, you can associate the list with a course at a later point.
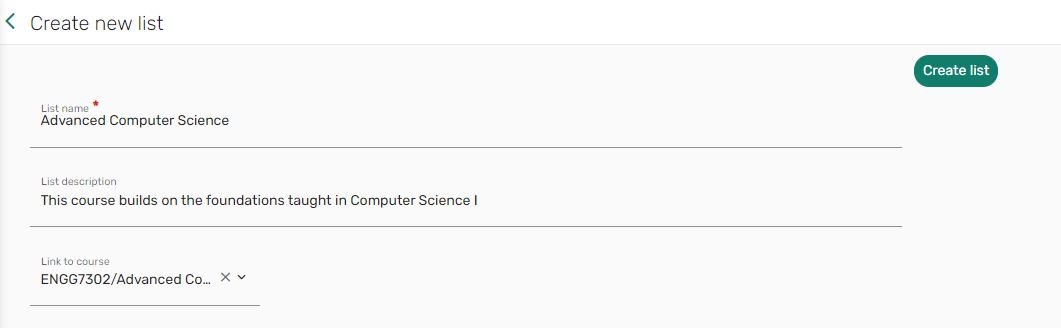 Create new list
 - Select Create list. The list is created. You can now start adding sections and items to the list. See Adding a Section to a List and Searching and Adding from a Library.
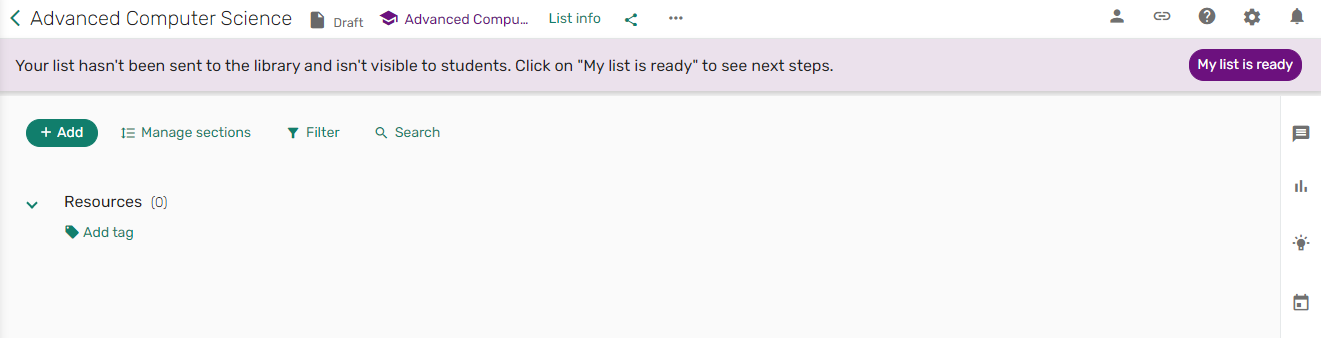 Newly created list
Your new list now appears on the Lists page with a Draft/Published status based on your library's publishing settings.
For optimum loading speed, we recommend creating a maximum of 100-200 lists.
Creating a List from a Syllabus
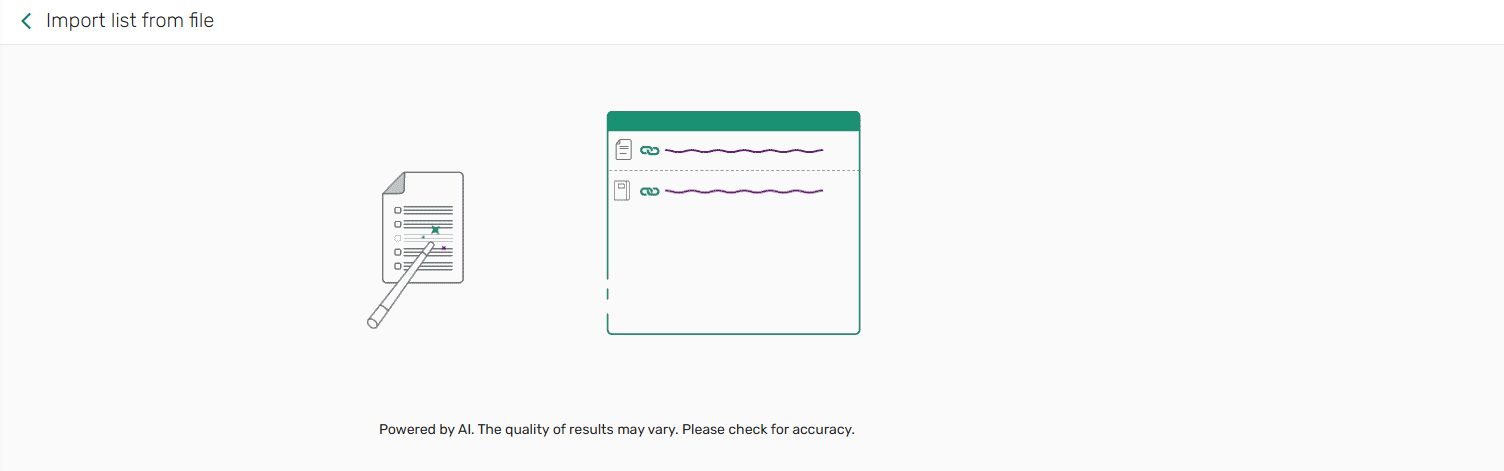
You create a resource list in Leganto by importing a syllabus or other file containing references. The AI Syllabus Assistant scans the file to identify references to assigned course materials. The AI Syllabus Assistant also identifies section headers relevant to the course materials and identifies or provides a name for the list. Other text, such as course description and other course details, is ignored.
When configured (see Creating a List from a Syllabus), library staff can create a list by importing a syllabus or other file (PDF, Word, or txt).

The AI Syllabus Assistant uses Large Lanugage Models (LLMs) to process the content. Your input is not stored by the LLM or used to train the LLM. The Privacy and disclaimer information is displayed in Leganto.
The Privacy and disclaimer text is not customizable.
The More information icon ![]() now includes the Syllabus and Paste references options.
now includes the Syllabus and Paste references options.

As the syllabus loads and the data is extracted, a gif indicates that the list creation is in progress.
Library staff can also copy and paste references from anywhere to create a list rather than saving the references as a file to upload.

In either workflow (file import or paste references), the metadata is extracted from the file, and the list is created with the title from the file header and the sections and citations from the file.

The AI Syllabus Assistant uses a dedicated Resource locate mechanism that first attempts to match by your library collection by ISBN, and if no match is found, by matching the Title, Author, and Year. Citations may also include library links using the link resolver, which requires:
-
ISSN, volume, issue, start page, and publication year
OR
- ISBN
OR
- DOI
In cases where the citation does not automatically link to the library inventory, library staff can use the Manage link to library feature (see Link or Relink Citation to Library Resource in Leganto UI) to link citations manually.
For more information, see Leganto AI Syllabus Assistant FAQs.
Uploading or Linking a Syllabus to a List
When enabled by your library, you can upload or link to a syllabus. See Enabling Reading List Syllabuses.
- From the list action (...), select Edit list.
- Enter a URL for the syllabus or drag and drop or select a file.
Syllabus URL
-
Select Save. The link/file is added to the list.
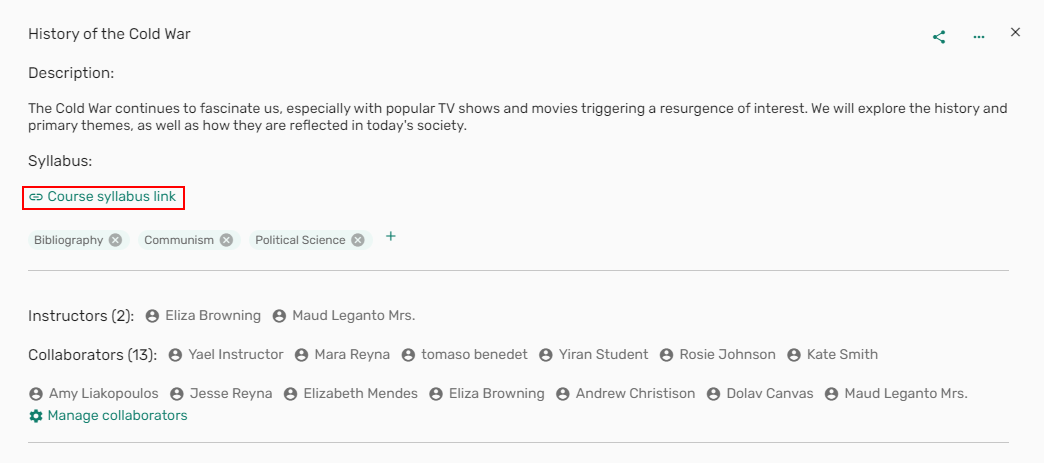 Course syllabus link
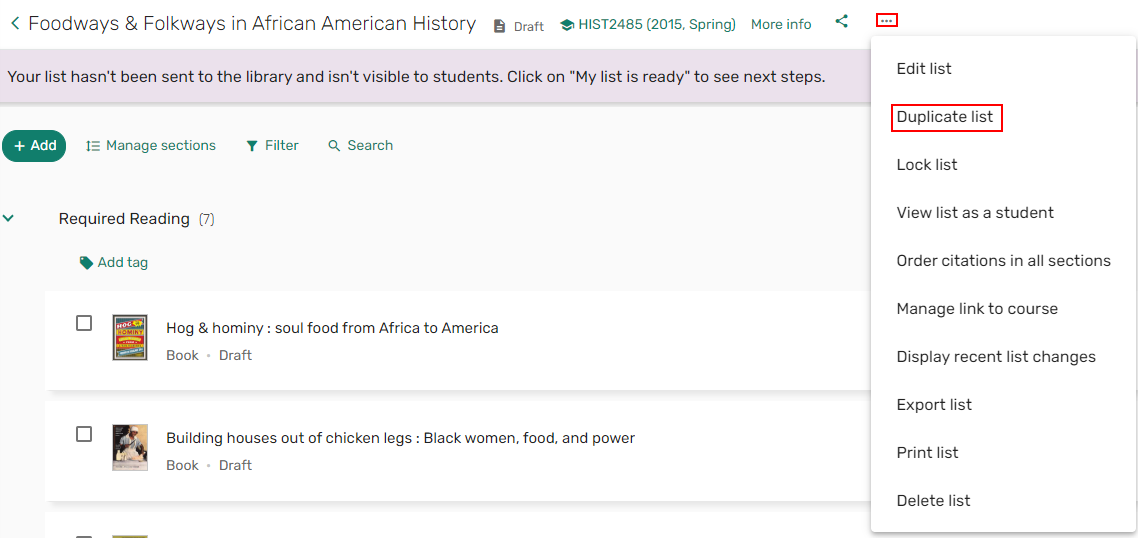
Duplicating a List
When enabled by your institution, lists can be duplicated. Duplicating a list makes a copy of the list and all sections and items. As part of the duplicating workflow, you can decide whether other aspects of the list will be copied or reset.
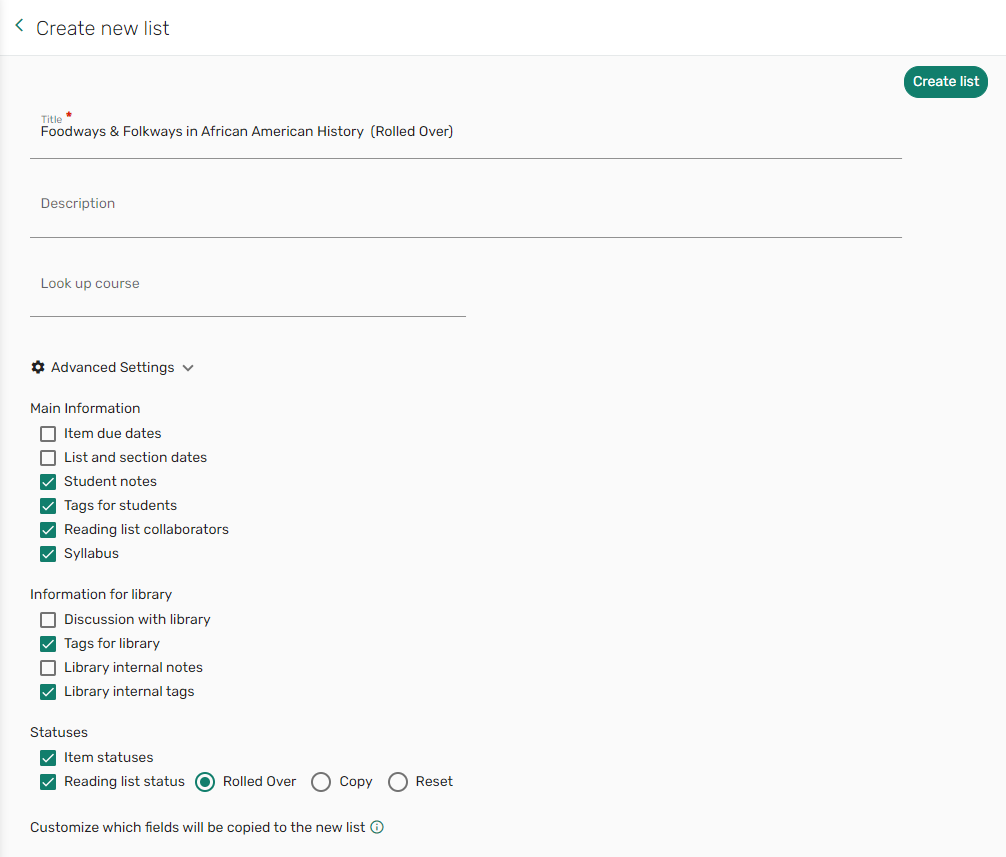
Select Duplicate list in the list menu. Out-of-the-box, the duplicated list has the old list's name with (Rolled Over) appended to it unless configured by your institution.
When duplicating a list, you can associate the list with a course. Optionally, you may want to review or change the Advanced Settings to confirm whether other aspects of the list are copied or reset.
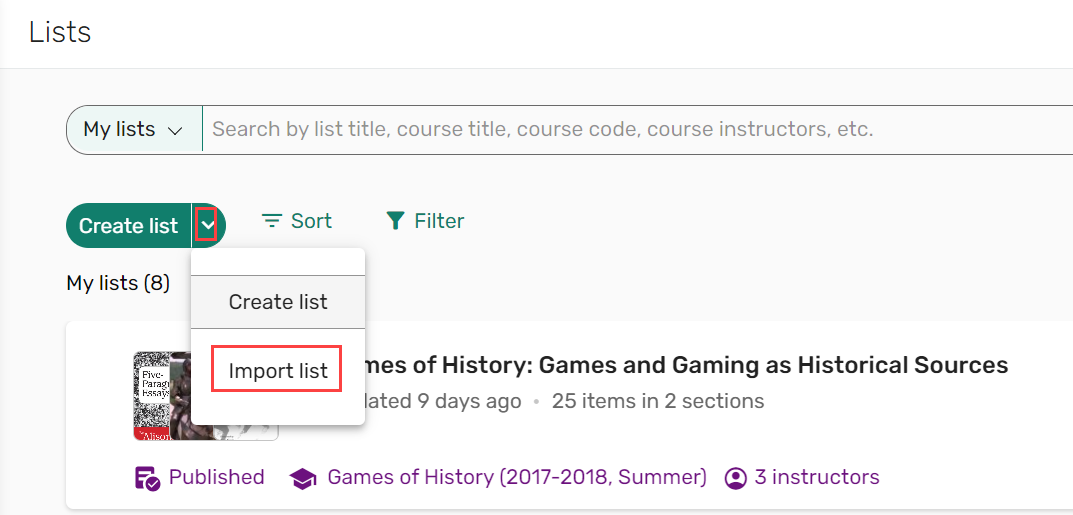
Importing an Exported List
Lists can be created by importing an existing list.
- From the Lists page, select Create list > Import list.
-
Select the File type lgn.
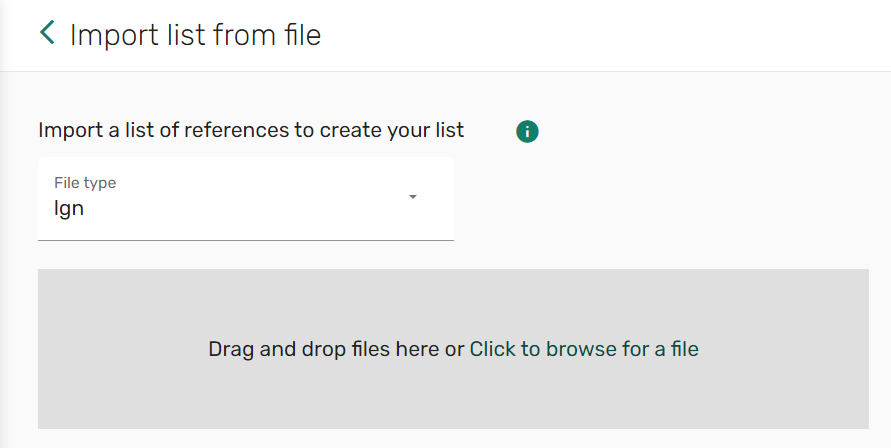 File type lgn
 - The list with your references are uploaded to Leganto.
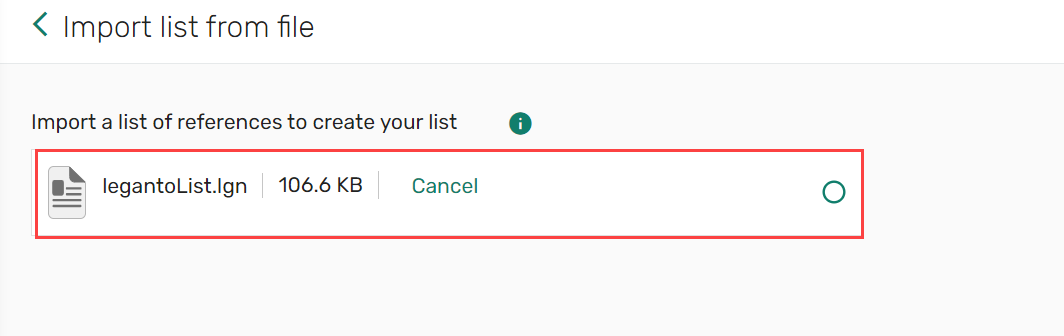 Imported list from file
 - Select Create list to add the list with all its items. The list is created.
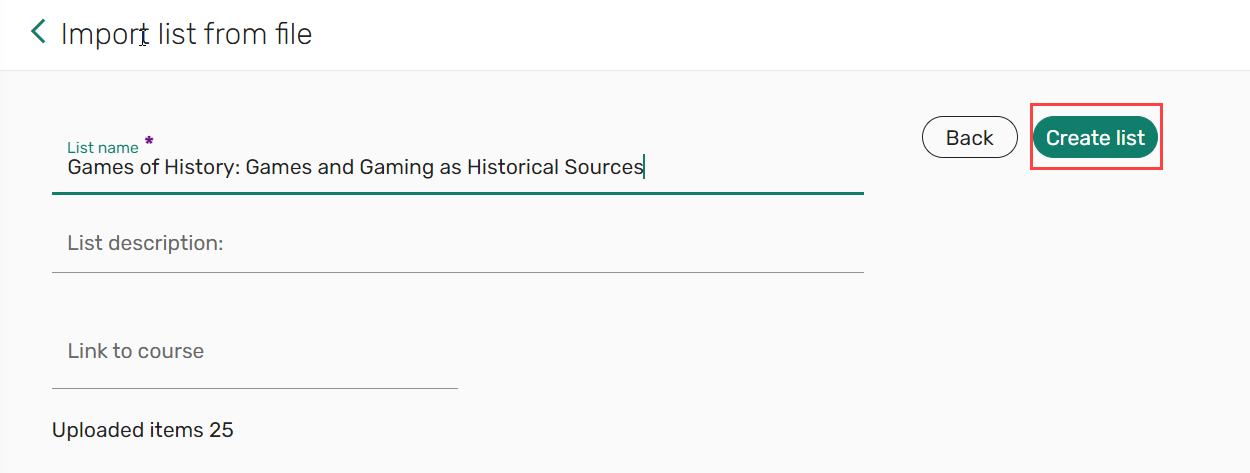 Create list
Deleting a List
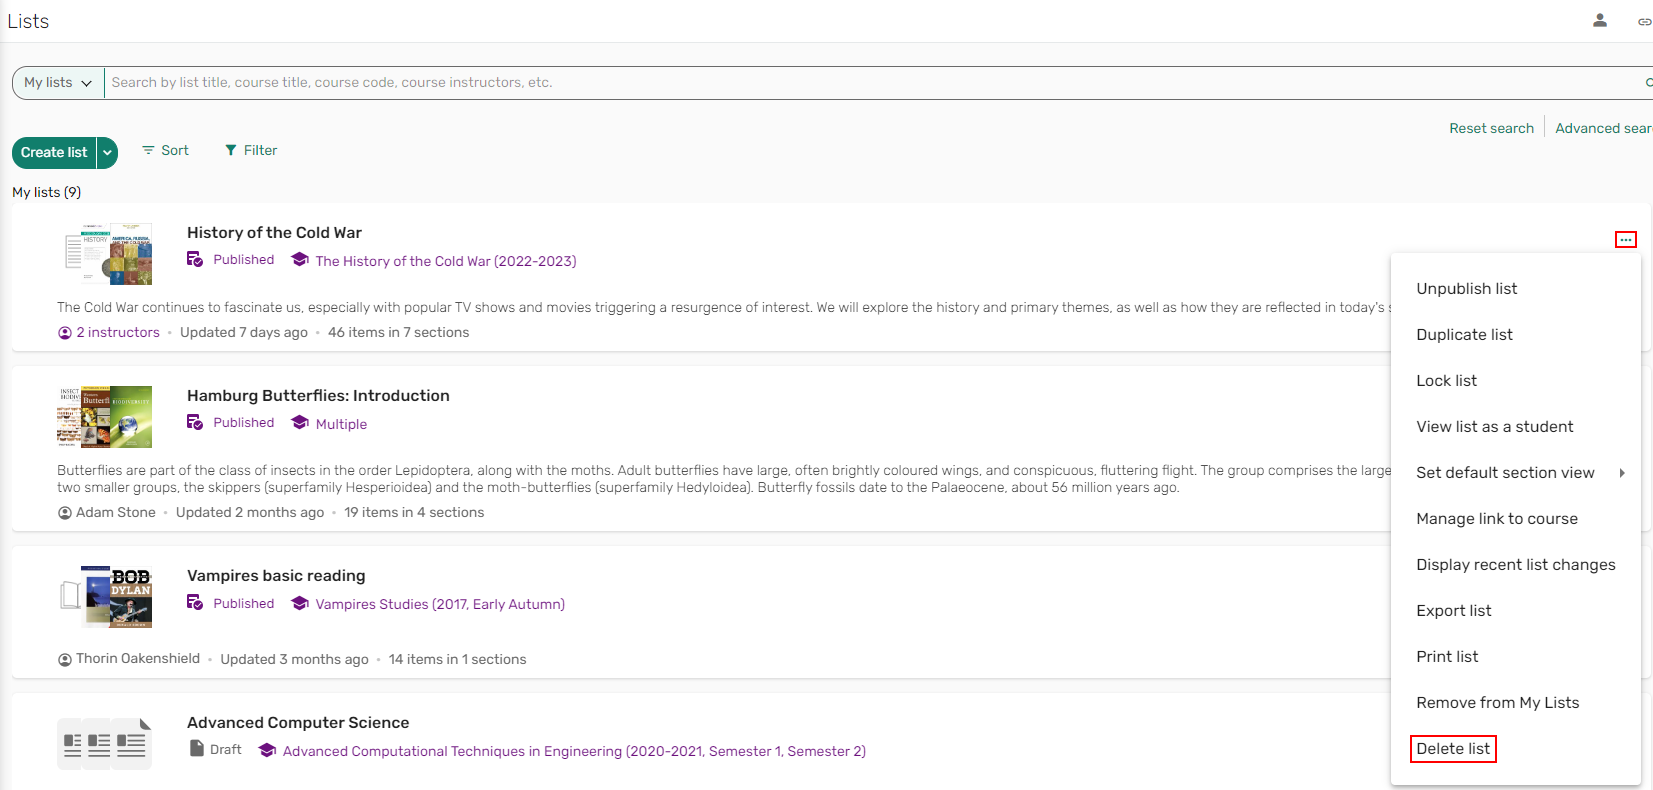
When configured (see Deleting Lists), instructors can delete lists from the Lists menu in Leganto.
Additionally, Instructors can filter Lists by recently deleted lists.
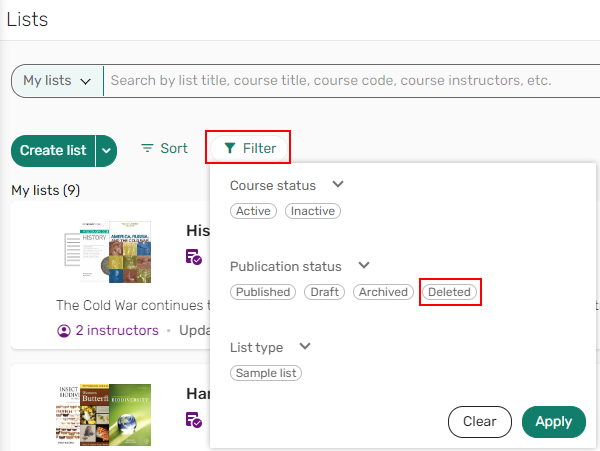
Deleted lists can be restored from Leganto. When restoring a deleted list, the list is restored with a Draft publication status.
Archiving Lists
When configured, instructors can filter Lists by by archived lists.

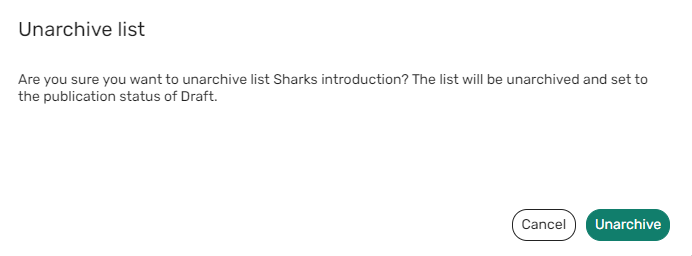
Archived lists can be unarchived from Leganto.

When unarchiving a list, the list is restored with a Draft publication status.
Managing Course Associations
You can associate a list with a course when creating a list or after a list is created.
- Enter text (Such as Course code or Course name) in the Look up course field and select the course. When you select Create list, the list is then associated with the selected course.
 Look up course
Adding a Section to a List
You can create a new section from scratch or by duplicating an existing section. Lists created in Leganto include a default section. The default section name to appear when a reading list is created in Alma or imported into Leganto is configured by your institution. Whenever you import references into Leganto or create the list in Alma, the value of this label appears in Leganto as the section name. The label's default value is Resources. When creating a reading list in Alma or importing a reading list into Leganto, the description defaults to blank.
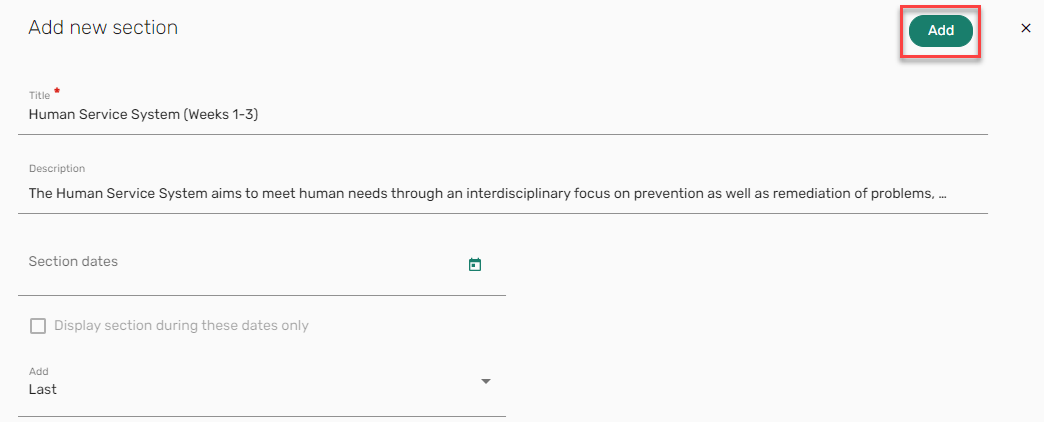
- Select Add > New section. The Add new section pane opens.
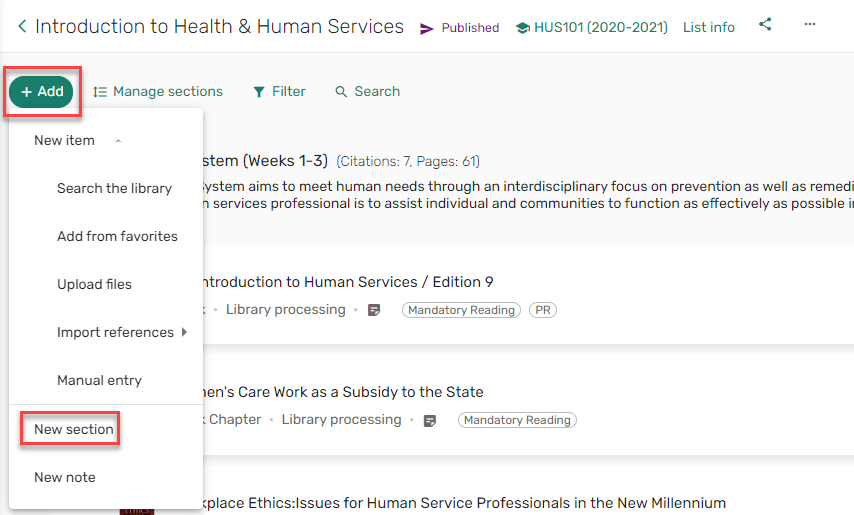 Add New section
 - Enter the section Title.
- If relevant, enter a Description.
- To make a section viewable during a specific date range, enter a Start date, End date, and check Display section during these dates only.
- Select where in the list the section should appear.
- Select Add.
 Add new section
The section is added to the list.
 New section
You can reorder a section at any time by collapsing the section and dragging the
 icon. For more information, see Collapsing or Expanding a Section.
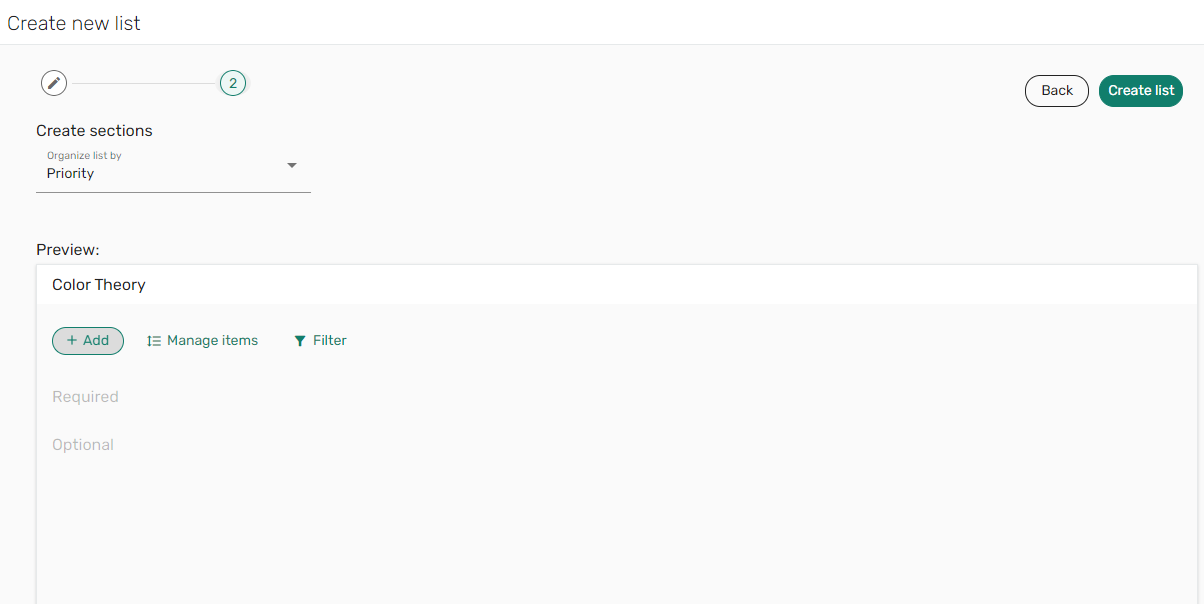
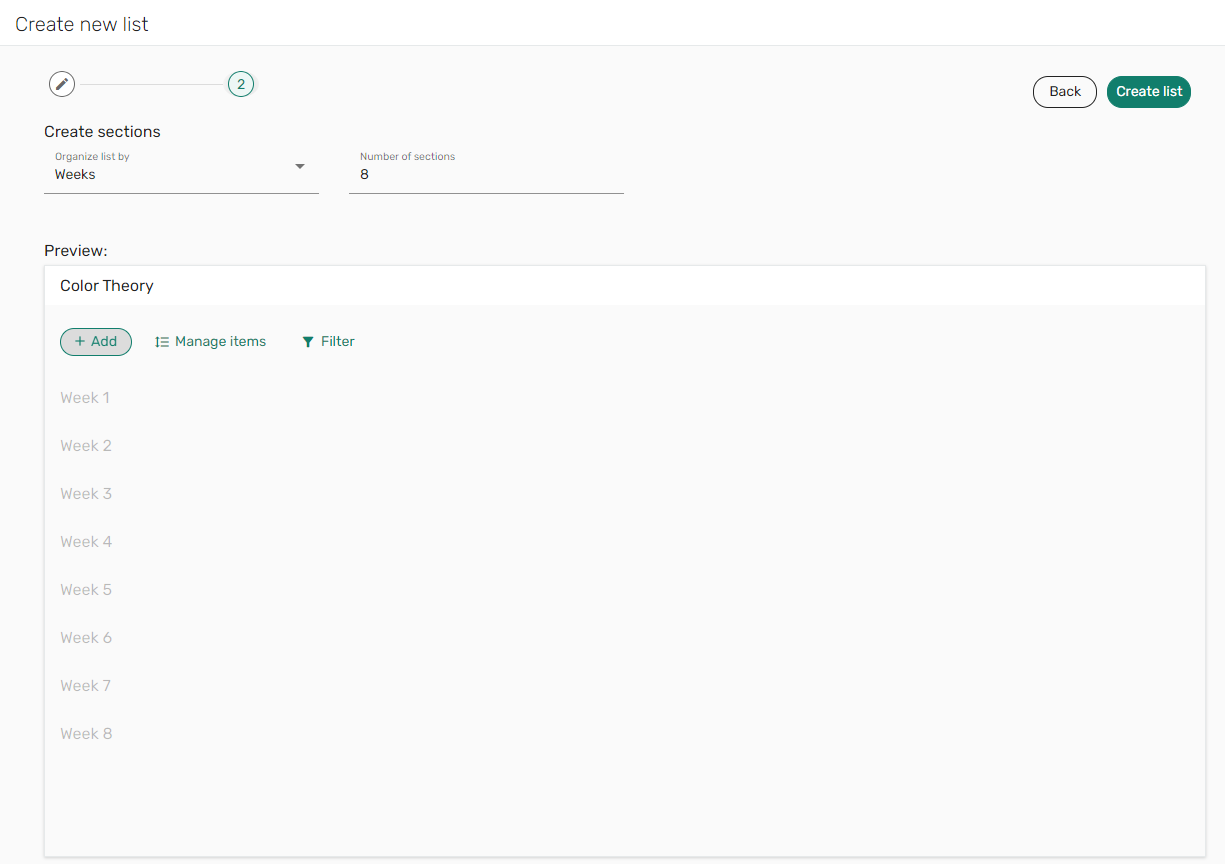
Adding Sections from a Template
Leganto provides easy and flexible templates for creating sections when building new lists.
When adding sections to a new list, list creators can select a section template to help organize the list. For the Numbered pattern templates, they can adjust the number of sections if needed.
The Create new list wizard includes a Preview section to preview how the sections will be displayed on the list. The list creator can view different options before selecting Create list.
Duplicating a Section
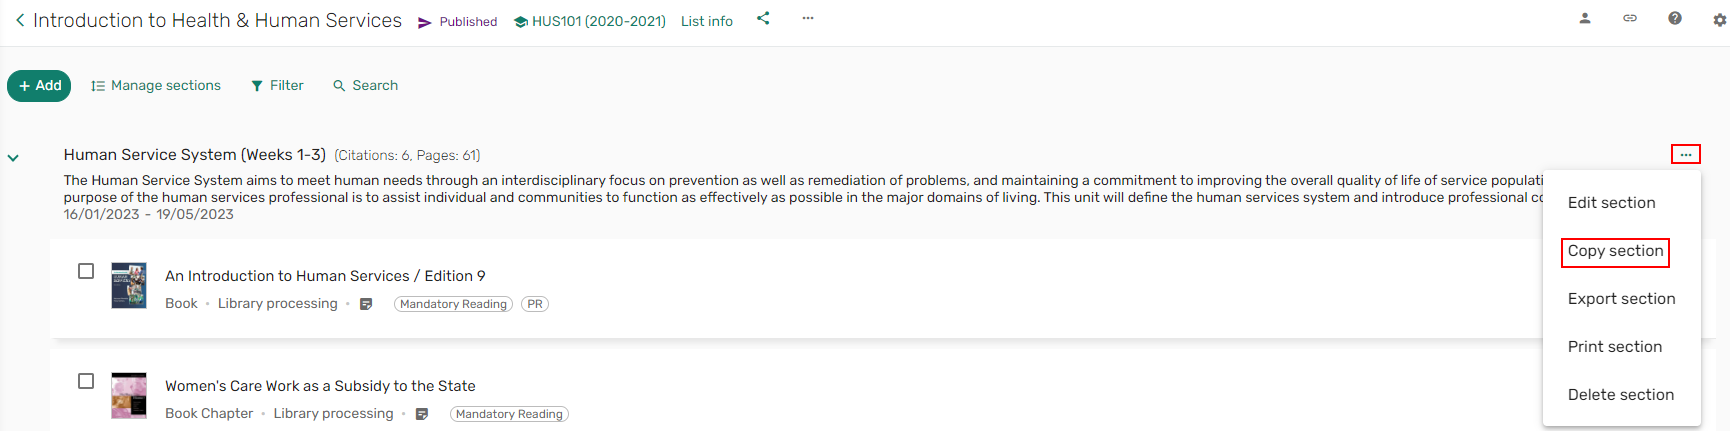
You can create a copy of a section, including all the items in the section. Sections can be copied to the same list or to a different list.
You must be the owner of the list to which you are copying the section.
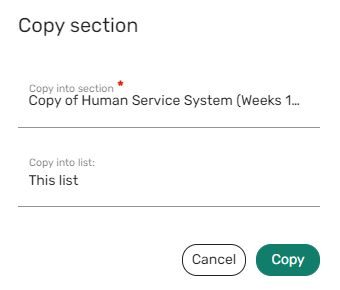
- Select Copy section in the section menu of the section that you want to copy.
 Copy section
 - Enter the new section's name.
- Select the list into which to place the new section.
- Select Copy.
 Copy section pane
New sections created by duplicating a section always appear directly below the duplicated section.
Deleting a Section
Any section that is no longer required can be deleted.
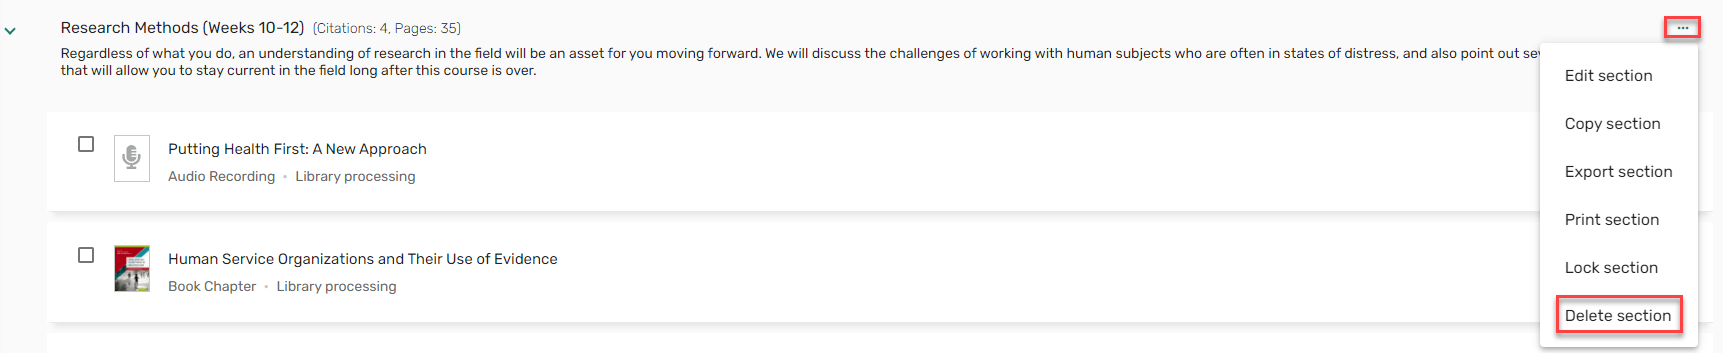
- From the section, select the section menu icon
 and select Delete section. The Delete section confirmation window appears.
 Delete section
 - Select Delete. The section and all its items are removed from the list.
 Delete section confirmation
Editing a Section
You can edit a section to make any required updates to the section.
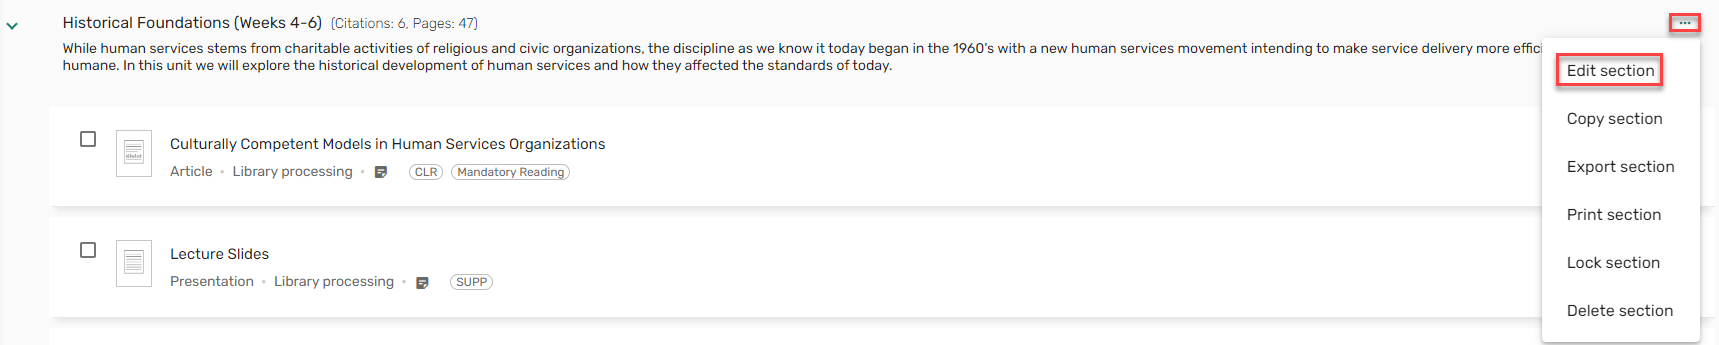
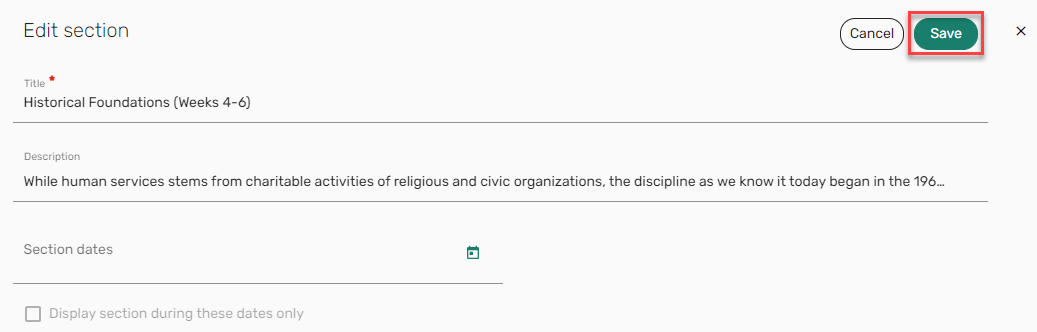
- From the section, select the section menu icon and select Edit section. The Edit section pane opens.
 Edit section
 - Make the relevant edits and select Save. Your changes appear in the section.
 Edit section
Indenting a Section
When configured by your library, the Indent/Outdent section action is available in the section action list. When selecting Indent section, the selected section is indented one level.
Indentations can only be applied to one level.
The indentation is only preserved in copied lists and rolled over lists.

Viewing a List as a Student
You can preview the list to see a student's perspective.
- Select View list as a student in the list menu. The list is displayed only with options available to students and a banner indicating that you are viewing the list in Student View.
Viewing notifications or recent list changes in student mode displays the instructor’s notifications.
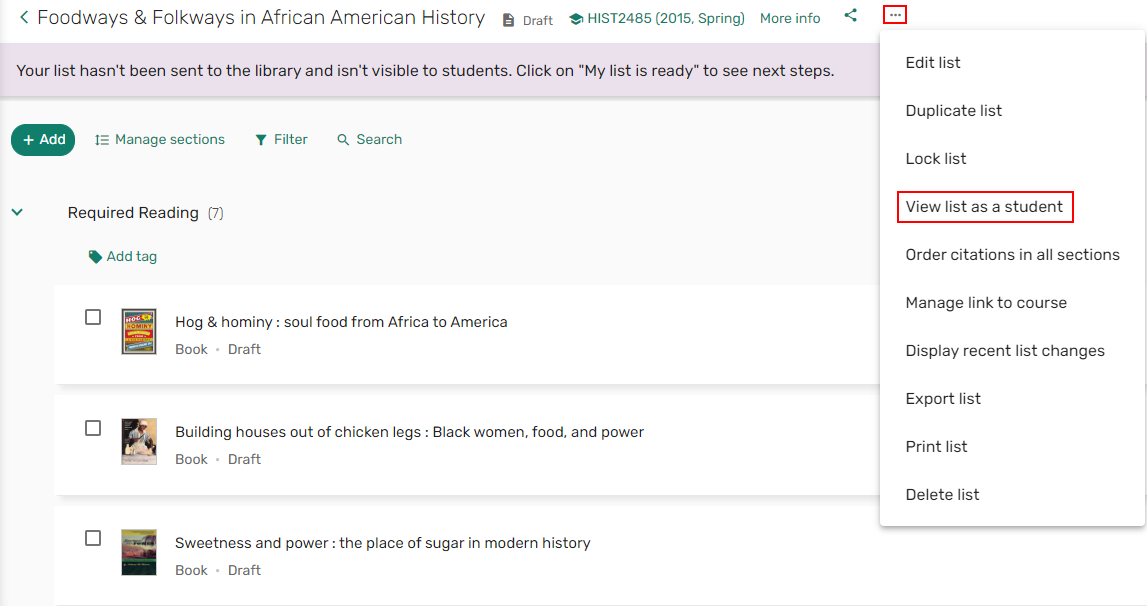 View list as a student option
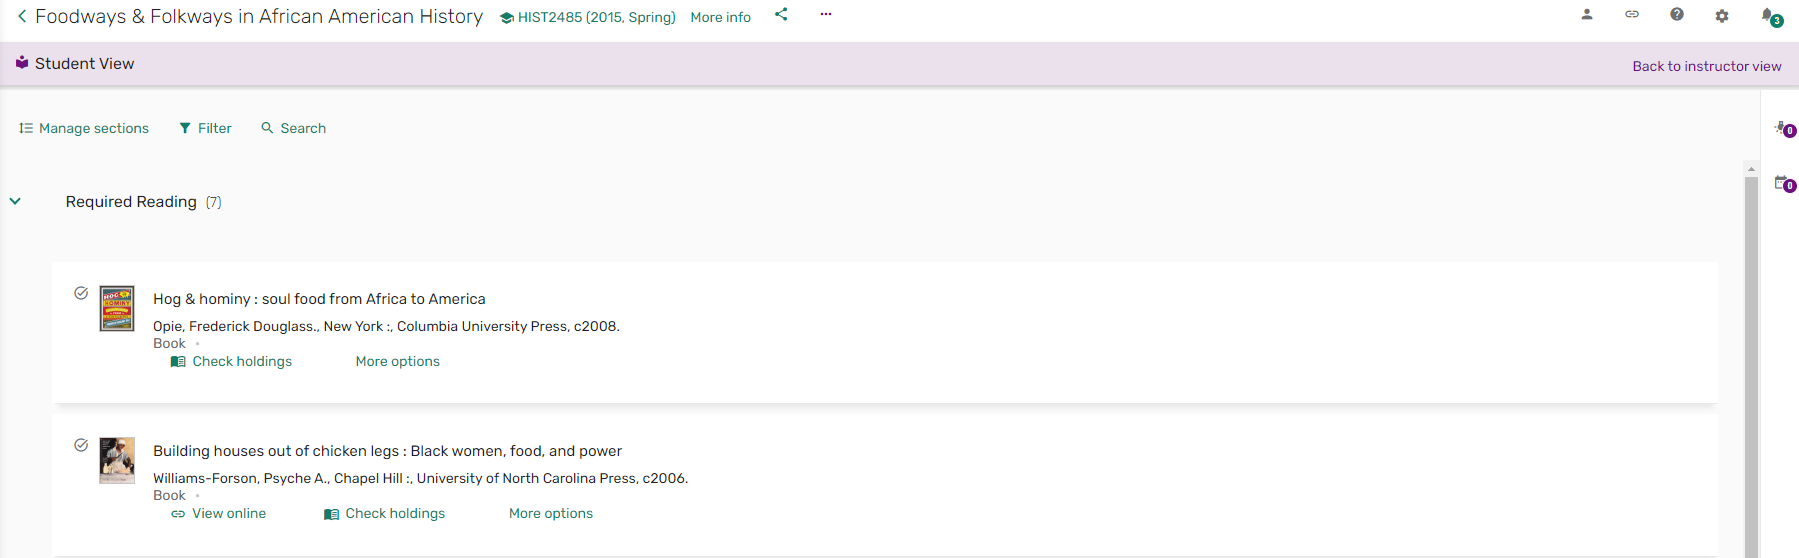 Student View