
Encouraging and Monitoring Student Engagement
For more information, watch Encouraging Student Engagement and Monitoring Student Usage.
Viewing Student Usage
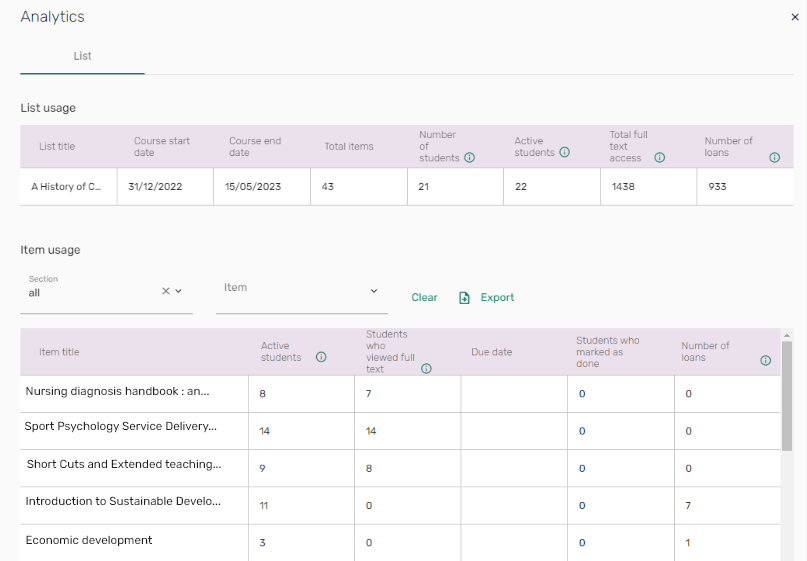
Instructors can view information about how students engage with lists and items. When the parameter list_analysis (Configuration > Leganto > Features > Leganto Features) is set to all, librarians, instructors, and students can view the list analysis. When the parameter is set to instructors, only librarians or instructors can view the list analysis. The Analytics information is updated daily.
When enabled, the Analytics icon  is displayed on the right pane of every list.

- Select the Analytics icon .
- From the List tab, you can view the list usage or any item usage by section. It is also possible to filter usage to a specific section or item.
 Analytics - List
OR
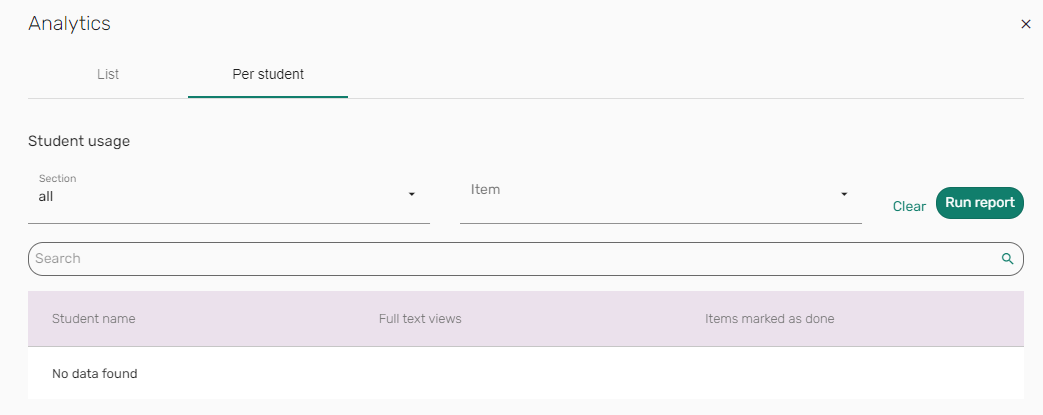
When enabled by the library, from the Per student tab, you can view the list usage or any item usage by section or for all sections on a per student basis.
 Analytics - Per student
Creating Private Annotations
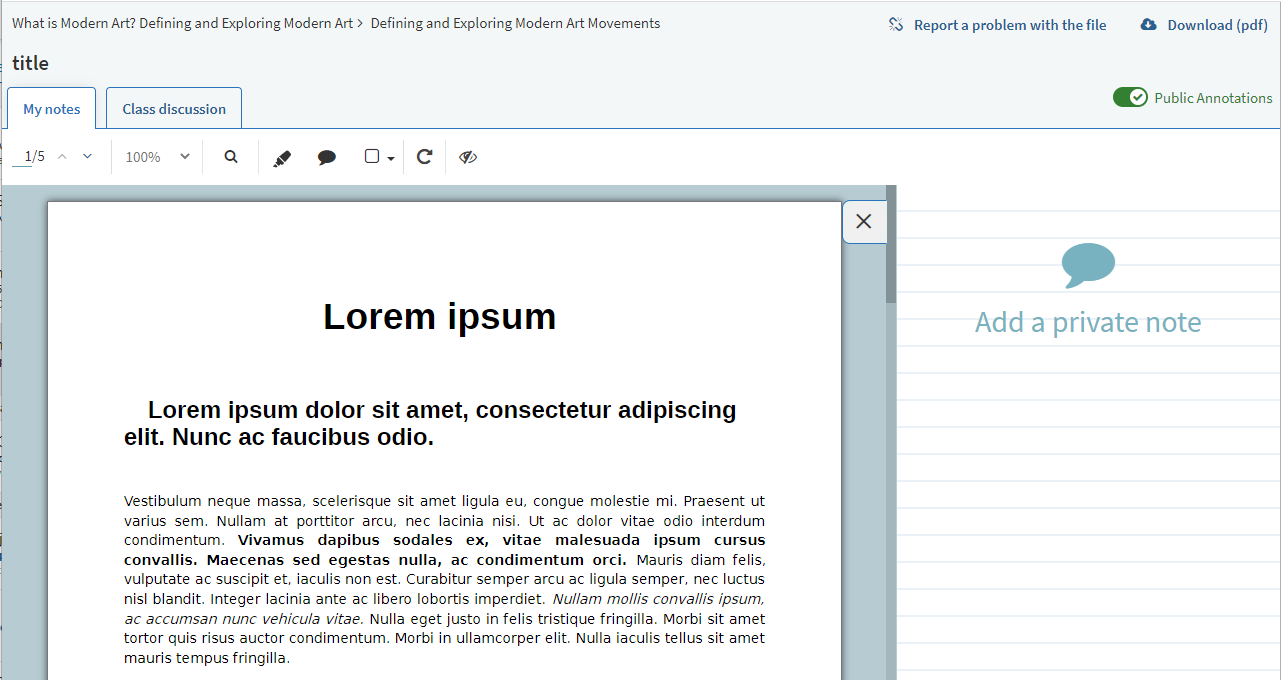
When enabled, a toggle appears on the Course Materials and you have the option to enable or disable Public Annotations on a per case basis. If Publication Annotations are enabled on the Course Materials, and a comment is added, the comment remains Private (default) and is only visible to the user who added the comment. If a comment is set to Public, the name of the person who wrote the comment, and the date and time of the comment are visible in the annotation menu. Public comments are searchable in the annotations menu. Each student's name appears in a different color above their comment, and instructor comments appear with an instructor icon next to their name. Instructors can delete public comments.
Private/public annotations are only copied when selecting Move item to the same list.
Below are the rules for when private/public annotations are not copied:
- Duplicating a list
- Selecting Save as favorite
- Copying a section/item to another list
- Copying a section/item to the current list
- Selecting Move item to a different list
|
Icon |
Functionality |
|---|---|
|
|
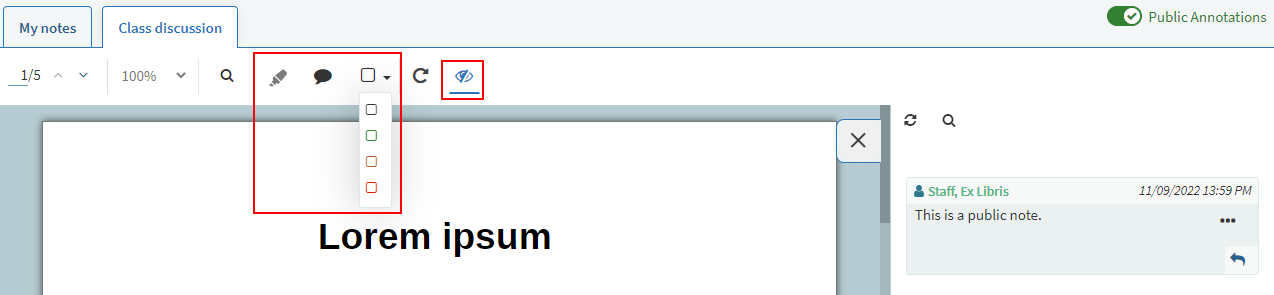
Highlight the marked text in yellow. The highlight option is disabled when working in the Class discussion tab. |
|
|
Add a comment. |
|
|
Add shape around a marked text with the selected color. |
|
|
Open the side panel. The panel can also be opened by selecting text in the file that has a comment. |
|
|
Open the PDF in full screen (or a new tab). |
|
|
Open a floating menu that includes highlighting and commenting. This option also allows selecting text in the PDF without using the selection icon in the menu. |
 |
Hide/show page annotations. When annotations are on the page, click the eye icon to hide the annotations. Click the icon again to display the annotations. |


.png?revision=1)

Social Reading: Public Annotations on Materials
When enabled by your library, users can add annotations and highlights to PDFs that are embedded in citations.
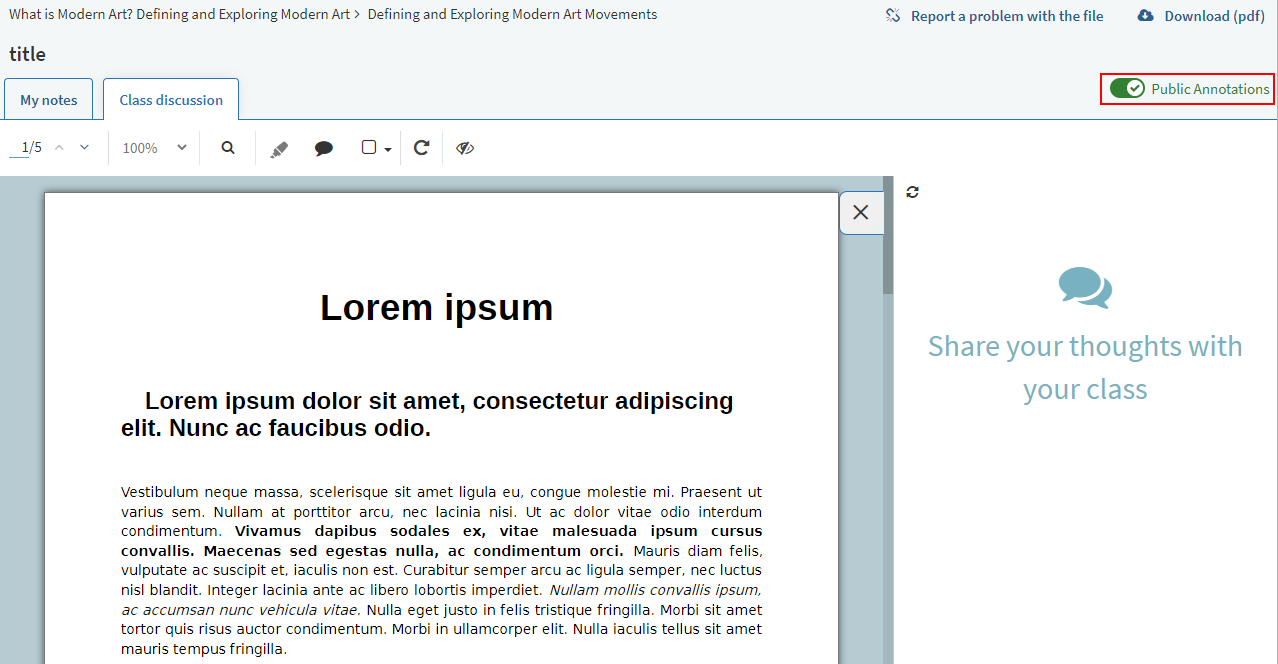
If Public Annotations are enabled on the PDF header, the user can select whether their annotation should be public or private. The default is Private, in which case the annotation is only visible to the user who added the annotation.
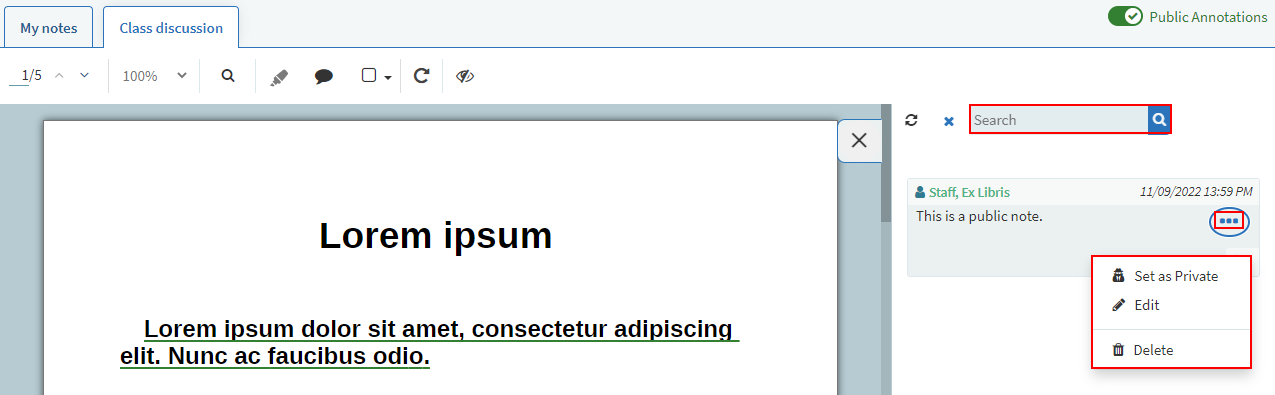
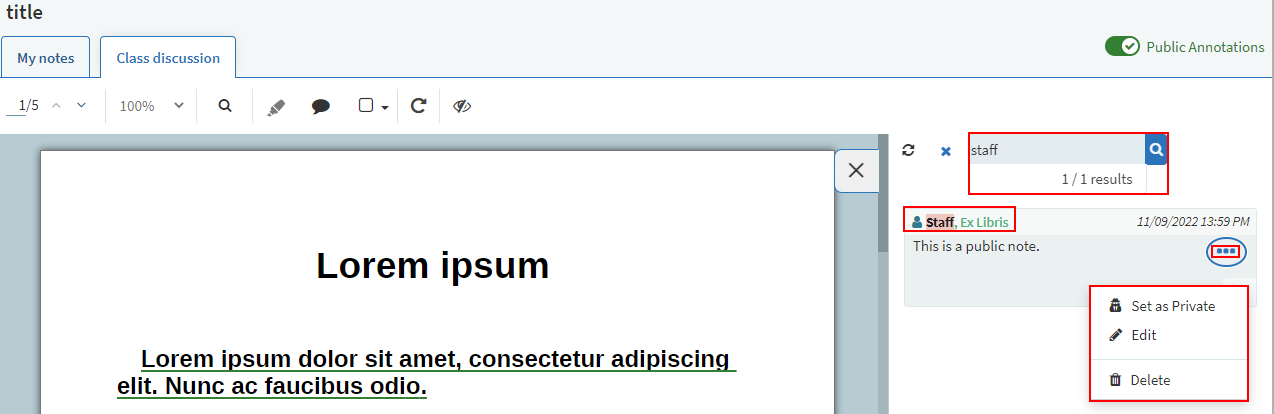
If an annotation is Set to Public, the name of the person who wrote the comment, and the date and time of the comment are visible in the annotation menu. Public comments are searchable in the annotations menu. Each student's name appears in a different color above their comment, and instructor comments appear with an instructor icon next to their name. Instructors can Set as Private, Edit, or Delete public annotations.
Users can also change their own comments from Public to Private, or from Private to Public.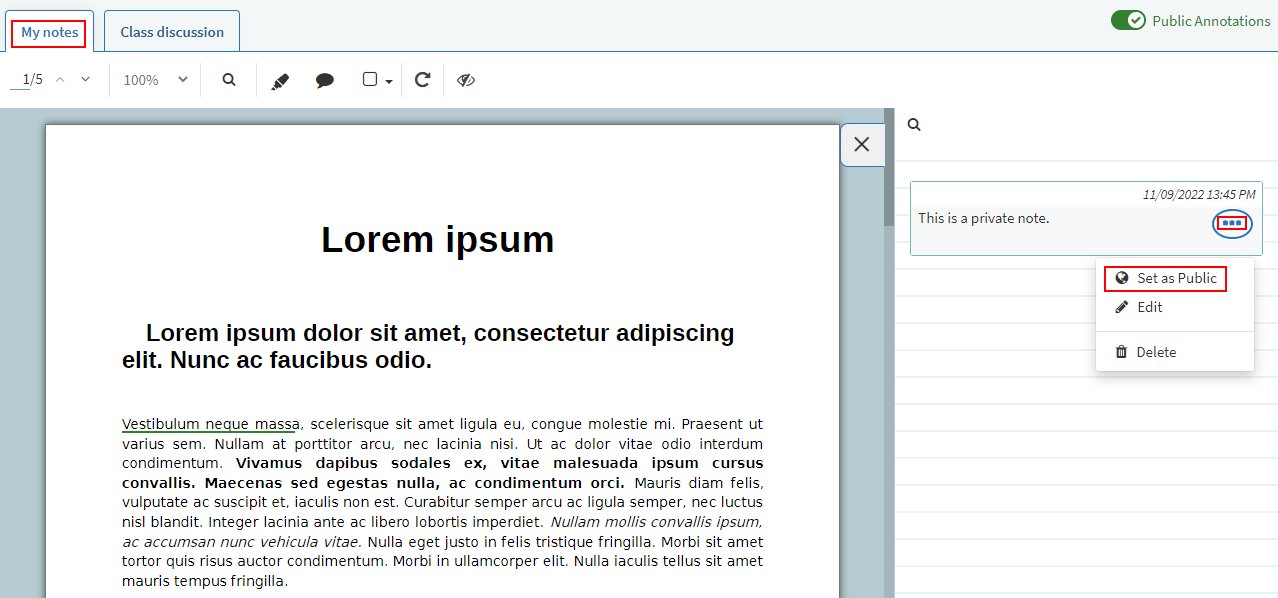
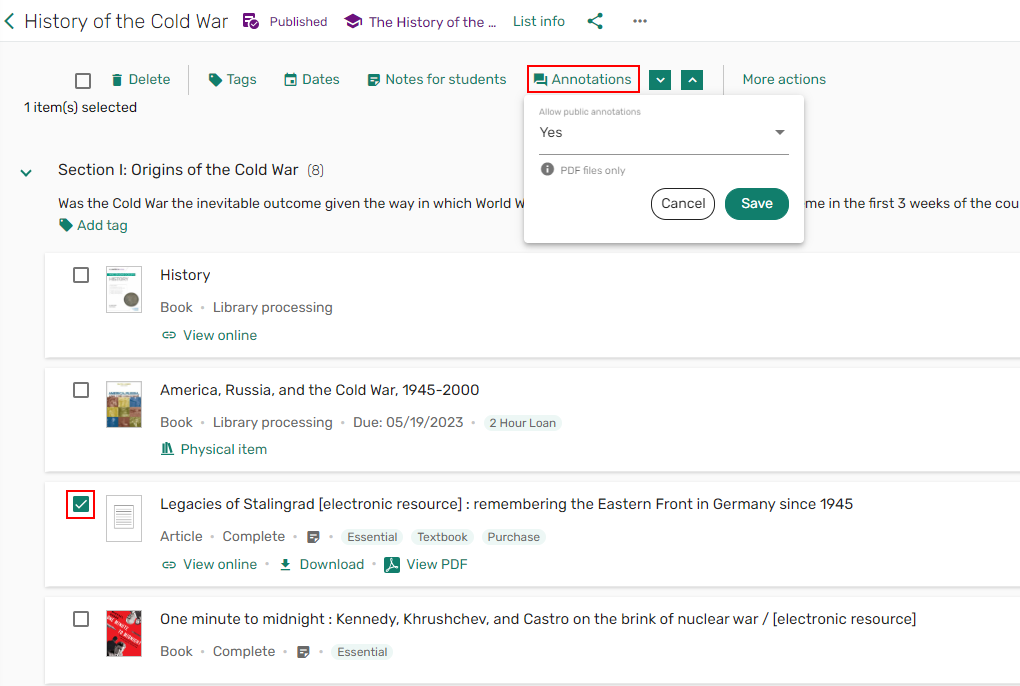
Additionally, Instructors can use the Edit Multiple Items menu in Leganto to enable or disable public annotations.
- Select an item. The bulk actions menu options appear.
- Select Annotations.
- From the Allow public annotations dropdown list, select Yes to allow public annotations on a PDF or No to disable public annotations on a PDF.
Annotations are stored as a separate layer on the file, visible only in Leganto and within the context of the reading list. They are not added to printed or downloaded versions of the file, and private/public annotations are only copied when selecting Move item to the same list.
Below are the rules for when private/public annotations are not copied:
- Duplicating a list
- Selecting Save as favorite
- Copying a section/item to another list
- Copying a section/item to the current list
- Selecting Move item to a different list
It is also possible to create annotation assignments. For more information, see Working with Assignments.
Suggestions
When the parameter suggestions (Configuration > Leganto > Features > Leganto Features) is set to all, librarians, instructors, and students can add suggestions to a list or view suggestions on a list. When the parameter is set to library, only librarians or instructors can add or view suggestions. When the parameter is blank, the Suggestions  icon is hidden. The suggestions are available per list and the Suggestion icon includes a counter to indicate how many suggestions there are for this list. Also see Viewing and Adding Suggestions for a List.
Suggesting an Item
Depending on your configuration, users can add suggestions to a list.
- From a list, select Add > Search the library. The basic Search the library pane opens.
- Enter your search criteria either using the basic search or advanced search options. See Searching for an Item from a Library.
-
Select the Add to list icon
 . The add item options pane expands.
 - Select Add to: Suggestions.
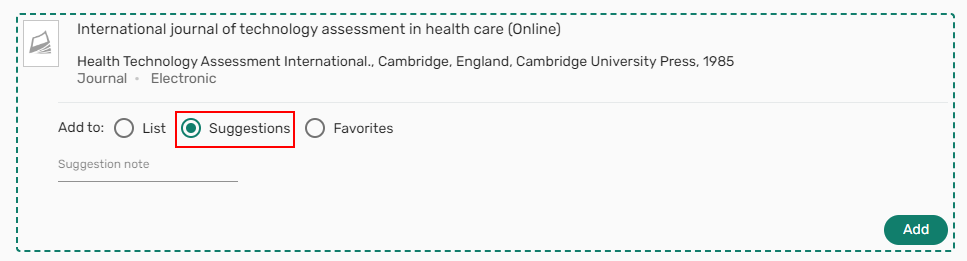 Add to: Suggestions
 - Optionally add a Suggestion note.
- Select Add to add the item to the Suggestions list.
Reviewing Suggestions
Depending on your configuration, users can add suggestions to a list.
- From a list, select the Suggestions icon
 . The Suggestions pane opens displaying possible suggestions.
 - To add a suggestion from the List suggestions, select the Add to list icon . The add item options pane expands.
- Select Add to: List or Favorites.
 Add to: List or Favorites
 - When adding suggestion to a list, you can select the section to which you want to add the suggestion.
- Select Add to add the item to the List/Favorites or select Add & Edit to open the Item details to edit the item after adding the item to the list.
Sharing Links
Leganto includes links to courses, lists, sections, and items. Leganto can generate links to be used in an LMS or on any website, email, document, etc. The link directs the user to the appropriate page in Leganto.
Linking to a List or a Course
You can link to a list or a course associated with a list using the list shareable link (for embedding on any website, email, and so forth) or an LMS link (for embedding in your LMS). For more information, see Direct Linking. Depending on your library's configuration, when anyone accesses Leganto using the link, they see the list in Leganto.
- Select the list share icon
 on the list menu or the List info screen.
 List menu shareable link
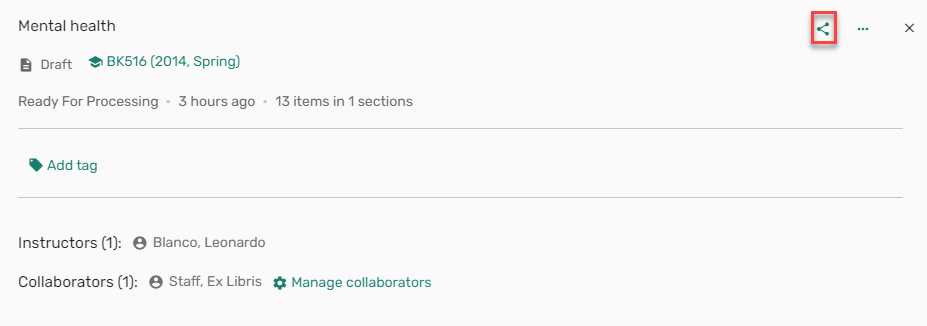 More info shareable link
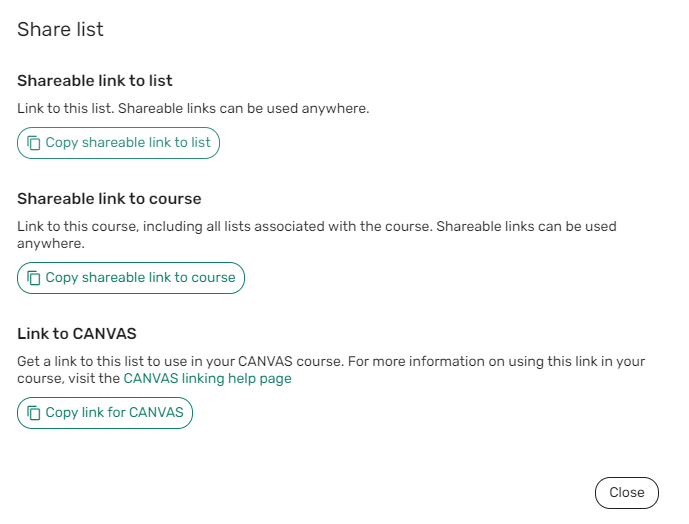
 - Select Copy sharable link to list/course.
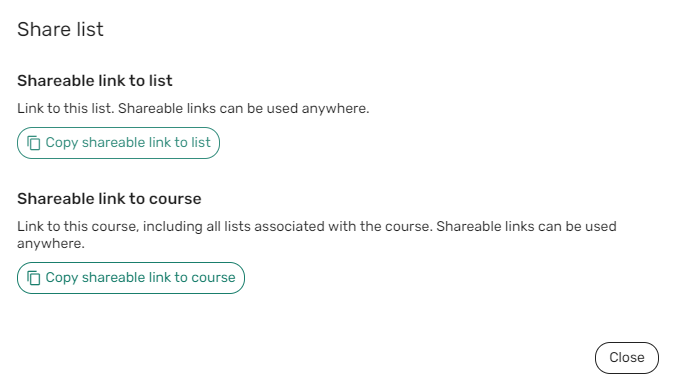 Share list options
The link is copied to your clipboard and can be embedded on a website or on a syllabus, or pasted in an email.

- Select the list share icon on the list menu or the List info screen.
LMS List menu shareable linkLMS More info shareable link
- Select Copy sharable link to list/course or Copy link for <LMS name>.
 Share LMS list options
The link is copied to your clipboard. Select the link on the page for further instructions about how to use the link in your course, or see Direct Linking for more information.
Linking to a Section
When enabled, (shareable_link (Configuration > Leganto > UI > Section Menu) set to Yes), you can link to a section using the section shareable link (for embedding on any website, email, and so forth) or a section LMS link (for embedding in your LMS). Depending on your library's configuration, when anyone accesses Leganto using the link, they see the list in Leganto filtered by that section.
- Select the Share section icon . The Share section window opens.
 Section shareable link
 - Select Copy sharable link to section and select Close.
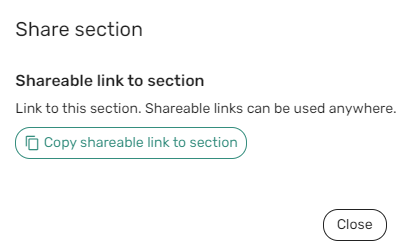 Share section
The link is copied to your clipboard. Select the link on the page for further instructions about how to use the link in your course, or see Direct Linking for more information.
Linking to an Item
You can link to an item using the item shareable link (for embedding on any website, email, and so forth) or an item LMS link (for embedding in your LMS). Depending on your library's configuration, when anyone accesses Leganto using the link, they see the item in Leganto.
- Select the share item icon .
 Item menu shareable link
 - Select Copy sharable link to item.
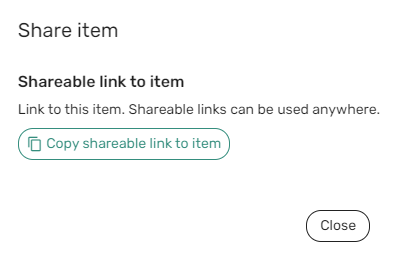 Share list options
The link is copied to your clipboard. Select the link on the page for further instructions about how to use the link in your course, or see Direct Linking for more information.
Link copied notification