
Widgets
Configuring Widgets
To configure widgets, you must have the following role:
- General System Administrator
In addition to the pre-defined widgets (see Managing Widgets) and Analytics widgets ( see Working with Analytics Objects), Alma lets you link to other widgets to allow staff users to display them on their Alma home page.
Widgets are 497 pixels wide and a maximum of 300 pixels high. If the contents appearing in the widget exceed these dimensions, vertical and/or horizontal scrollbars are automatically added.
Widgets cannot be created from dashboards.
The Customized Widgets page (Configuration Menu > General > Widgets > Customized Widgets) enables you to configure additional widgets.
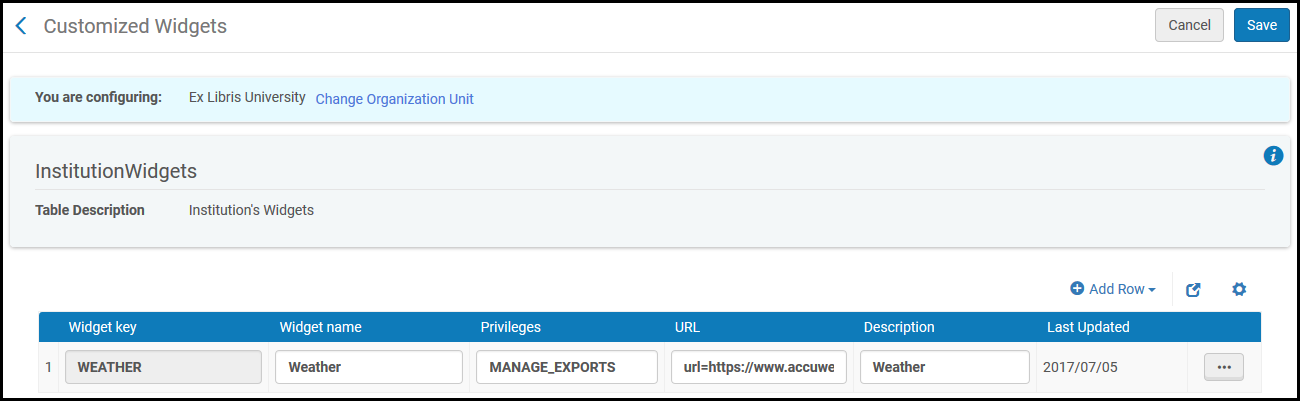
Customized Widgets Page
Pre-defined widgets (such as Discovery Search and Primo Dashboard) cannot be removed.
For additional information on widgets:
- For information about the Scheduled Jobs Status widget, see Viewing Scheduled Job Summary Status.
- For information about configuring notification in the Notification widget, see Configuring the Home Page Notification Widget.
- For information on the Primo dashboard and search box, see Adding Primo Search Box to the Alma Home Page. This is applicable to Alma-Primo environments only.
- For information about the Discovery Search widget, see Configuring the Discovery Search Widget. This is applicable to Primo VE environments only.
- To manage widgets on your home page, see Managing Widgets.
Adding a Widget
The widgets you add on the institution level apply to all libraries within the institution.
To add a new widget:
- On the Customized Widgets page (Configuration Menu > General > Widgets > Customized Widgets), select Add Row and enter a key and name for the new widget. The widget name will appear above the widget. The widget key is a permanent name that cannot be edited.
The Widget key cannot have any spaces. Use underscore ('_') instead of the space, if needed.
- Enter the following:
- The URL must be HTTPS. If you enter a non-HTTPS URL, the widget will not appear in the dashboard.
- The web page must allow itself to be embedded in an X-Frame. Please note that pages in the Ex Libris documentation and Ideas Exchange do not allow themselves to be embedded in an X-Frame, and therefore cannot be used for widgets.
- Privileges – Indicates the privileges necessary to add and view the widget. Leave blank for all privileges.
- URL – The URL of the Web page that was created to serve as the widget. (Do not add url= before the URL; Alma adds this.)
- Description – A description of the widget
- Select Add Row. The new widget is saved and appears at the bottom of the list of defined widgets.
- Select Save to store the new widget details.
A user can add any widget defined here to the Alma home page; see Managing Widgets.
To delete a widget, select Delete in the row actions list.
Configuring the Homepage Notifications Widget
To configure the Notification widget, you must have the following role:
- General System Administrator
The Home page Notifications widget displays general announcements and information from your institution. Users can include or dismiss the widget from their home page, like any other widget.
To display important notifications for all users, consider using institution notifications. For more information, see Configuring Institution Notifications.
You configure the notifications that appear in this widget on the Home page Notifications page (Configuration Menu > General > General Configuration > Homepage Notifications).

Home Page Notifications Page
To configure the Notifications widget:
- On the Home page Notifications page, select Add Row and fill in the following fields:
- Icon - Select one of the icon types:
- Bell
- Calendar
- Checkmark
- Exclamation Mark
- Settings
- Star
- Tools
- Title - A title for the notification.
- Message – The message that you want to appear in the Notifications widget
- Message URL – The URL to which you want the message to link
- Description – A description of the message (for internal use)
- Icon - Select one of the icon types:
- Select Add Row to add the message to the Notifications widget.
- Select Save to save your changes.
To delete a notification, select Delete in the row action list.
The notifications in the widget are sorted by their update date (descending).