
Configuring Project Management on the Research Hub
The Projects feature is only available to Esploro Advanced Edition customers.
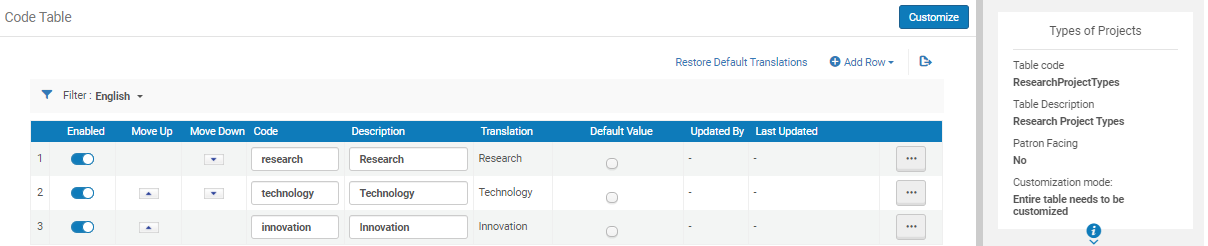
Research Project Types
Project Type is one of the fields that appears when adding or editing a project.
-
To add a new field, select Add Row.
-
To enable/disable the fields, switch on/off the toggle in the Enabled column.
-
To reorder fields use the Move Up/Move Down arrows.
-
To select a default value for the field, select the Default Value button.
-
To delete the field, select the row actions menu button to the right of the field and select Delete.
Project Description Types
Projects can include multiple text areas in which different types of project descriptions can be entered. For example, they may have a General description and a specific description of the Methods employed by them. These descriptions can be added and managed in the hub or by researchers in their profiles in the portal. The General description appears in the portal in both the short description of the project that appears in the search results, and the full project page. Other descriptions appear only in the full project page.
You can enable or disable project description types, change their display names, create additional types, and delete existing types. The order in which the description types appear in the configuration is the order in which they appear in the full project page in the portal.
Navigate to Configuration > Research Administration > Projects > Project Description Types. The Project Description Types code table appears.

-
To add a new description type, select Add Row.
-
To enable/disable a type, switch on/off the toggle in the Enabled column.
-
To reorder the types, drag their
 icons up or down.
 -
To delete a type, select the row actions menu button to the right of the field, and then select Delete.
For more information on code tables, see Code Tables.
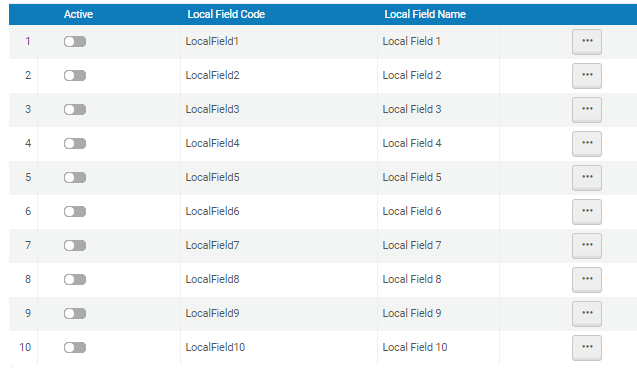
Project Local Field Names (Additional Fields)
Additional Fields appear when adding or editing a project. When configuring these fields, they are referred to as Local Fields.
-
To show/hide the fields, switch on/off the toggle in the Active column.
-
To edit a field, select the row actions menu button to the right of the field, select Edit from the row actions menu and then update the Name.
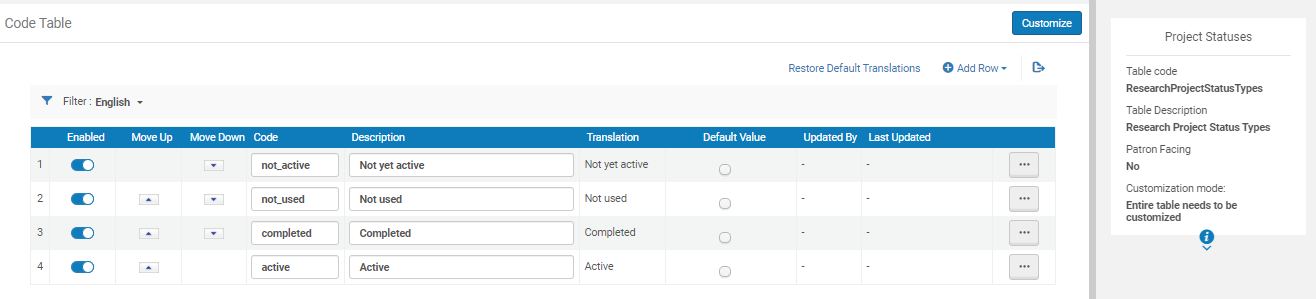
Project Statuses
Project Statuses appear when adding or editing a project.
-
To enable/disable the fields, switch on/off the toggle in the Active column.
-
To reorder fields use the Move Up/Move Down arrows.
-
To update the Code and/or Description, overwrite the values in those fields.
-
To select a default value for the field, select the Default Value button.
-
To delete the field, select the row actions menu button to the right of the field, select Edit and then select Delete.
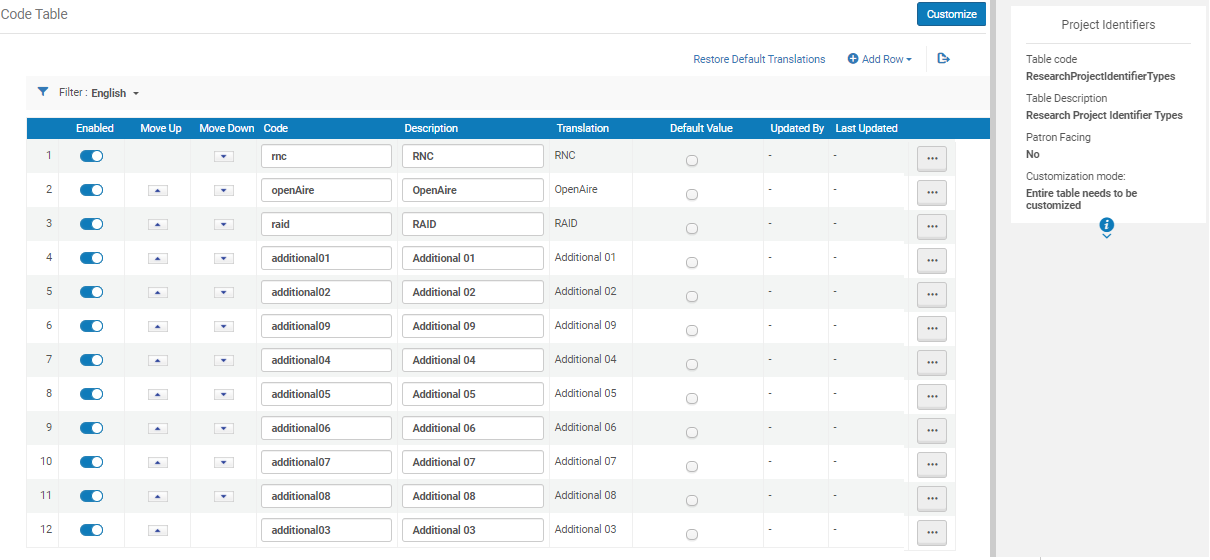
Project Identifiers
Project Identifiers appear when adding or editing a project.
-
To enable/disable the fields, switch on/off the toggle in the Active column.
-
To reorder fields use the Move Up/Move Down arrows.
-
To update the Code and/or Description, overwrite the values in those fields.
-
To select a default value for the field, select the Default Value button.
-
To delete the field, select the row actions menu button to the right of the field, select Edit and then select Delete.
For more information on code tables, see Code Tables.
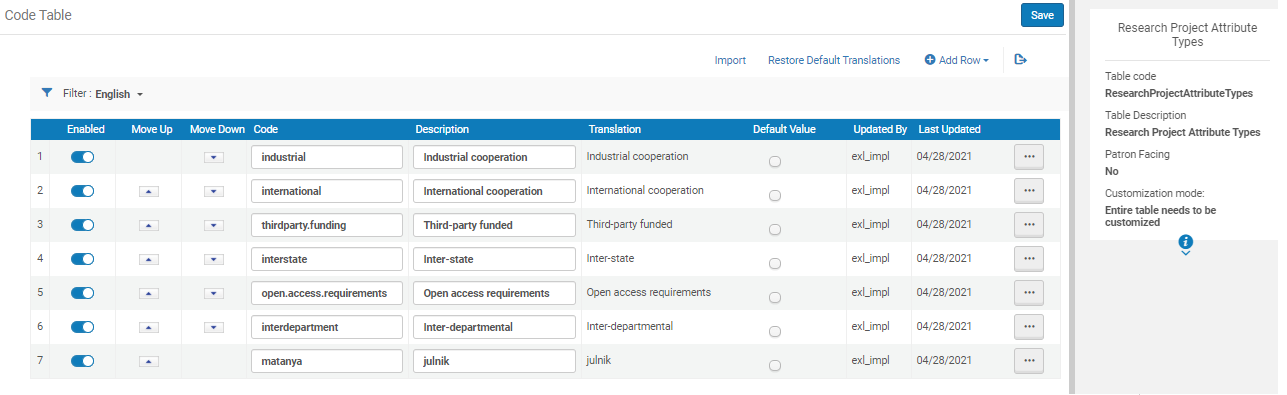
Project Attributes
Project Attributes appear when adding or editing a project.
-
To enable/disable the fields, switch on/off the toggle in the Active column.
-
To reorder fields use the Move Up/Move Down arrows.
-
To update the Code and/or Description, overwrite the values in those fields.
-
To select a default value for the field, select the Default Value button.
-
To delete the field, select the row actions menu button to the right of the field, select Edit and then select Delete.
For more information on code tables, see Code Tables.