
Working with Activities
Overview
The Activities feature is for Esploro Advanced Edition customers.
Researcher activities can be managed in the research information hub. An activity in Esploro relates to researcher actions that support research, e.g., service to the profession, supervision of students, etc. This page describes working with activities. To configure activities, see here.
You must have the following role to manage activities:
- Activities Manager
For an overview of managing researcher activities in Esploro, watch the Activities video (4:17).
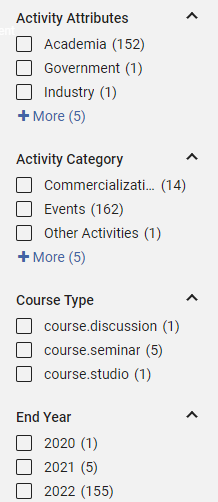
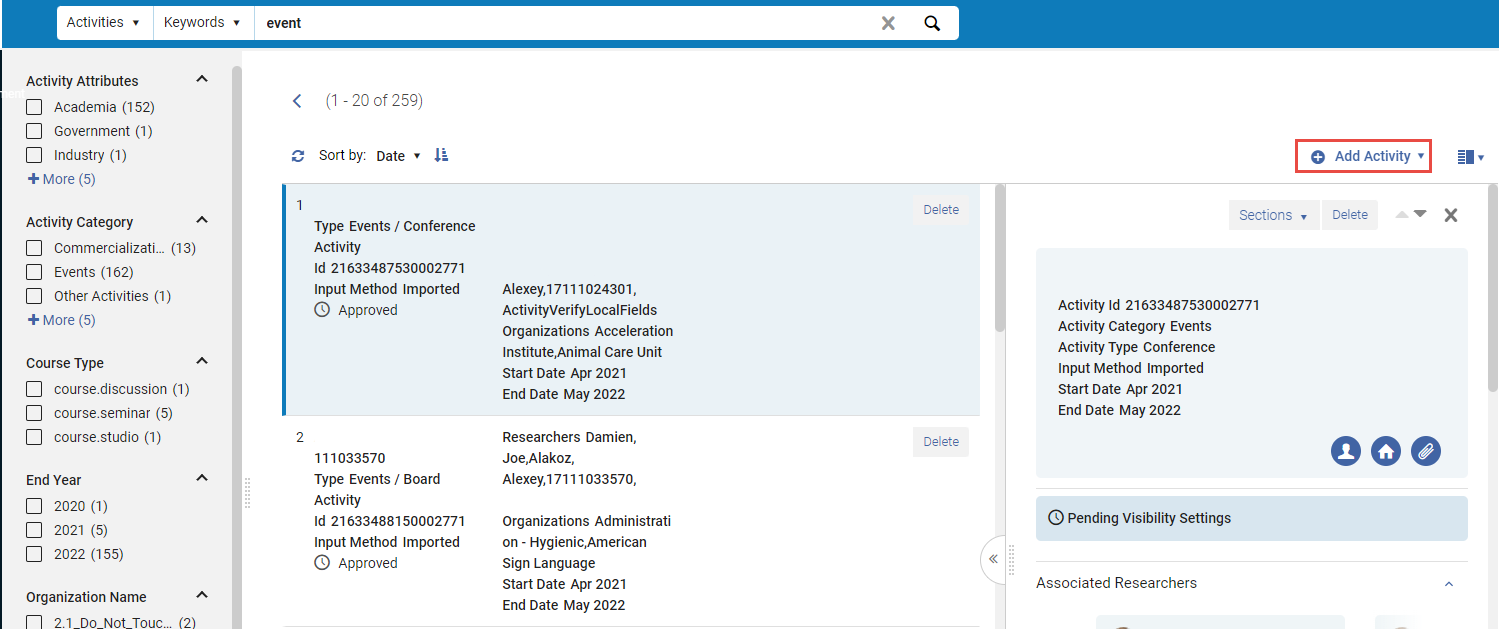
Searching and Viewing Activities
You can view and search for activities in the Manage Activities page accessed from Research Management > Manage Activities.

Adding Activities
You can add activities in the Manage Activities page accessed from Research Management > Manage Activities. Select Add Activity.
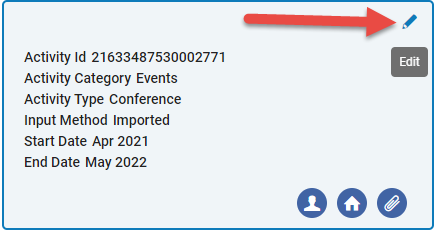
Editing Activities
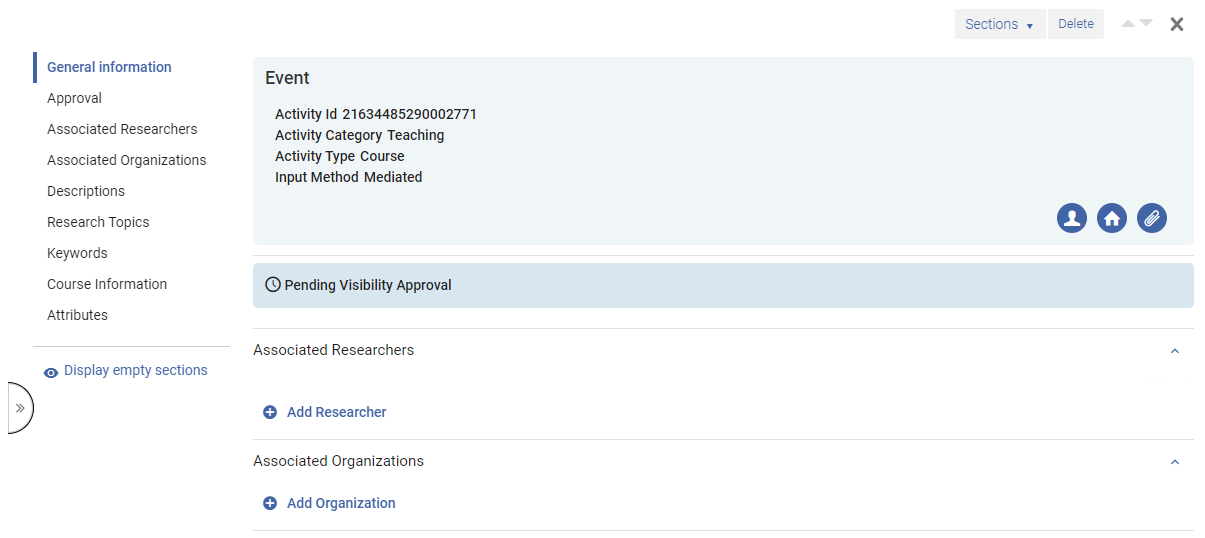
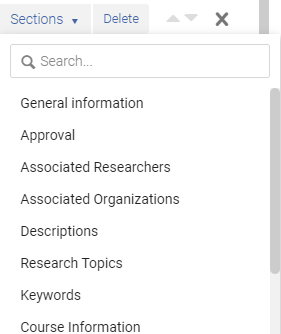
Activity Sections


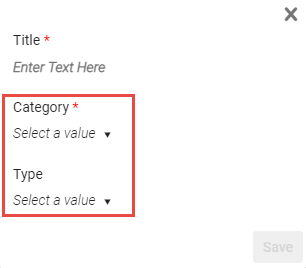
General Information
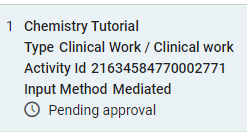
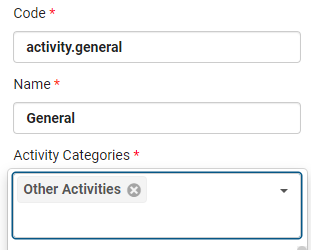
This includes general information such as the activity ID, category and type. This information appears in the activity brief summary.
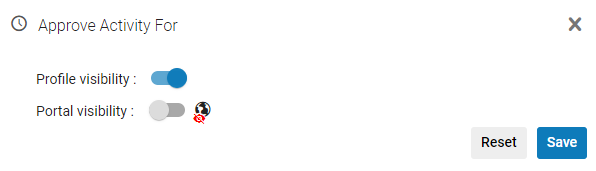
Approval for Visibility
Use the sliders to enable/disable visibility of this activity on the profile and/or the portal.
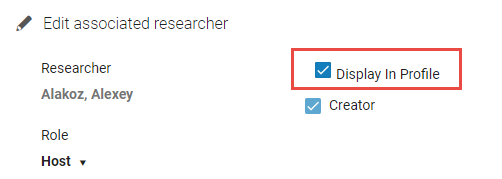
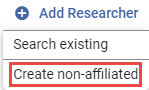
Associated Researchers
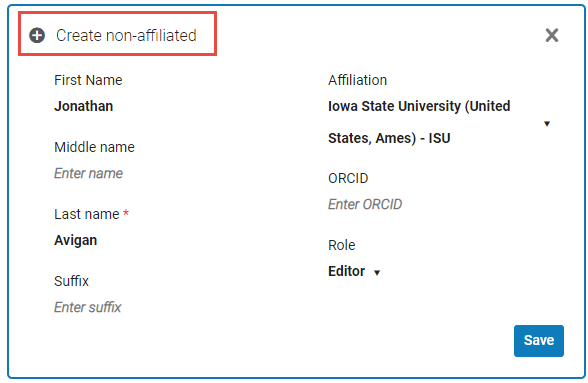
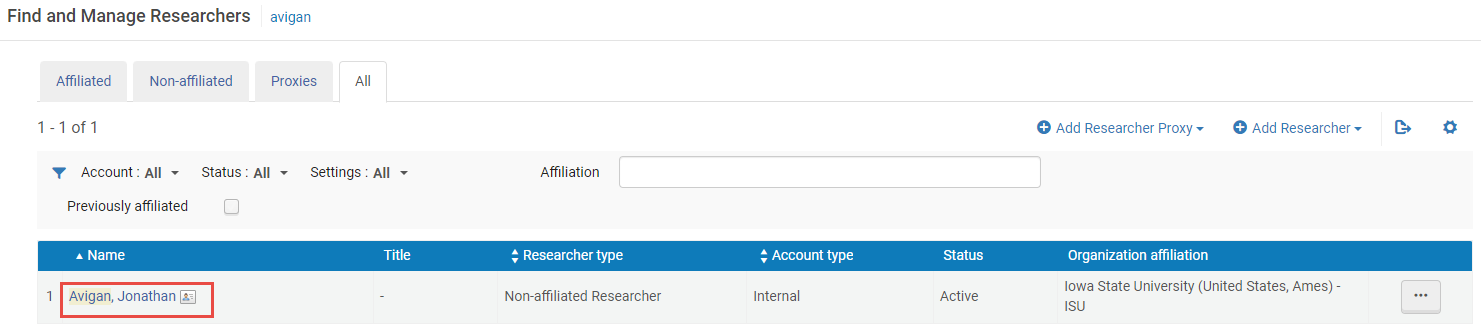
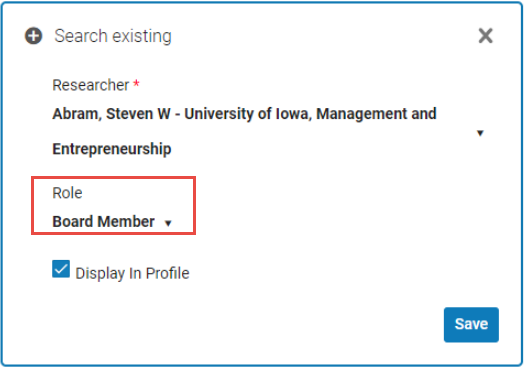
You can add an associated researcher from the Associated Researchers section.

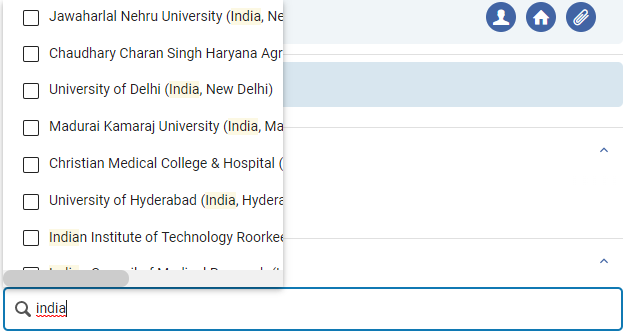
Associated Organizations
Select the organization/s from the list and then select the Save icon.
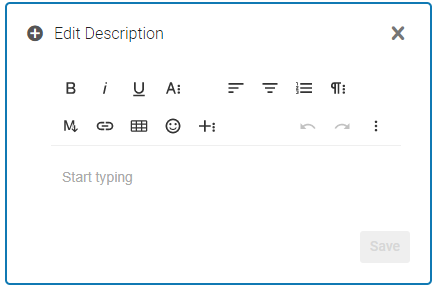
Descriptions
Depending on the institution configuration, you can select from a list of languages for the description. See the note in Searching and Viewing Activities for more details.
A WYSIWYG window appears for adding the description.
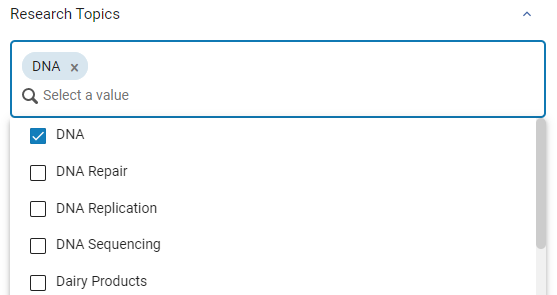
Research Topics
Select a topic indicating the specific field of research.
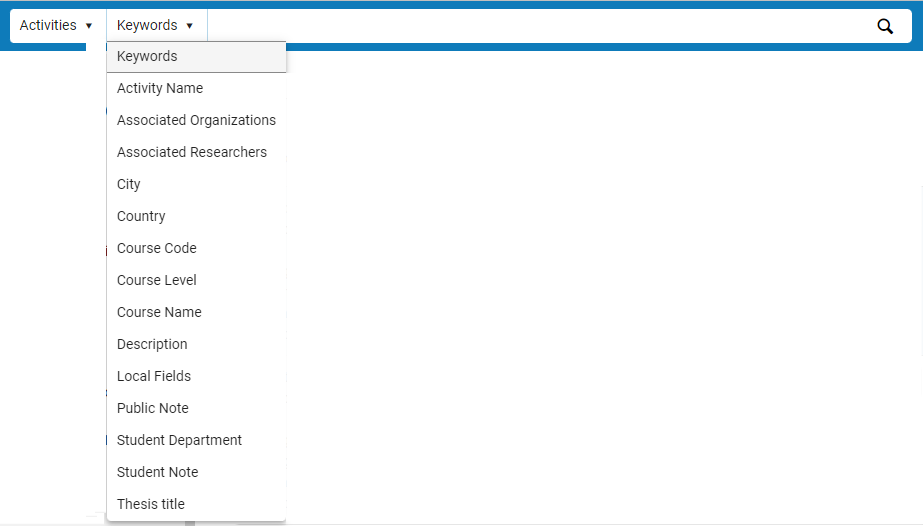
Keywords
Keywords act like tags that are used for searching activities. Enter the keywords as free text. Note that after writing the keyword/s, you need to press ENTER on the keyboard or click with the mouse in order to enter the information, before clicking Save.

Depending on the institution configuration, you can select from a list of languages for the description. See the note in Searching and Viewing Activities for more details.
Locations
This section allows you to add an address/es to an activity.
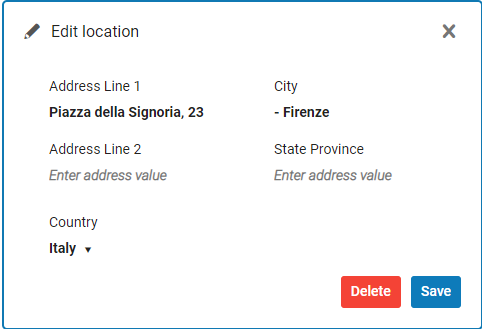
You can configure the list of countries at Configuration > General > Country Names.
Students
For activities in the Supervision, Advising and Mentoring category, a Students section is included in the activity information. The names of students who are being supervised, advised, or mentored as part of the activity can be added in this section. They appear in the portal, both in the short and the long forms of the activity's display.


Thesis Information
For activities in the Supervision, Advising and Mentoring category, a Thesis Information section is included in the activity information. This information is displayed in the portal, in the long form of the activity's display.
The options that appear under Thesis Level can be configured; see Configuring Thesis Levels for Activities.


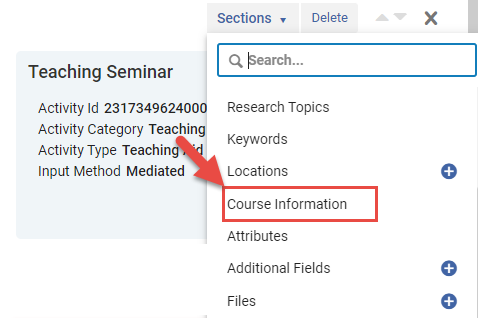
Course Information
For activities in the Teaching category, a Course Information section is included in the activity information.


Publication Information
For activities in the Service to the Profession category, a Publication Information section is included in the activity information.

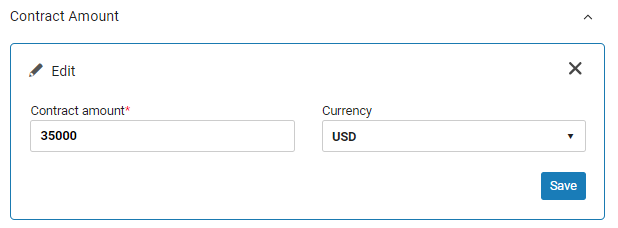
Contract Amount
For activities in the Commercialization category, a Contract Amount section is included in the activity information.
Attributes
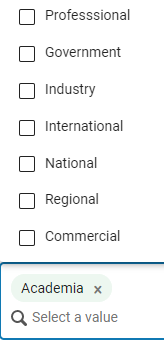
The attributes define the scope or main areas that the activity relates to. To add attributes, go to the Attributes section of the activity and select the relevant attributes.
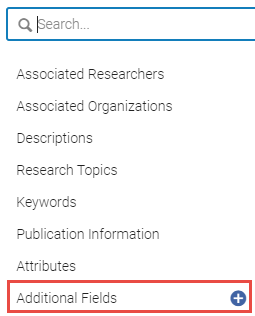
Additional Fields
This section allows the researcher to select from a list of additional fields.
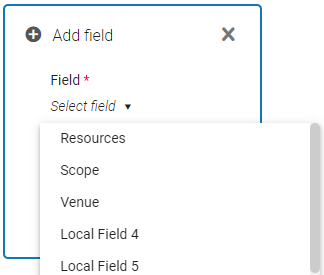
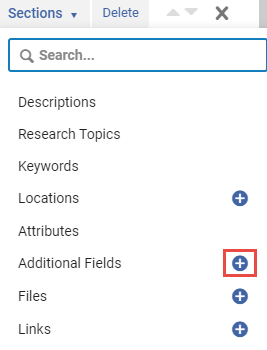
By default, this section is not visible. To activate it, select the + icon in the Sections drop down list.
For configuration, these fields are called Local Fields. See Configuring Local Fields for more information.
Files
Browse for a file or drag and drop the file into the section.

From the row actions menu you can edit the file information, remove the file or download it.

By default this section is not visible. To activate it, select the + icon in the Sections drop down list.
The file access rights apply to the researcher portal and profile. For example if a file is marked with an Access rights policy of Closed, users will not be able to access that file in the profile (in the Files and links section).
See Configuring Files and Links for details on configuring file information for activities.
Links
Select Add Link to add a link to the activity.
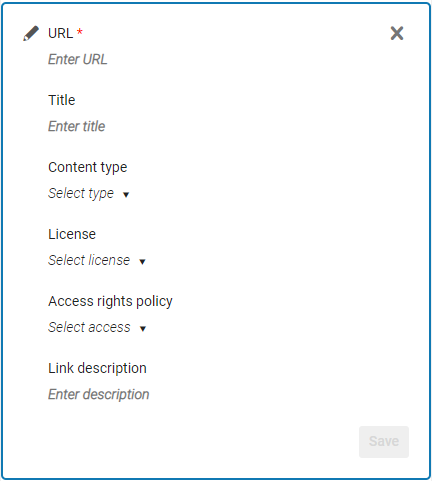
From the row actions menu you can edit or remove the link.
By default this section is not visible. To activate it, select the + icon in the Sections drop down list.
The Access rights policy for links applies to the researcher portal and profile, in the same way as for files.
See Configuring Files and Links for more information.
Related Assets Section
The Related Assets section allows you to link the activity to assets in the database that are relevant to the activity - publications, datasets, creative works, etc. By default, related assets are displayed in the activity page in the Portal. Once you have added an asset, you can choose to hide it from the Portal if you wish.
- In the Related Assets section, select Add Related Asset.
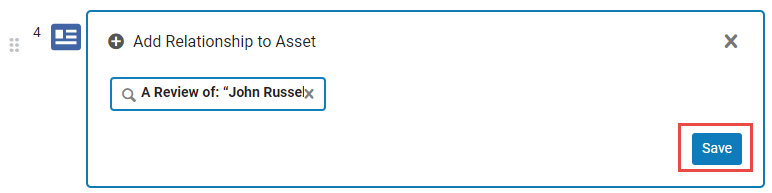
- In the search box, enter either a word or phrase that appears in the title of the asset, or an asset ID. Assets that meet the search criteria are listed under the search box.
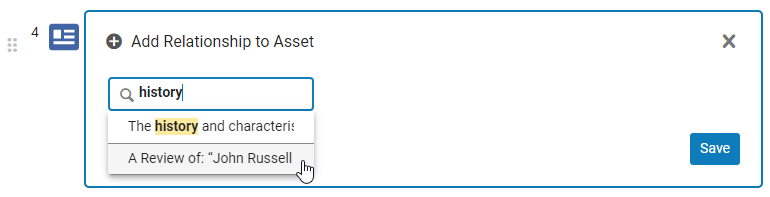
- Select an asset, and then select Save. The asset is added to the list of related assets.
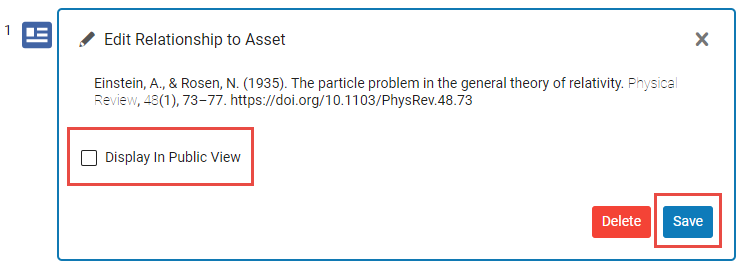
- If you do not want the asset to appear in the activity's page in the portal, select the asset, and then clear the Display in Public View checkbox and select Save.
If multiple assets are related to a activity, you can change the order in which the assets appear by dragging their Drag icons (![]() ) up or down.
) up or down.

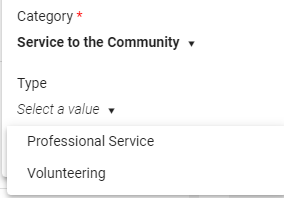
Categories and Types
Every activity must have a category, while types are optional.
Import Activities in Bulk with the Loader
This section describes how to upload activities in bulk using a spreadsheet.
You can also upload activities using the API. For additional information, see Esploro Activities in the Developer Network.
For a video on this topic, see How to Upload Activities in Bulk (4:03).
- Navigate to Research Management > Import Researcher Activities.
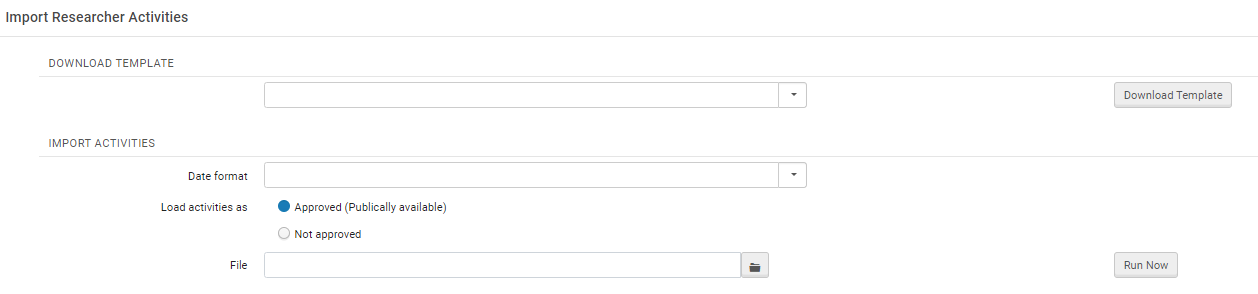
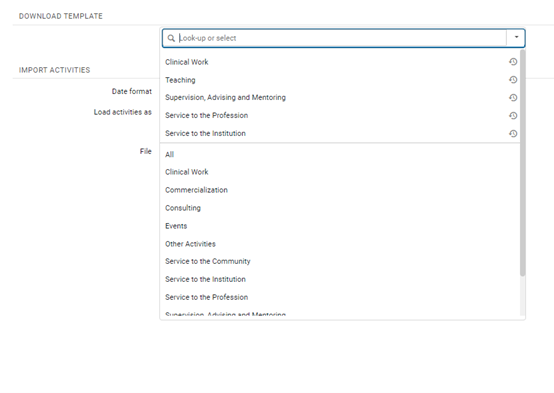
- In the DOWNLOAD TEMPLATE section, select the relevant type category from the drop down list. You can choose All to download columns for all categories.
- Select the Download Template button. This will download an empty template with the required columns.
- Fill the information into the template.
-
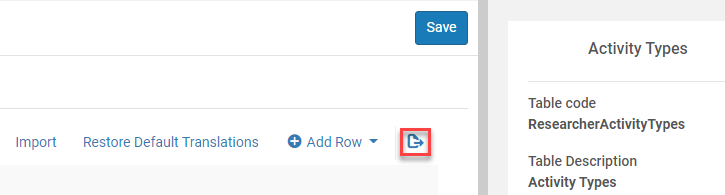
For lists with a fixed set of values such as categories and activity types, you need to fill the values with the exact code name. Since the values are customizable, you should download the relevant table in order to see the correct values to use. To download a table, select the Export list button. For a list of the tables that can be configured, see Configuring Activities.
-
Categories are mandatory for activities and must be filled in the template, while types are optional. For details on identifying the codes for categories and types see Working with Activity Categories and Types for Importing with the Loader
-
For columns with multiple values i.e., activityKeywords, activityAttributes and researcherUserID you need to separate the values with a semi colon without spaces e.g., keyword1;keyword1.
-
The activityStartDate and activityEndDate must be in the correct format as defined in the Date format field.
Partial dates are supported. For example, if the Date format is defined as dd-MM-yyyy, and you fill 25-12-2021, or 12-2021, or 2021, in all these cases the date will be accepted.
-
-
Verify the settings for the Date format and Load Activities as.
-
Date format: Define the format that will be used for the date
-
Load activities as: Define whether the activity will be Approved (publicly available on the profile) or not.
-
-
Select the Input File button to locate the file to upload.
-
Select the Run Now button. This will upload the file and run the Import Researcher Activities job to import the activities into Esploro.
-
After the activities have been loaded into Esploro via the job, a report is emailed to the operator to let them know that the job ended. You can also view the job as described in Viewing Running Jobs and Viewing Completed Jobs.
The system currently supports up to 50 000 rows.
Working with Activity Categories and Types for Importing with the Loader
The following tables list the out of the box codes for categories and types, that are required when importing activities with the Loader. This is supported with .XLSX and XSL formats. Since the tables are customizable, if any changes were made, you should download the Activty Types Mapping table and get the codes from there. Note that in the downloaded file, the Target Code Combo Code column represents the type and the Source1 Combo Code column represents the category. For instructions on downloading activity tables see here.
Activity Categories
| Activity Category Code | Activity Category Name |
|---|---|
| activity.clinical | Clinical Work |
| activity.commercialization | Commercialization |
| activity.consulting | Consulting |
| activity.events | Events |
| activity.otherActivities | Other Activities |
| activity.communityService | Service to the Community |
| activity.institutionService | Service to the Institution |
| activity.professionService | Service to the Profession |
| activity.advising | Supervision, Advising and Mentoring |
| activity.teaching | Teaching |
Activity Types
| Activity Type Code | Activity Type Name |
|---|---|
| activity.board | Board |
| activity.clinicalWork | Clinical work |
| activity.conference | Conference |
| activity.consultancy | Consultancy |
| activity.course | Course |
| activity.examination | Examination |
| activity.journalEditor | Journal Editor |
| activity.licensingAgreements | Licensing Agreements |
| activity.meeting | Meeting |
| activity.peerReviewer | Peer Reviewer |
| activity.professionalService | Professional Service |
| activity.royalties | Royalties |
| activity.seminar | Seminar |
| activity.startups | Startups / Spin-offs |
| activity.mentor | Student Mentoring |
| activity.teachingAid | Teaching Aid |
| activity.thesisAdvisor | Thesis Advisor |
| activity.thesisComMember | Thesis Committee Member |
| activity.training | Training |
| activity.visit | Visit |
| activity.volunteering | Volunteering |
Downloading Activity Tables
You can download activity tables in order to identify the codes to use when importing with the Loader. This is supported with .XLSX and XSL formats. To download a table, access the relevant table (see Configuring Activities) and select the Export list button.

Cloud App for Creating Activities From Assets
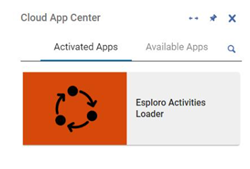
A Cloud App, Esploro Activities Loader, automates the process of creating a researcher activity from an existing research asset, is available on the Developer Network. This efficiency tool allows the operator to work on a set of assets and copy fields from them to newly created researcher activities. The Esploro Activities Loader Cloud App is configurable and can be used to create different activity categories or types. Once the app is installed and activated, you can open it by selecting the ![]() icon to open the Cloud App Center menu, and then selecting Esploro Activities Loader.
icon to open the Cloud App Center menu, and then selecting Esploro Activities Loader.
For general information about working with CloudApps, see Configuring Cloud Apps. For information about the Activities Loader Cloud App, see Esploro Activities Loader.
Deleting Activities
Activities can be deleted individually or in bulk at any time. When an activity is deleted, any relationships it has with other entities in the system are also deleted.
- In the list of activities, or, when the activity is selected, at the top of the Details panel, select Delete, and then select Yes to confirm the deletion.
- In the list of activities, select the checkbox of each activity you want to delete. The Delete button above the list becomes active.
- Select the Delete button, and then select Confirm. The activities and any relationships they had with other entities in the system are deleted.
Hiding and Reordering Activity Information
For information about customizing the display of information about activities in the Esploro hub, see Hiding and Reordering Information for Research Management.