
Editing Representation Metadata and Content
- Digital Inventory Operator
- Digital Inventory Operator Extended (required for delete operations)
- Collection Inventory Operator (required when adding a new digital representation)
 Digital Titles
Select the Digital Title you want to view, then select Digital Representations on the right panel to view the representations for the title. Choose the representation you want to edit by selecting the Representation ID number. The Digital Representation Resource Editor opens.
Alternatively, you can select the View Full Representation List to see a list of representations and choose the representation you want to edit. The Digital Resource Editor opens:

A list of the representations of the title appears under the Representations tab. You can perform the following actions on this page:
- Select Add Representation to add a representation. For more information, see Adding a Representation.
- Select multiple representations and select Delete Selected to delete the representations.
- Select the resource description to see the metadata for the title.
Editing Digital Representations
You can edit representations with the Digital Representation Resource Editor. From the list of representations, select Edit from the row actions list for a representation or select the representation ID. The General Information tab of the Digital Representation Resource Editor opens (the fields displayed depend on the entity type selected):
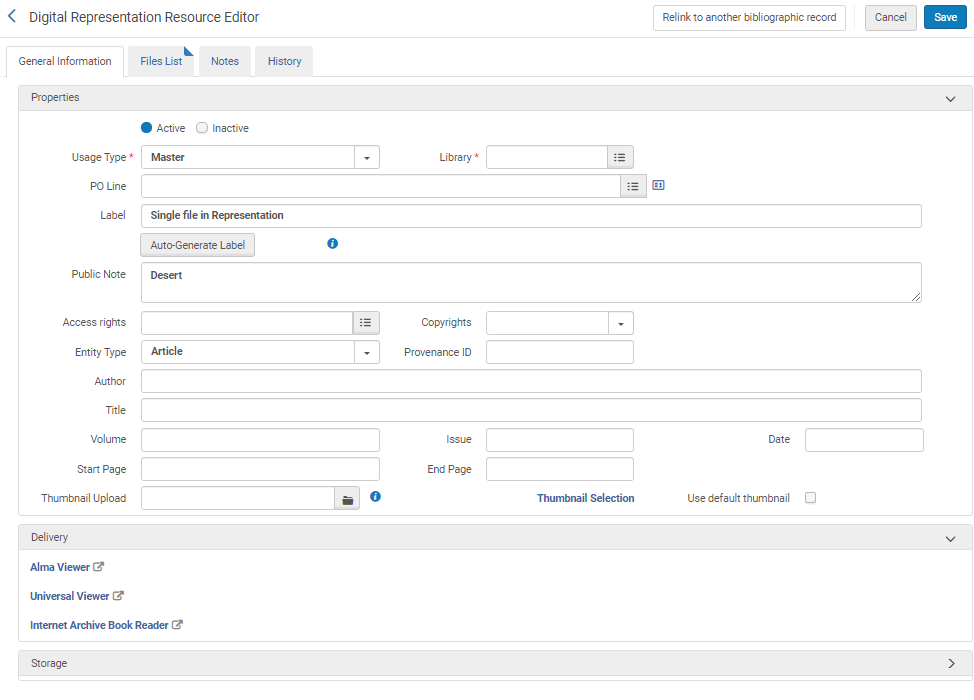
The following table describes the options available in the General Information tab:
| Field | Description |
|---|---|
| Active/Inactive | Select Active or Inactive to determine if the representation is discoverable. If you set the representation to Inactive, if there are no other active representations on the bibliographic record, a pop-up appears asking if you want to suppress the record. |
| Usage Type | Options are Primary, Modified Primary, Derivative, and Auxiliary (The primary is the original copy, modified primary is a version that is changed from the primary but without any data loss, the derivative is, for example, a copy with a lower resolution, and auxiliary is a representation that is supplementary to the main representation, for example, a table of contents).
Alma will try to automatically create thumbnails for digital file representations for Primary, Modified Primary, and Derivative usage types. For digital inventory of Auxiliary usage type, the user will need to create or select the thumbnail from file.
|
| Library | The owning library associated with the representation. Note that only libraries that are available according to your permissions appear. |
| PO Line | The digital PO line with which to associate the representation by selecting from the list or entering a PO line manually. Only PO lines created in the same library as the representation are available. You Select the More Details icon |
| Label | The label of a representation is its precise description, which appears as part of the availability information. Enter a label for the representation. This label appears in the repository search results when selecting View It in Primo, which are sorted alphabetically according to this label. When editing the representation, you can auto-generate the label. |
| Public Note | Enter a note that appears when selecting View It. |
| Access Rights | Select the access rights policy to apply to the digital title. To configure these policies, see Access Rights Profiles for Digital Objects. |
| Copyrights | Select the copyrights statement that you want to associate with the representation. The copyright statement configured here takes precedence over any configured through access rights. |
| Entity Type | Select an entity type for support of a partial representation. Additional fields are available, depending on the entity type you selected. The information from the fields is displayed in the View Online section of Primo's full record display. (The Entity Type values cannot be edited.) |
| Provenance ID | This field is typically populated by the remote representation migration job when importing representations from a remote repository to track the origin of imported files. |
| Viewer | The viewer with which to display the digital file. |
| Storage Path | Display the path of the location of the representation. |
Moving a Representation to a Different Bibliographic Record
You can move representations to a different bibliographic record.
- Select Relink to another bibliographic record. The following appears:
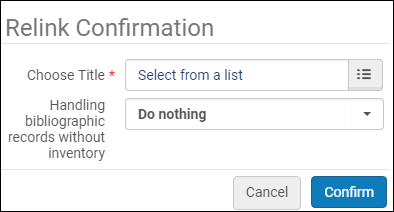 Relink Confirmation
 - From the Choose Title field, select the bibliographic record to which you want to move the representation.
- From the Handling bibliographic records without inventory field, select an option for how you want Alma to handle the bibliographic record if it no longer contains inventory after the representation is moved:
- Do nothing
- Delete bibliographic records
- Suppress bibliographic records
- Select Confirm.
Managing Digital Files from the Digital Representation Resource Editor
You can manage digital files from the Digital Representation Resource Editor.
- For digital resources maintained in Alma, select the Files List tab to view the files of the representation:
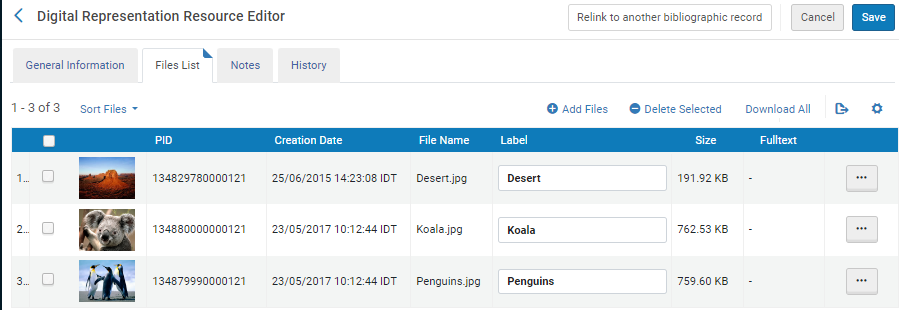 File ListCurrently, due to a known issue, files in the Digital Representation Resource Editor appear unsorted. You can manually sort the files by label, file name, and creation date. Note that this sort order is then used in the viewer as well.
 - From the row actions, select Thumbnail to add a thumbnail image to a file that appears in the repository search results, in the Digital Viewer, and in Primo. The following appears:
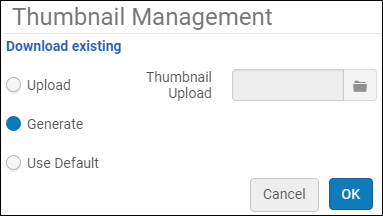 Thumbnail ManagementYou can select the following options:
- Upload – select an image from the Thumbnail Upload field to assign the image as a thumbnail for the file
- Generate – generate a thumbnail image from the digital file
- Use Default – the thumbnail image is deleted, and the default image for the file type is used as the thumbnail
- From the row actions, select Fulltext to upload or extract a full text file that enables you to perform text searches on the file.
The following appears:
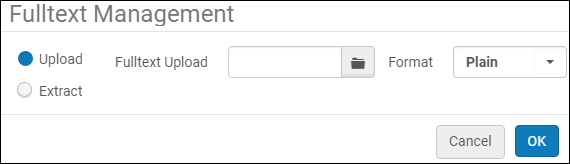 Fulltext ManagementYou can select the following options:
- Upload – select the full text file for the digital file and select its format, either Plain or Alto. (For Alto, use Alto version 2.0. For more information, see Alto.
- Extract – extract a plain full text file from the digital image. Supported file types:
- bmp
- png
- jpg
- tif
- PDF (full-text extraction from images in a PDF is not supported)
- Office
- OpenDocument
- text/* mime types (strip text/html)
- Epub
- XML
For more information, see Extracting Full Text (OCR) in the Alma Digital Repository on the Developer Network.
In order for Alma to properly extract the full text from the image, the correct language must be indicated in the bibliographic record of the image file.- For Dublin Core in the dc:language or dcterms:language field, a two or three letter code
- For MARC21 in the 008 control field, a three letter code
- For MODS in the mods:language field, a three letter code
The following is a list of languages for which full text generation is supported and their language codes:
- English (en/eng)
- French (fr/fre)
- Spanish (es/spa)
- Italian (it/ita)
- German (de/deu)
- Hebrew (he/heb)
- Arabic (ar/ara)
- Russian (ru/rus)
- Korean (ko/kor)
- Chinese (simplified) (zh/zhu)
If no language is indicated in the bibliographic record, the full text extraction is based on the institution's default language.
- From the row actions, select Captions to add a captions file in .vtt format to display captions for video files. The following is displayed:
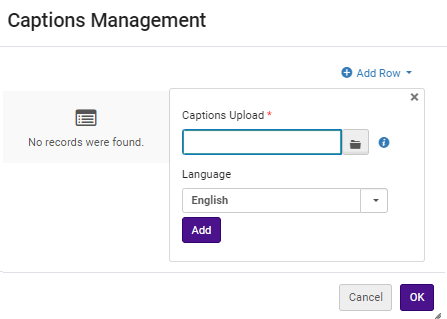 Captions Management
To upload a captions file, select a captions file in .vtt format, select the language of the captions file, and select OK. Select Add Row to add multiple captions files in different languages. If you already uploaded a captions file, you can download it by selecting Download existing.
To delete a captions file, select Delete and select OK.
- Captions can be be added only to the following video file formats:
- m4v
- mp4
- webm
- ogv
- ogg
Captions are not supported for HLS (m3u8) format.
- You can configure only one captions file per language.
For a video describing adding captions to video files, see Adding closed captions and subtitles for videos in Alma Digital. - Captions can be be added only to the following video file formats:
- To add files to the representation, select Add Files. The following appears:
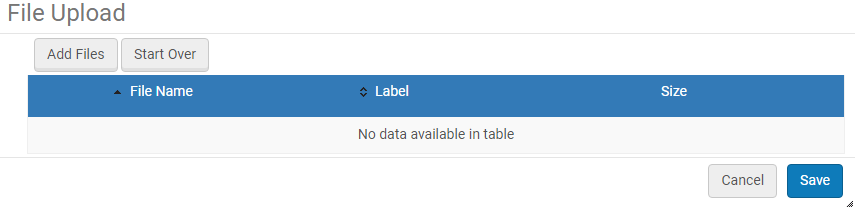 File Upload
The following actions are available on this page:
- Select Add Files, select the files that you want to add, and select Save or Save and Edit.
- Edit a file label and select Save to change a file label.
- Select Delete from the row actions list for a file to delete the file, or select multiple files and select Delete Selected to delete the files.
- Select Sort Files and select a value by which to sort the list of files. Select Save File Order so that the list of files appears according to the sorting preference in the Digital Viewer and the Resource Editor.
- To download the files of the representation, select Download All. The files of the representation are saved to a zip file on your computer. If the total download size is very large, a job runs that downloads the files to an external server. When the job finishes, you are sent an email with a link to download the files.
Selecting a Thumbnail Image for a Digital Representation
You can select a thumbnail image for a digital representation.
- Select the Properties tab for the representation. The following appears:
 Properties Tab
 - Perform one of the following actions:
- Select the folder icon next to the Thumbnail Upload field and select an image from your system.
- Select Thumbnail Selection and select a digital file from the representation.
- Select Use Default Thumbnail to use the first file of the representation as the the thumbnail.
- Select Save.
Adding Notes and Viewing the History for Representations
Select the Notes tab to add notes to the representation.
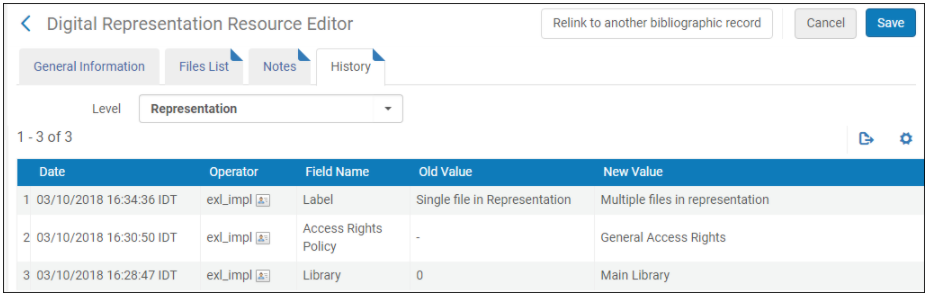
Select the History tab to see a history of actions performed on the representation. Filter the results by representation and file.
- To upload hundreds of files at once or if the files together are very heavy, use the Digital Uploader instead of the Add Files function here. For more information, see Creating Digital Content in Bulk.
- Adding files to representations is not included in the History tab.
- For representations in the repository at the time of the release (September 2017), an additional change is needed in order to display the change in the History tab.
- The Operator column appears only for managers and administrators. See Configuring Users' Ability to View Operator Details.
Managing a Patron Waitlist
You can view a list of the patrons in a waitlist for a representation and remove them from the waitlist or move them to the top.
To support this feature, a Waiting List tab now appears in the Digital Representation Editor for a representation with an active waitlist. Select the tab to display a list of the patrons in the waitlist:
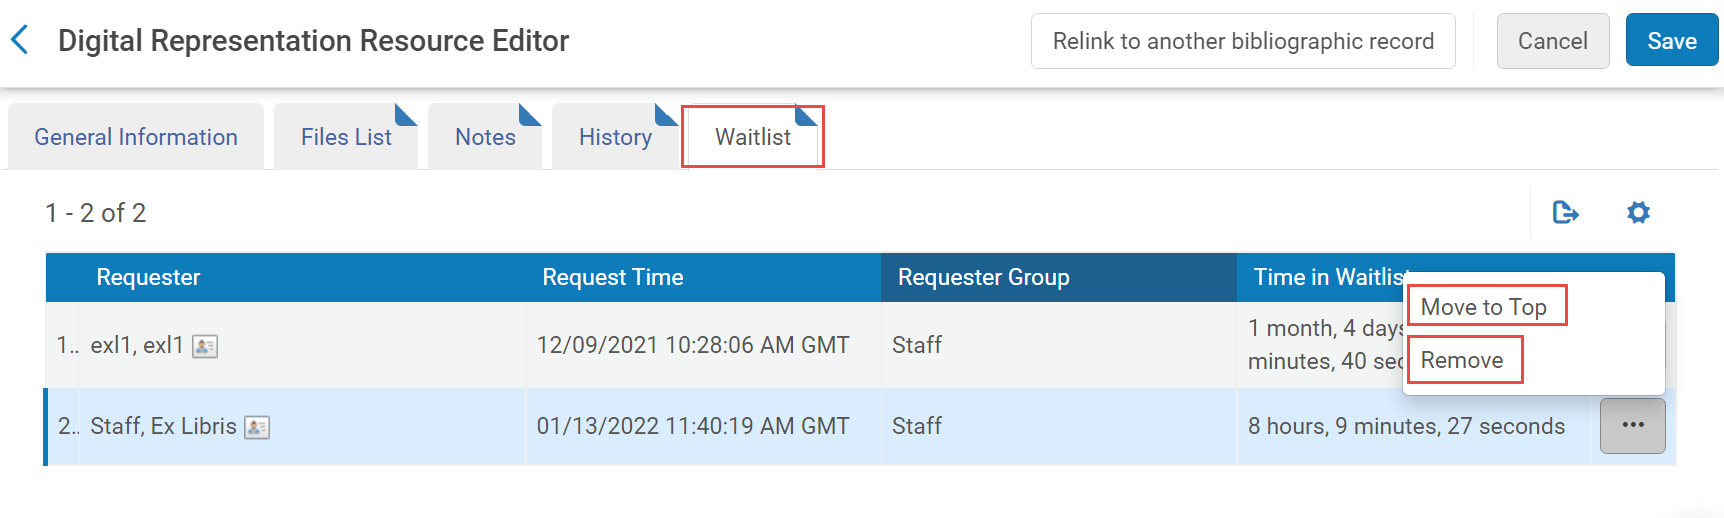
Select the row action Remove to remove the patron from the waitlist and Move to Top to make the patron next in line for the resource.