Introduction to Lists and Items
For an overview of Leganto features, workflows, and terminology, see Introduction to Leganto. In particular, note that a learning management system (LMS) is sometimes called a course management system (CMS) or a virtual learning environment (VLE), among other terms.
The Quick Start Welcome Screens (LTI)
The Quick Start Welcome Screens guide instructors on quickly setting up a list for their course.
When an instructor logs in from an LMS using an LTI link from a course that does not exist in Alma or does not have any lists, the Quick Start Welcome screens is displayed.

The Quick Start Welcome screen can include the following options, depending on what has been configured by your library:
- Create a new list from scratch
- Create list from an existing list
- Duplicate list — create a copy of the list and link it to this course
- Link course to this list — link the course to an existing list
- Ask your library to create your list by uploading a file that contains the reading list materials. The file is sent to the library for processing.
You may also be prompted to confirm the course information.
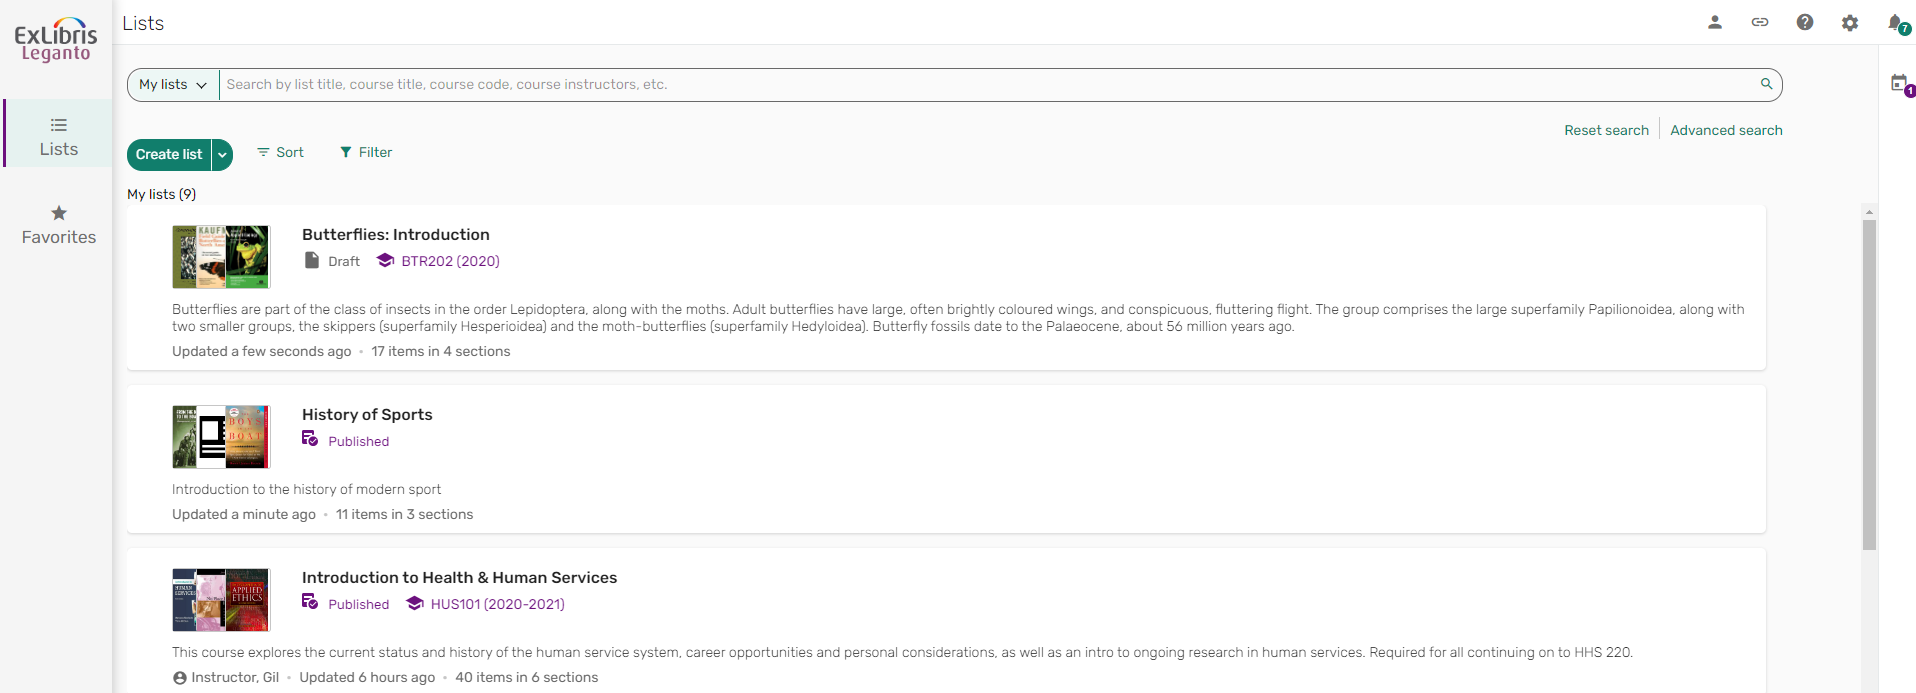
Navigating the UI
Leganto always displays a header bar, a main, central pane, and a left pane. The right pane displays when information is available.
The header bar includes:
- User Menu
- Useful links (when configured, see Configuring Useful Links)
- a Help link
- Notifications (see Viewing Notifications/Recent List Changes)
The left pane includes your institution's logo, the Lists menu, and the Favorites menu.
Depending on your institution's configurations, the following appears on the right pane:
| Icon | Function | Configuration |
|---|---|---|
 |
Discuss with library | See Discussing the List with the Library. |
 |
Analytics | See Viewing Student Usage. |
 |
Suggestions | See Suggestions. |
 |
Upcoming due dates | Appears anytime there are upcoming due dates. |
Setting the UI Language
You can change the language of the Leganto interface to your preferred language.
- From the Settings
 menu, select the current language. The Choose a language window opens.
 Language menu
 - Select your preferred language and select Close. The interface language is now displayed in your preferred language.
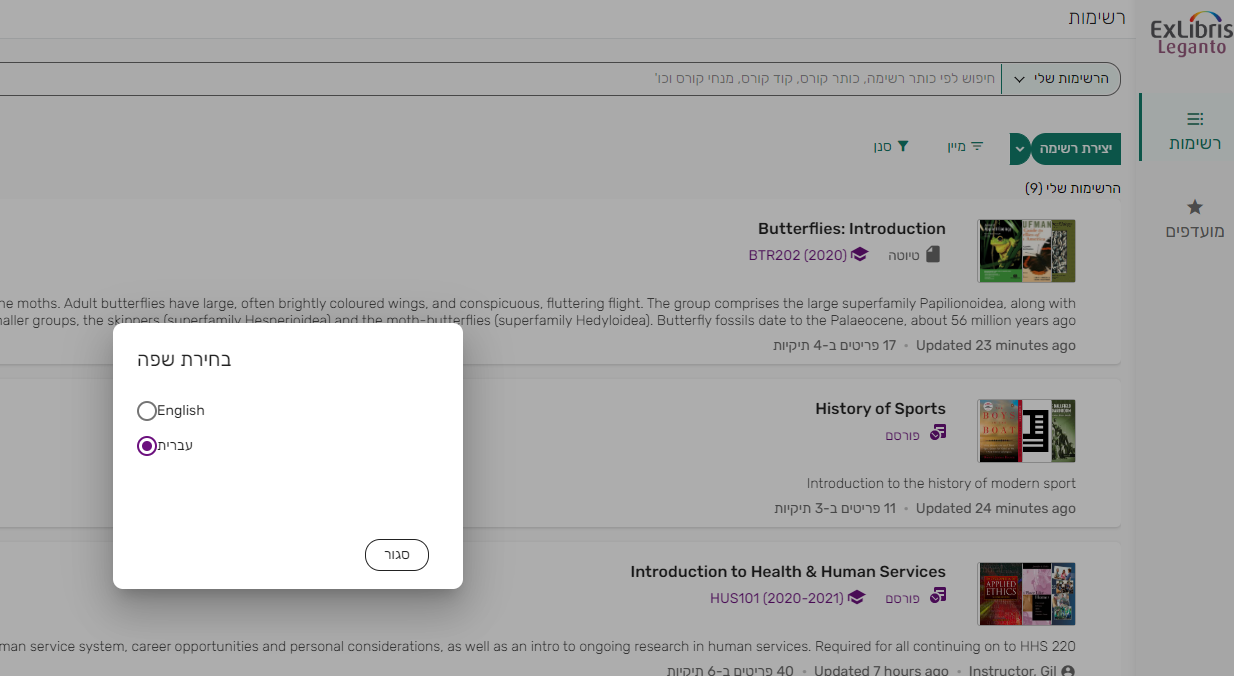 Leganto in Hebrew
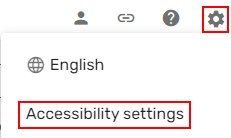
Configuring Accessibility Settings
You can set the font size, site contrast, and the duration for feedback messages (such as confirmation messages for certain actions).
- From the Settings menu, select Accessibility settings. The Accessibilty window opens.
 Accessibility settings menu option
 - Select your desired font size, preferred site contrast, and how long to display feedback messages, and select Close. Your settings are applied.
 Accessibility settings
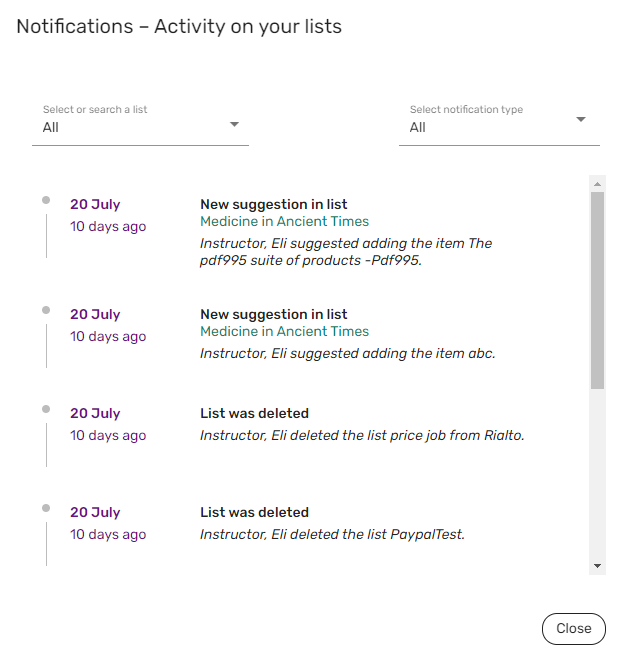
Viewing and Managing Notifications
Certain changes to lists or items create notifications that you can view in Leganto. When configured (see Configuring Sending Notifications) by your institution, these notifications are also sent to you by email.
- From the Notifications
 , you can view notifications for all lists or specified lists.
 Notifications
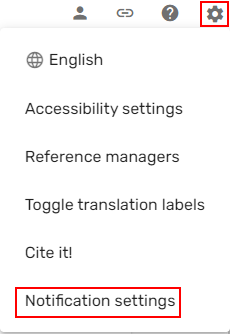
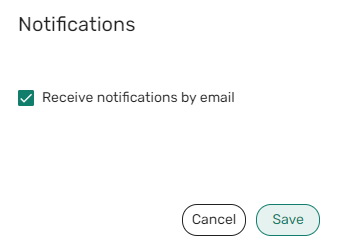
- From the Settings menu, select Notification settings. The Notification window opens.
 Notification settings
 - If your institution has enabled sending notifications by email, uncheck Receive notifications by email and select Save. Your settings are applied.
 Notifications settings
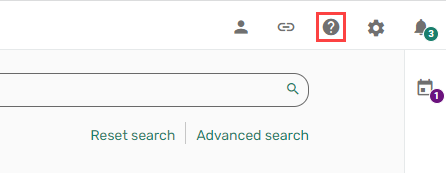
Getting Help
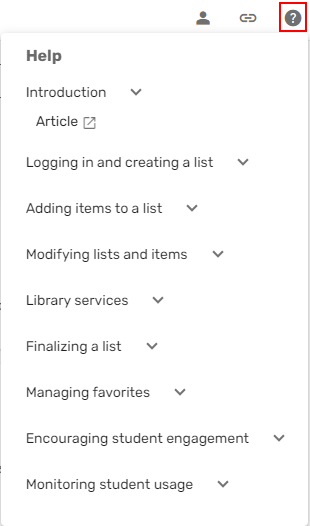
The library can define customized help pages for Leganto. The default URL when selecting Help opens the Leganto online help page.
By default, each article links to the corresponding article in the Leganto English online help unless customized by your library. Each article opens in a new tab.
Linking Leganto to an External Citation Manager
If you use RefWorks, Zotero, Mendeley, or EndNote citation managers, you can configure Leganto with the external site's credentials and then drag and drop these citations into Leganto. Also see Adding an Item from a Reference Manager.
- From the Settings menu, select Reference managers. The Reference managers window opens.
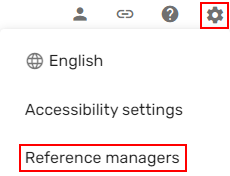 Reference managers
 - Select Add citation manager and select the relevant citation manager and add your credentials.
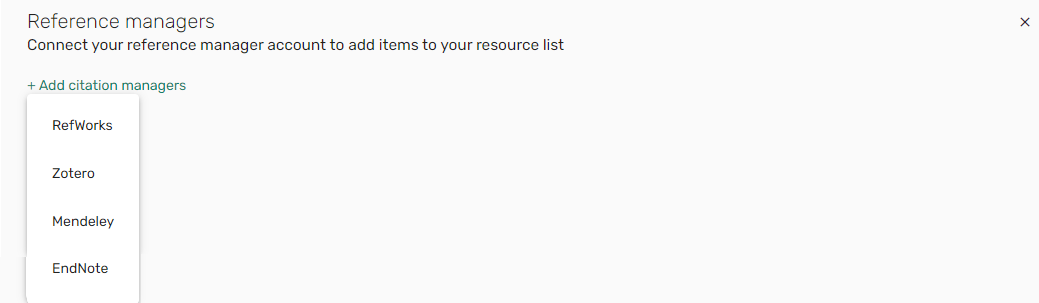 Add citation managers
Your library must configure RefWorks/Mendeley/Zotero/EndNote credentials (Configuration > Leganto > General > External Integrations) for these options to appear correctly.
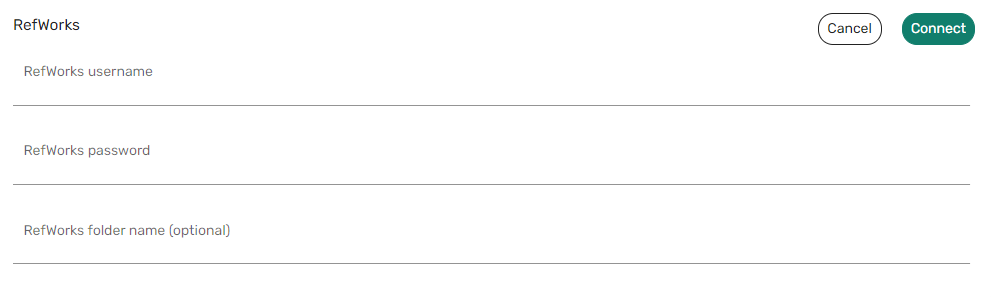 RefWorks configuration
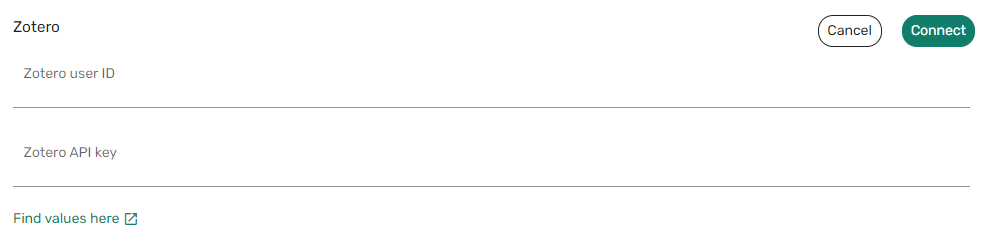 Zotero configuration
 Mendeley configuration
 EndNote configuration
After adding valid credentials, the citation managers appear in the Add > Import references list menu, enabling you to add citations to the list.
 Citation Managers
Viewing Citations by Expanded/Collapsed View
List owners can choose to view Leganto items by Expanded view (default view) or Compact view. The Expanded view expands the brief view to mirror the student view providing more metadata for each item.
The Expanded view does not apply when viewing a section from a shared link.
When a list is locked, the list is presented in Expanded view. When a section is locked, all items in the locked section are expanded even if the toggle is set to Compact view.
 |
 |
|
Expanded view
|
Compact view
|
When toggling between Expanded view or Compact view, the selection only applies to the selected list. Users can change the default view from the Leganto Settings  > User settings menu.

Viewing Useful Links
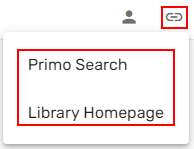
When configured (see Configuring Useful Links) by your institution, web pages that your institution believes are of general interest to all users are accessible from Leganto.
- From the top menu, select Useful Links
 at the top of Leganto and select the page. The page opens in a new browser tab.
Viewing a List
When accessing Leganto, the reading list is presented. The options available to you depend on your institution's settings and your user permissions; therefore, some of the options below may not be available to you.
Editing options are only available for lists that you own or lists on which you collaborate.
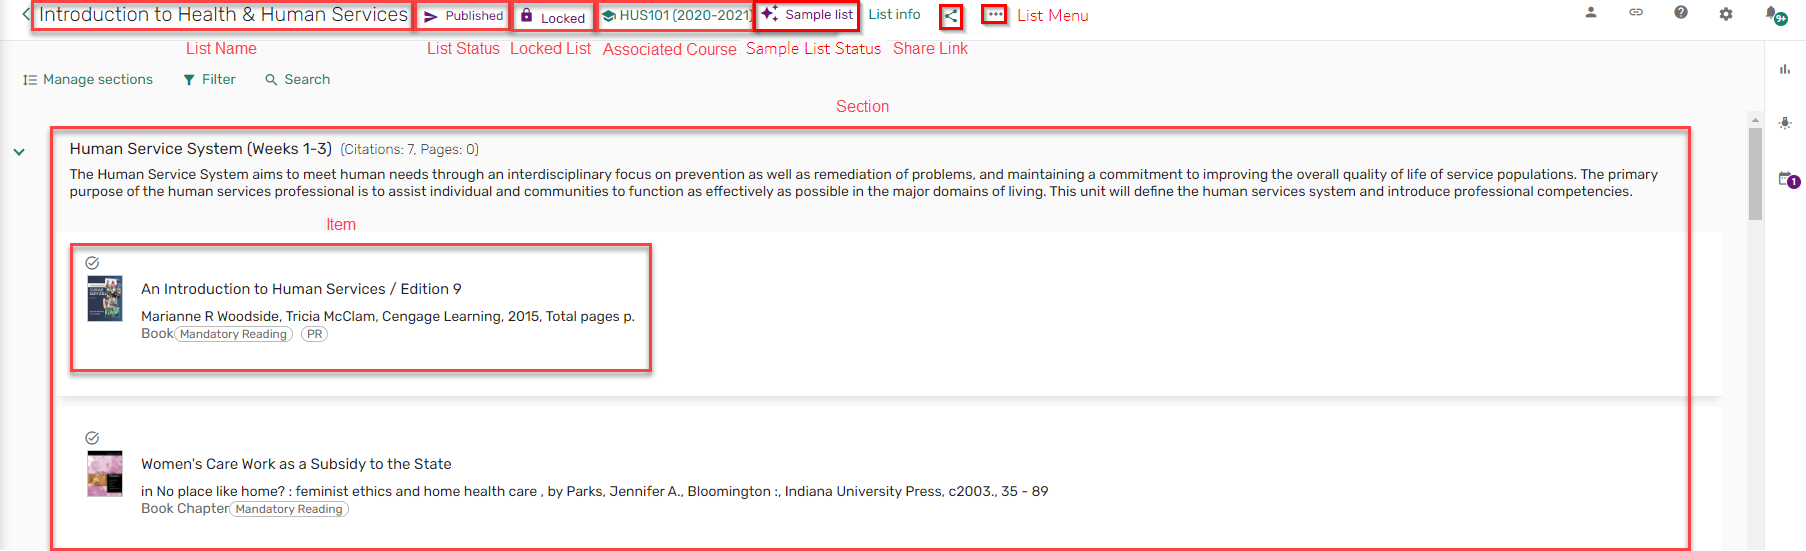
The list header displays the following information:
- List name — see Creating a List
- If the list is published or a draft — see Publishing a List
- If the list is locked — see Locking and Unlocking a List
- Courses associated with the list — see Managing Course Associations
- If the list is marked as a sample list — see Marking a List as a Sample List
- List info button to view more information about the list
- A share list icon — see Linking to a List or a Course
- List menu
When a list is locked, since you cannot make changes to the list, the Add button is not available.
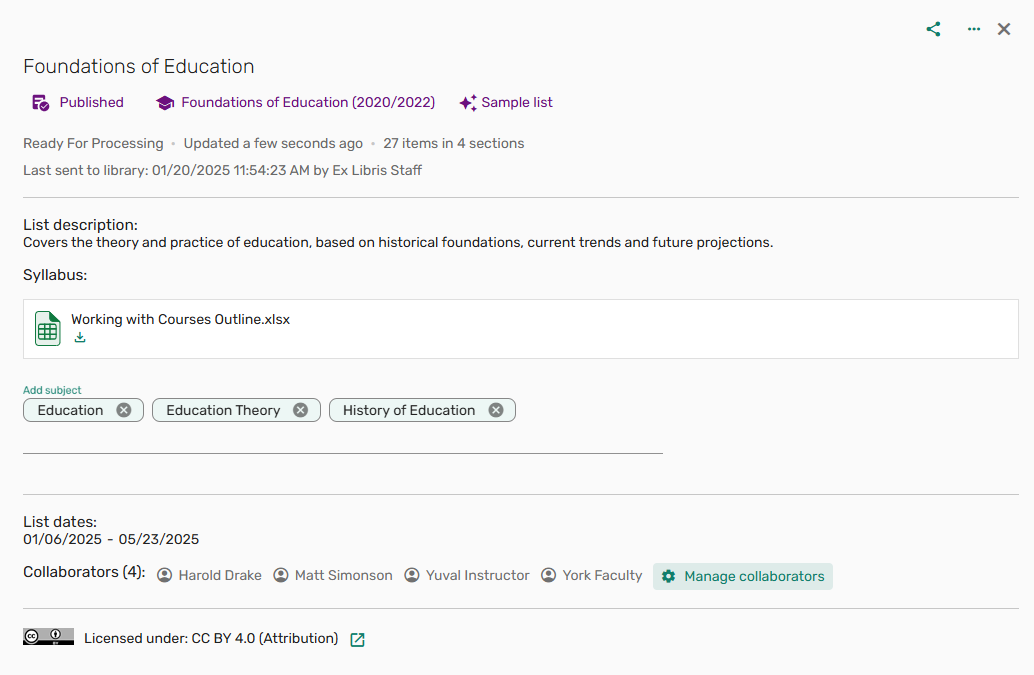
List Info
The List info pane includes:
- List name
- If the list is published or a draft
- If the list is locked
- Courses associated with the list
- If the list is marked as a parent list
- List status — When configured (see Suppressing the List Process Status), viewable by list administrators.
- When the list was last changed
- Total items in the total amount of sections
- A share list icon
- List menu
- List Description
- Syllabus — As a link or as a file.
- Add/view tags
- List dates — Students have the ability to view lists whose Start/End dates are in the past/future, as long as the lists are published.
- Course Instructors
- List Collaborators
- Manage collaborators option
- Creative Commons license
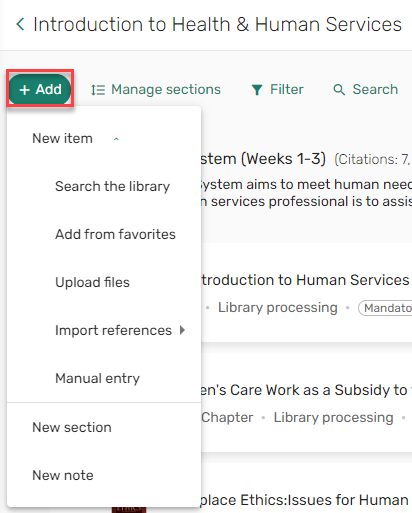
Add Menu
From the Add menu, you can add:
- New items
-
Search the library — Perform a Basic/Advanced search using the Discovery integration — see Searching for an Item from the Institution's Library
-
Add from favorites — see Adding Favorites to a List
-
Upload files — option to upload individual files or folders — see Uploading a File
-
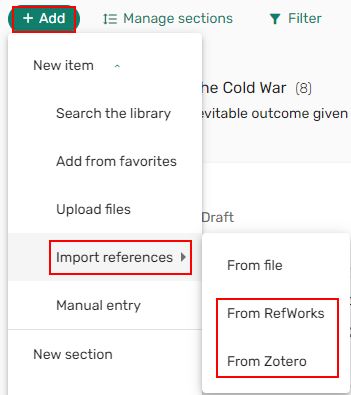
Import references — see Importing References
-
From file
-
RIS
-
BibTex
-
References
-
-
From Zotero (when enabled) — see Adding an Item from a Reference Manager
-
From Mendeley (when enabled) — see Adding an Item from a Reference Manager
-
From RefWorks (when enabled) — see Adding an Item from a Reference Manager
-
-
Manual entry — blank form — see Adding an Item Manually
-
- New section — see Adding a Section to a List
- New note — see Adding a Note to a List
From the list actions, you can use the manage sections toggle, filter lists, and search lists.

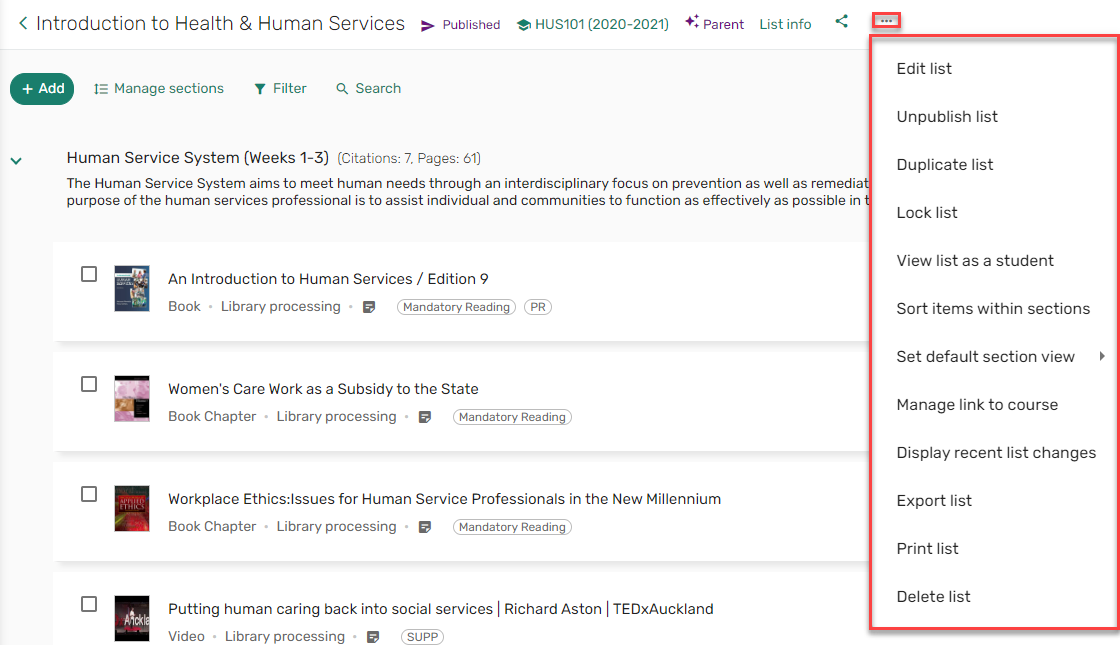
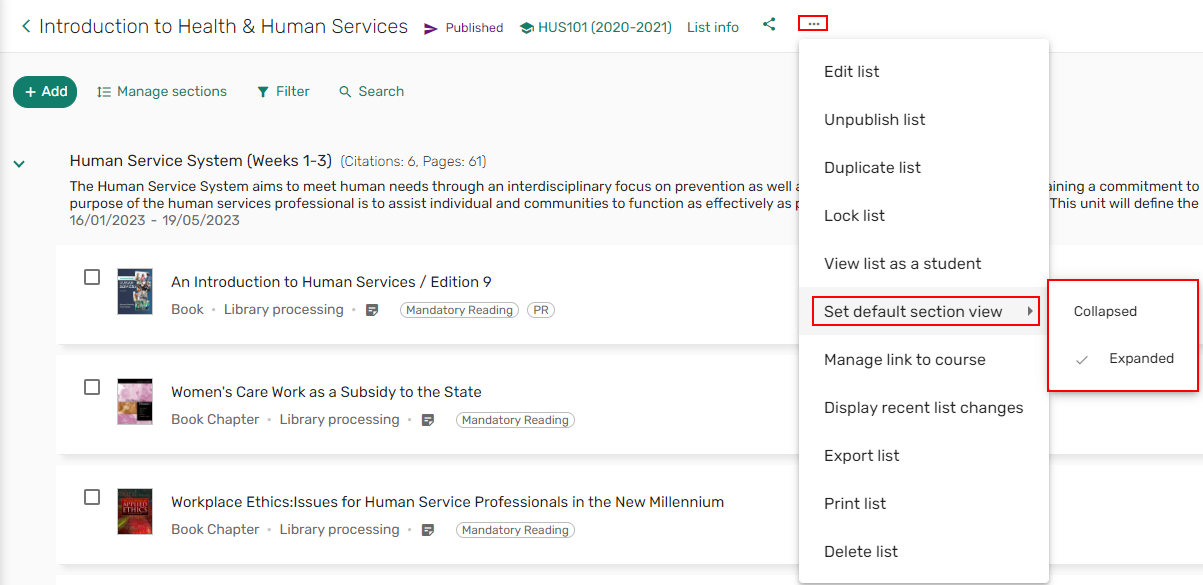
List Menu
You may not see all options depending on your permissions and what is configured for your institution.
The list menu includes list actions:
- Edit list
- Unpublish list
- Duplicate list
- Lock/Unlock list
- View list as a student
- Sort items within sections
- Set default section view
- Collapsed/Expanded
- Manage link to course
- Display recent list changes
- Export list
- Print list
- Delete list
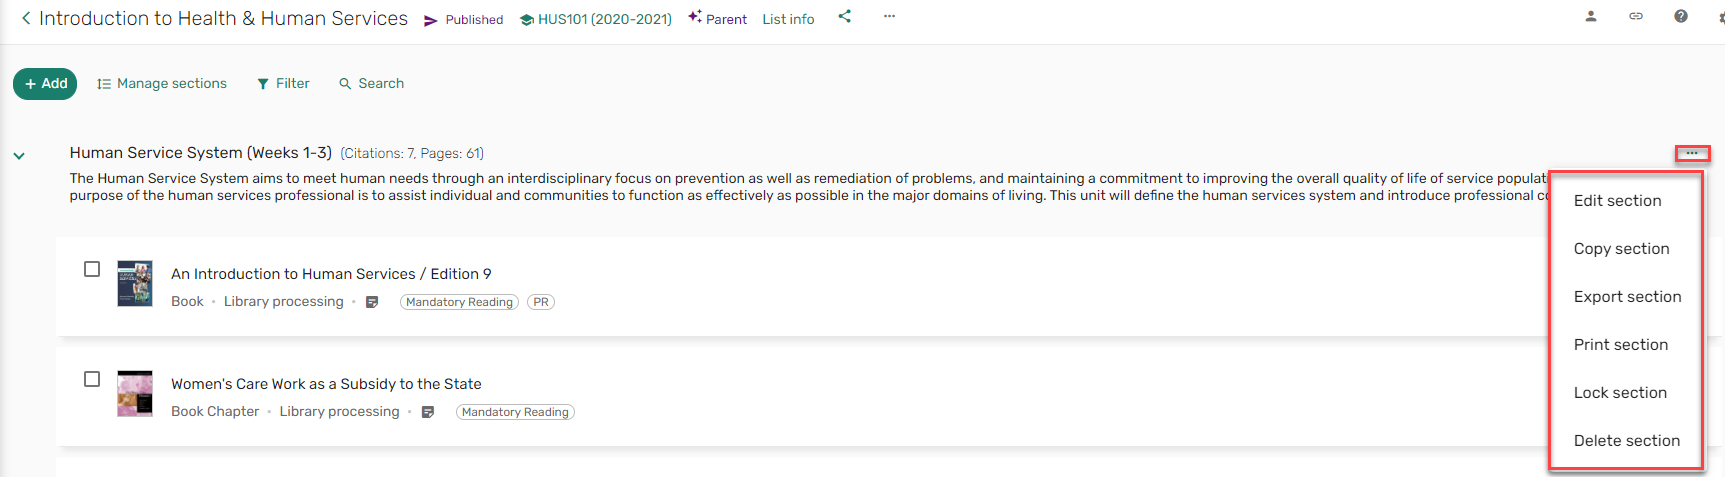
Section Menu
You may not see all options depending on your permissions and what is configured for your institution.
The section menu includes a share link and a menu.
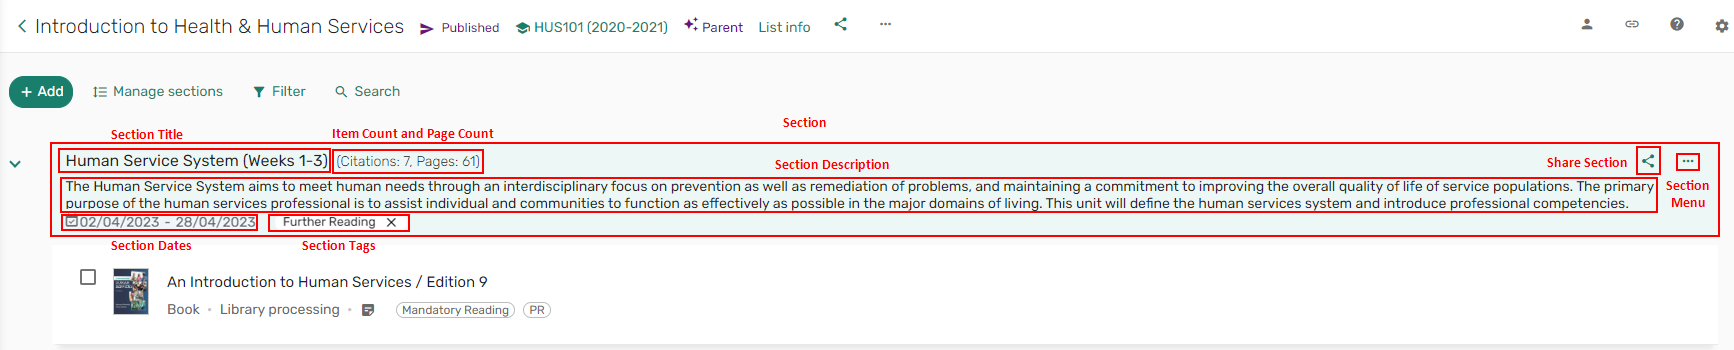
The section menu includes the following actions:
- Edit section — hidden when a section is locked
- Copy section
- Export section
- Print section
- Lock/Unlock section
- Delete section — hidden when a section is locked
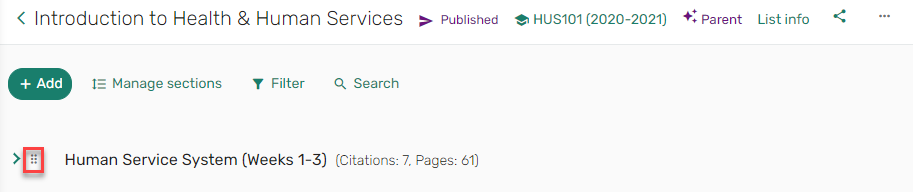
Sections can be collapsed/expanded.

When a section is collapsed, you can use the Drag icon  to move the section.
Collapsing or Expanding a Section
Sections are presented by default as either collapsed or expanded for all lists as cpmfigred by the library.
Due to loading times, the default presentation for lists that contain more than 100 items is collapsed regardless of the settings in the parameter sections_collapsed. Institutions that had previously configured all lists to be opened with sections collapsed specifically due to performance issues should consider changing the parameter to show sections expanded for all lists shorter than 100 items.
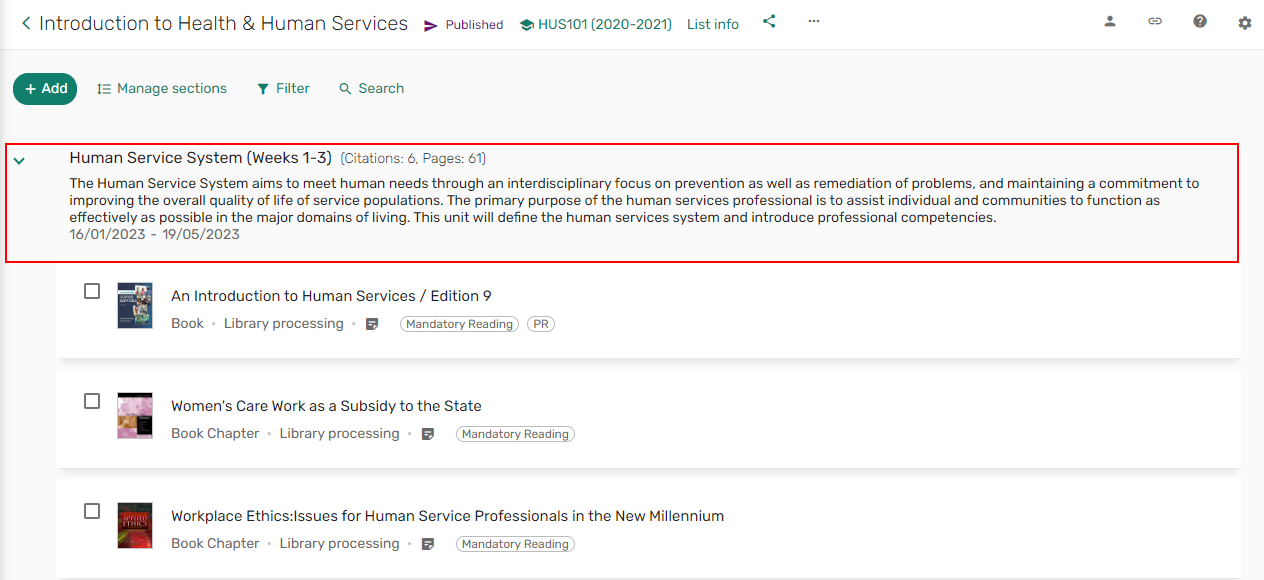
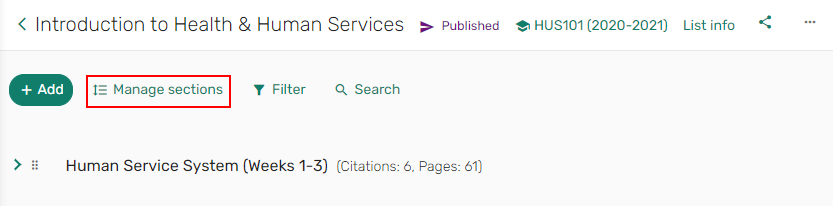
To change the section view, you can collapse or expand all sections in a list by selecting Manage sections at the top of the list.
You can collapse or expand a specific section using the collapse  or expand
  icons at the left of the section name.
When enabled, instructors can use the Set default section view action to override the institution's default setting.
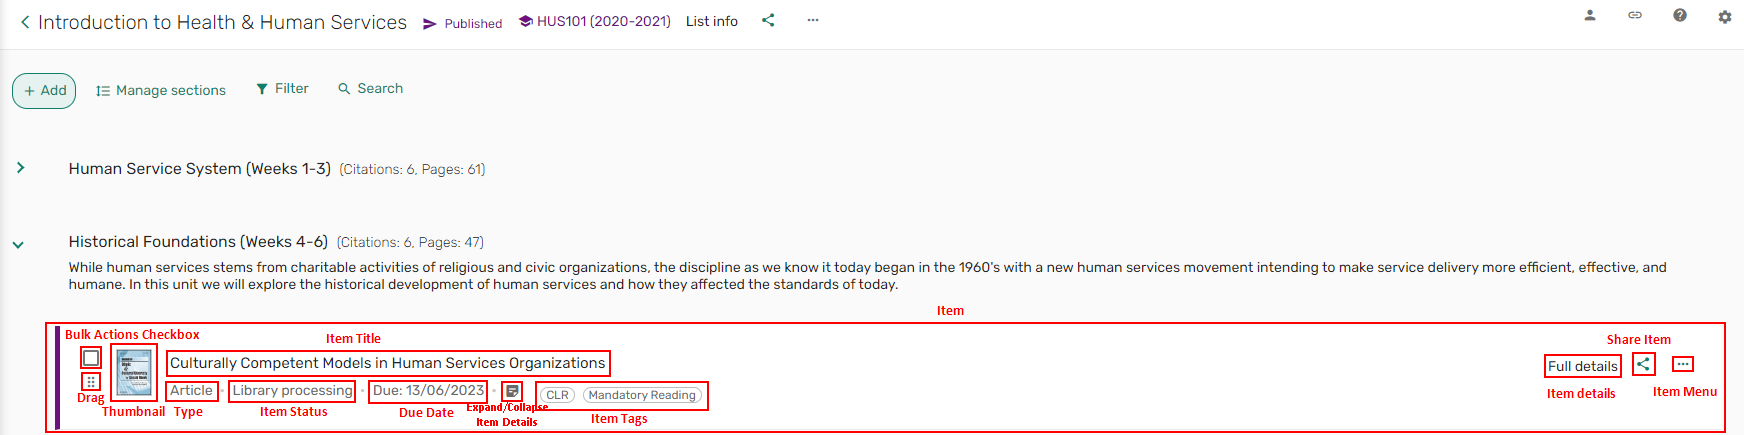
Item Details
You may not see all options depending on your permissions and what is configured for your institution.
The item includes:
- A bulk actions checkbox
- Drag icon
- Item title
- Item type
- Item status
- Item Due date
- Note for students
- Item tags (when configured)
- Full details button
- Share item link (when configured)
- Item menu actions
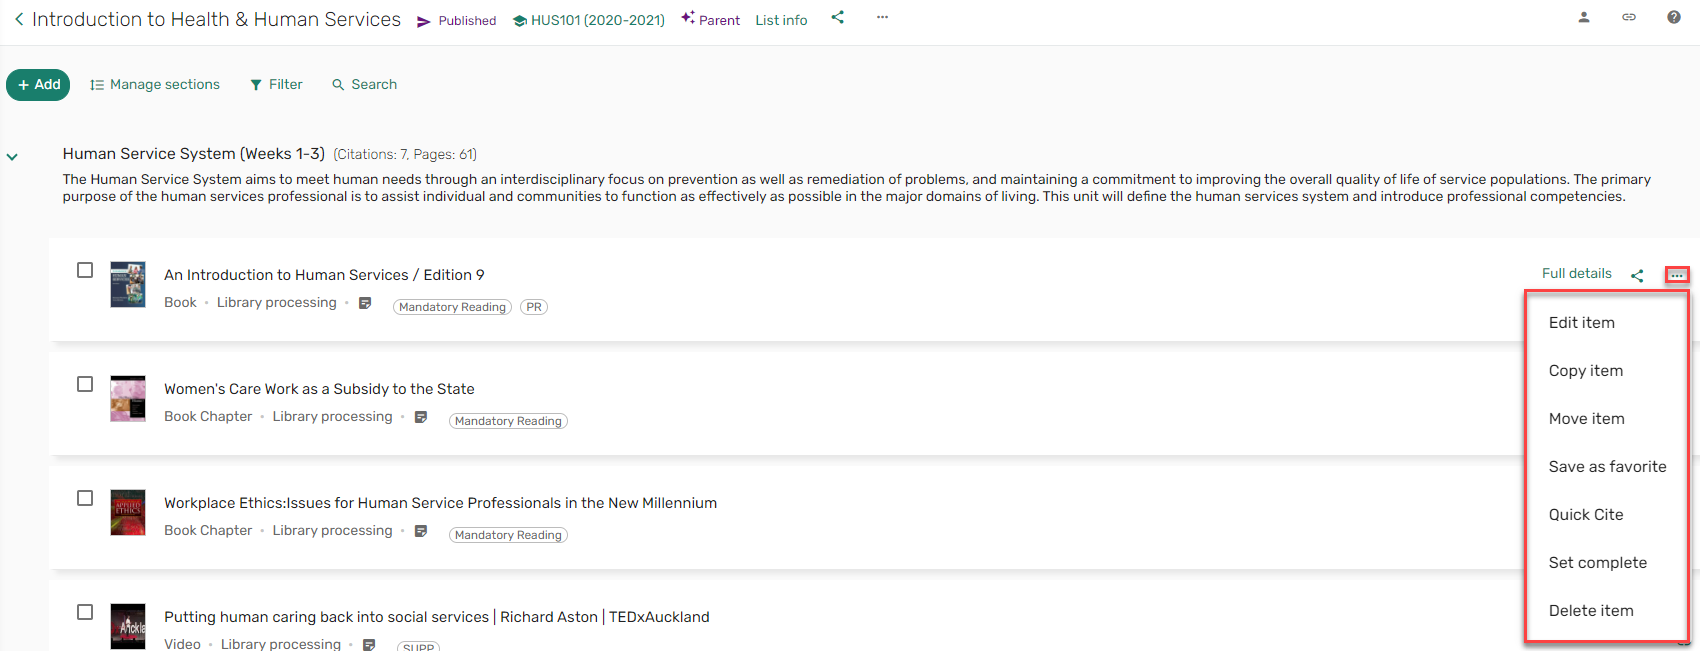
The item menu includes the following actions:
- Edit item
- Copy item
- Move item
- Save as favorite
- Quick Cite
- Set complete
- Delete item
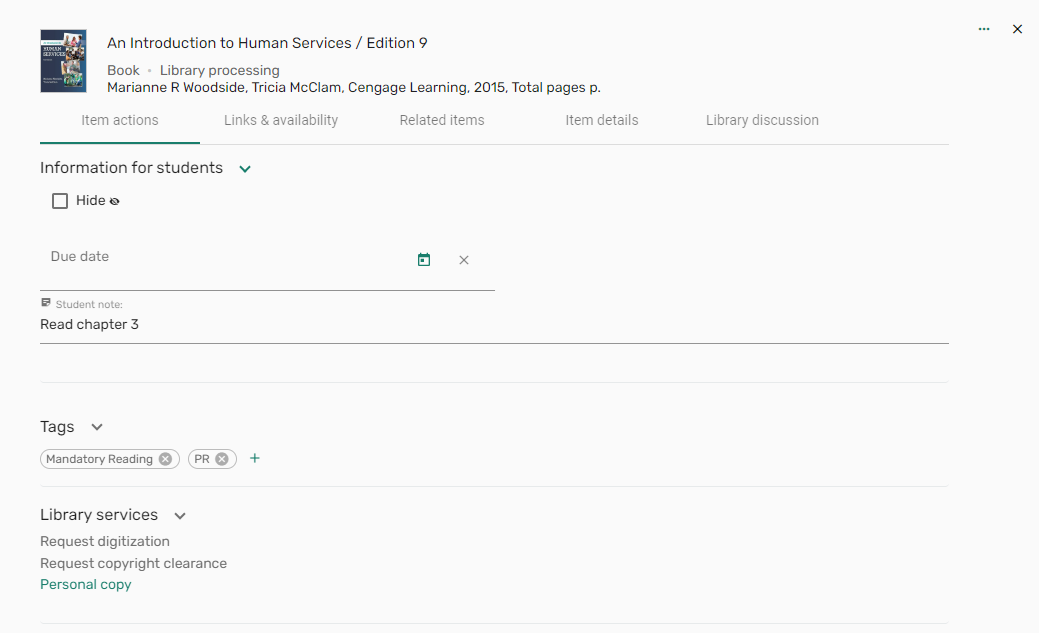
Item Full Details
The Full Details enables you to view/manage:
Item Actions
From the Item actions tab, you can:
- Control the visibility to students
- Add a Due date
- Add a Student note
- Manage item tags
- Manage Library services
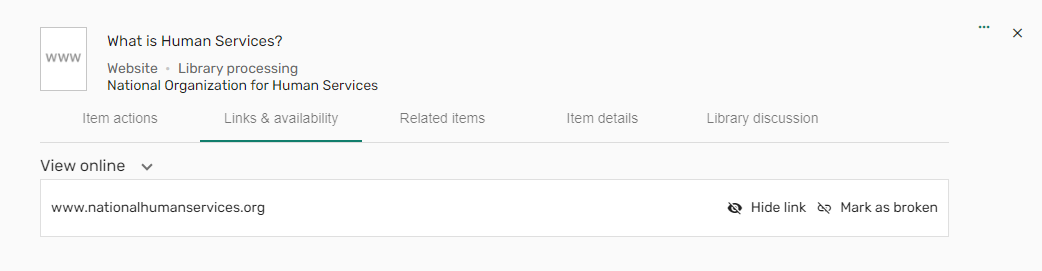
Links & Availability
The Links & availability tab lists links to electronic resources and/or physical availability information. From the Links & availability tab, you can:
- View any links or files related to the item
- Download files
- Make a file read only or downloadable
- Hide links/items (when configured)
- Mark a link as broken or Report a problem with the file
- Enable Public annotations
Related Items
When enabled by your library, the Related items, if any, appear here. From the Related items tab, you can:
- View and add items related to the item.

- View and merge other versions of the item.

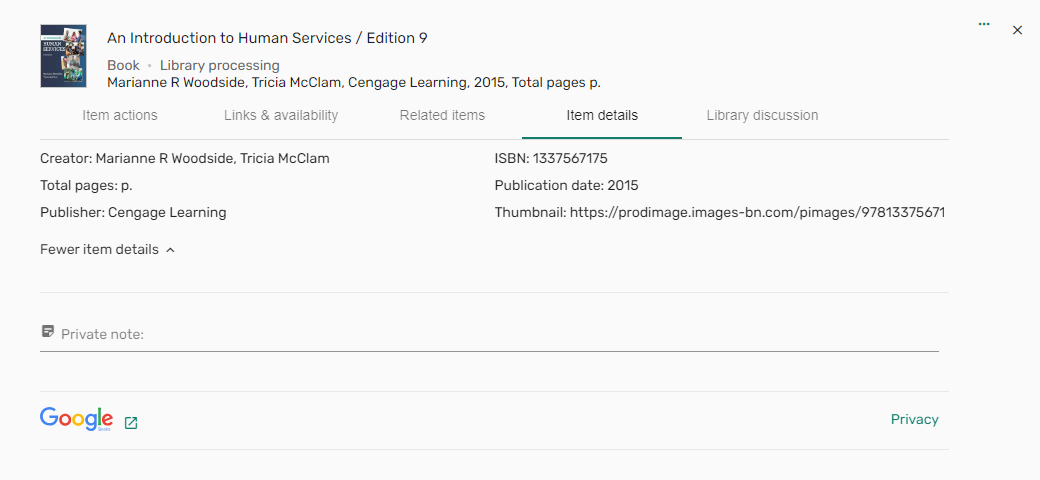
Item Details
From the Item details tab, you can:
- View the item details
- Add/view a Private note
- Open the item on Google Books (when configured)
- View the Google privacy details (when configured)
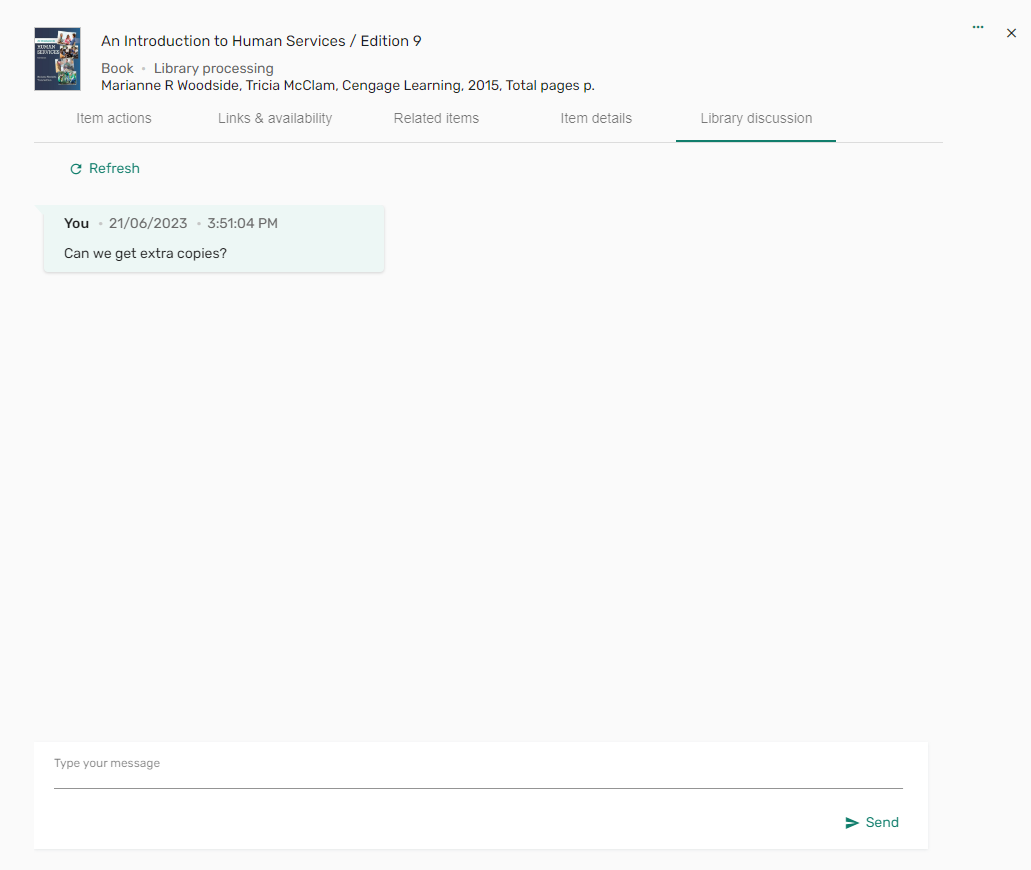
Library Discussion
When enabled by your library, the Library discussion tab appears. From the Library discussion tab, you can:
- Communicate with the library
- View your correspondence