
Managing Researcher Profiles
Overview
This page describes how researchers and administrators can manage information on the profiles. It also lists various actions that are only available for the researcher when they are logged into their profile. The researcher profile is where the researcher can add all their personal and professional information.
For videos showing how to work with researcher profiles see Additional References.
Public Profile vs. Private Profile
The information that is displayed in the profile is different for a logged in researcher and other portal users. The display of information can be controlled by the researcher, admin or in the general portal settings.
Most of the actions described on this online help page can only be performed by the logged in researcher (in the private profile).
Adding and Editing Professional and Personal Information
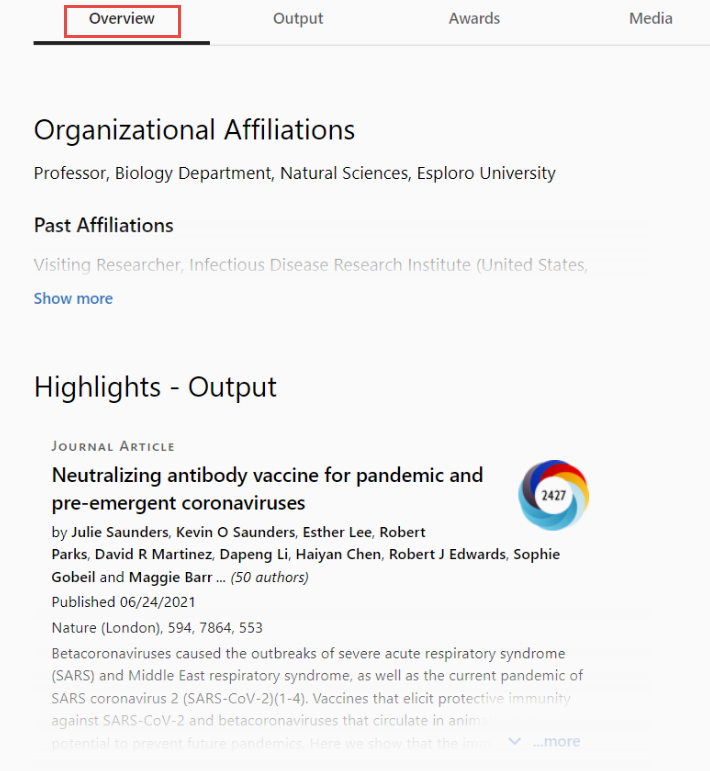
The professional and personal information displays in the Overview tab, and can be added by the admin or the researcher (profile owner).
Researcher titles display across Esploro in a number of different areas. See Researcher Title Configuration and Display for information on where the information displays and how to configure it.
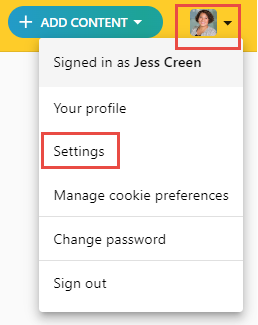
To edit the profile settings, select the Edit profile button at the top of the page or the Settings option in the user menu.
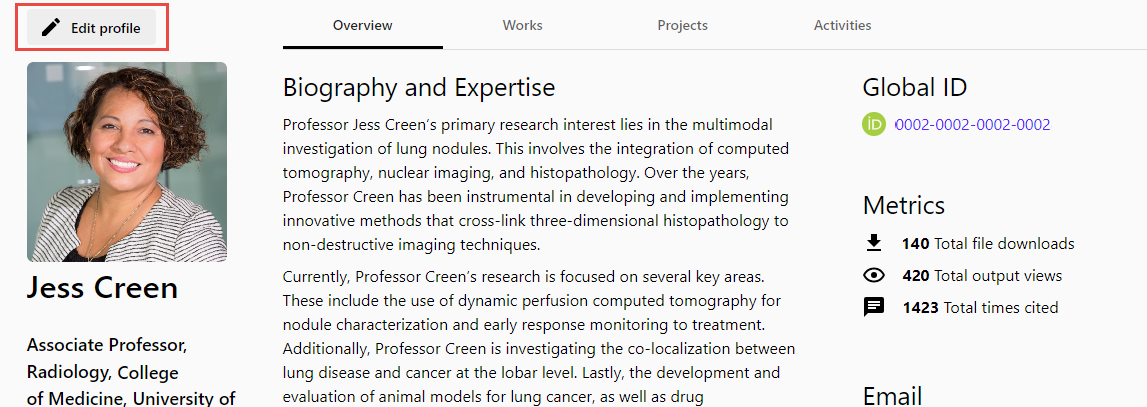
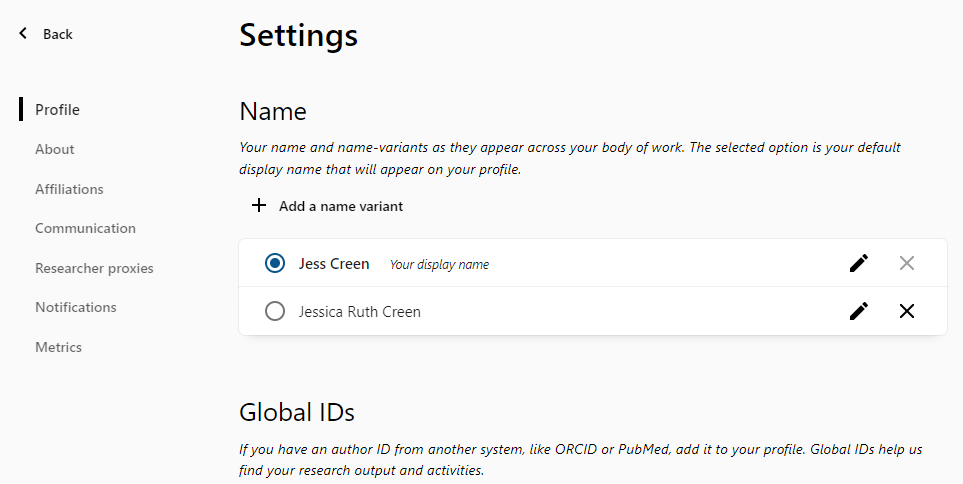
Here the researcher can update information such as the profile picture, IDs, education and professional history.
Profile Images
The recommended size for profile images is up to 1 MB. We also recommend a minimum of 200 x 200 pixels to avoid distorted images. For image types, for best results use the common image formats such JPEG, PNG, etc.
Global IDs
If the researcher has additional IDs from other websites, they can be added to the profile and will automatically link to the profile page in the external website. Note that for Pivot-RP, the link is displayed only for the logged-in researcher because their profile in Pivot-RP is private.
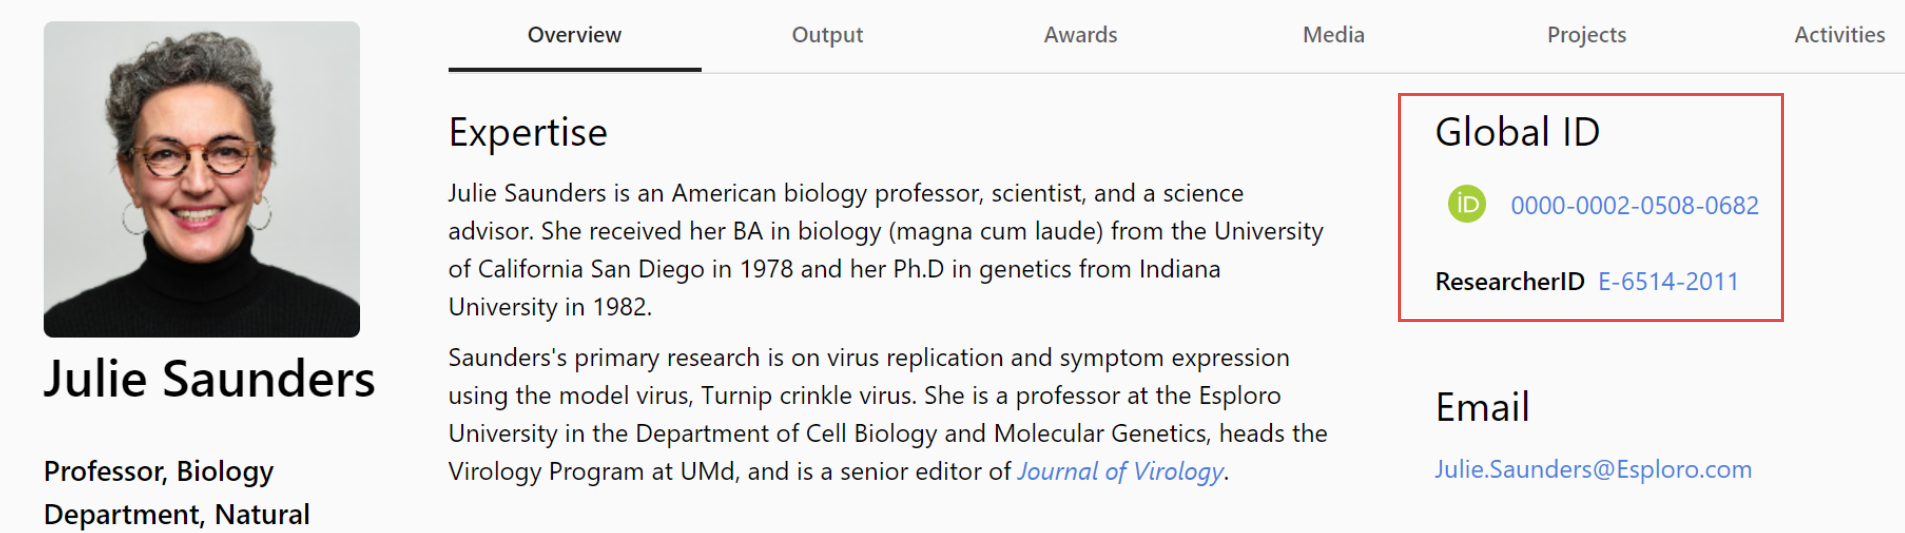
Global ID
If you have an ORCID iD and you want to add it manually to Esploro, you can do it from the Add a global ID option in the settings.
Registering an ORCID ID
A researcher can register with ORCID to receive a unique ORCID iD to identify them, and to grant the institution permissions to handle the profile on the researcher’s behalf. A researcher's ORCID iD links all their research activity, even if they have changed their affiliated institution and even if they changed their name. It also distinguishes between researchers of the same name.
Before registering your ORCID iD, see the preconditions and general setup information in ORCID in Esploro.
- Select the Edit Profile button and navigate to Profile > Global IDs > Register or Connect your ORCID.
 ORCID ID
 - Select the Register or Connect your ORCID iD option. This will take you to the ORCID Sign in page.
- If you already have an ORCID iD, select Sign in.
- If you are creating a new ORCID iD, we suggest selecting Everyone for the visibility settings. One of the advantages of having an ORCID profile is that it is viewable for anyone searching for this researcher.
- When creating a new ORCID iD, make sure to select Authorize access to grant Esploro access and allow it to update the researcher's information in their ORCID profile.
- After the ID has been connected, it can no longer be updated.
For a video on setting up ORCID integration including registering or connecting the ORCID iD, see here.
Managing Notification Settings
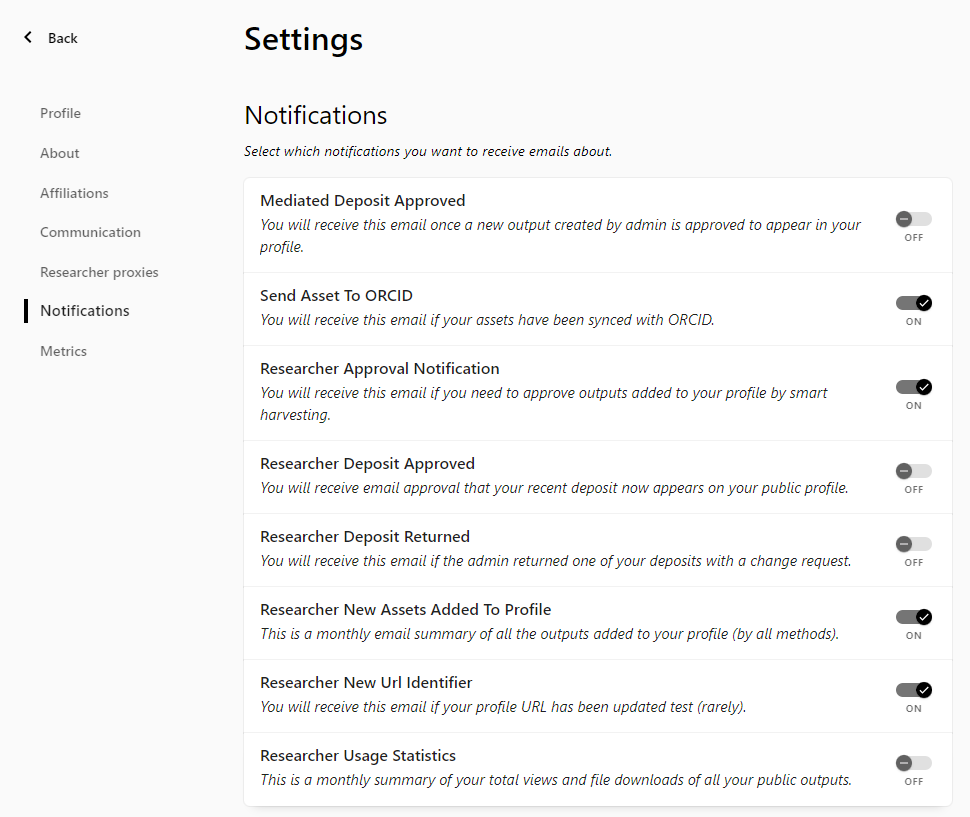
In the Notifications section, researchers can choose which types of notification letters they wish to receive. Changes to these settings can be made by researchers in this section or by system administrators in the hub (see Working with Researchers); either way, any changes made are reflected in this section.
A brief explanation of each letter type's purpose and frequency appear under its name in this section. These explanations can be edited in the Researcher Settings code table (Configuration Menu > Portal & Profiles > General settings > Labels > Researcher Settings).
Letters that are disabled for the institution do not display in this section. For information about configuring the default letter settings, and about disabling specific types of notification letters, see Configuring Researcher Details.
Managing the Display of Researcher Metrics in the Profile
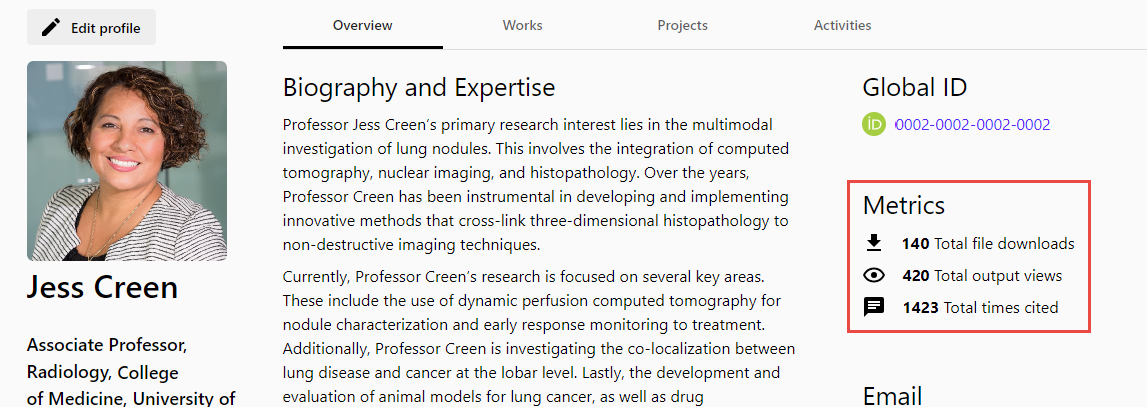
Researcher metrics provide aggregate usage and impact data about all of the researcher's output: the total number of times the researcher's works have been cited, viewed, and/or downloaded. The data available in Esploro about citations is based on Web of Science data and analysis, while the data about views and downloads is taken from Esploro's records. When enabled, this information appears under Metrics in the researcher's profile.
Each of these metrics must be enabled for the organization (see Configuring Researcher Profiles) in order for them to be available for researchers to display in their profiles. The organization can choose whether they are enabled for public viewing, only for logged-in users, or only for individual researchers when they are logged into their own profiles.
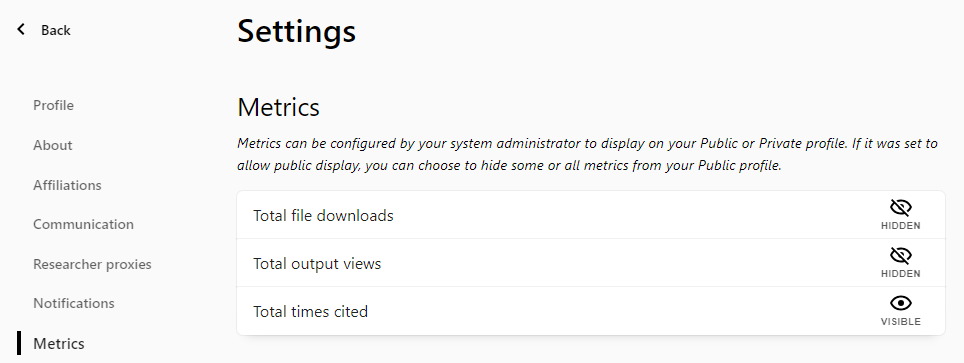
If public display of researcher metrics is enabled in the organization, researchers can choose for each metric whether to include it in their public profiles or not. The metrics' display settings can be edited by the researcher in the profile Settings, under Metrics. Select the VISIBLE or HIDDEN icon of a line to change the display setting of the type of metric identified in that line.
Managing the Display of Engagement Types in the Profile
Engagement types are used to indicate various types of engagements in which a researcher is available to take part, such as whether the researcher is designated as an expert in a particular field, or is available to give media interviews. Admins can assign engagement types to individual researchers in the research repository (see Working with Researchers), and can configure which types of engagements can be displayed in researchers' profiles in the portal (see Configuring Researcher Details).

If public display of engagement types is enabled in the organization, researchers can choose for each type whether to include it in their public profiles or not. The display settings can be edited by the researcher in the profile Settings, under About. Select the VISIBLE or HIDDEN icon of a line to change the display setting of the type of engagement identified in that line.

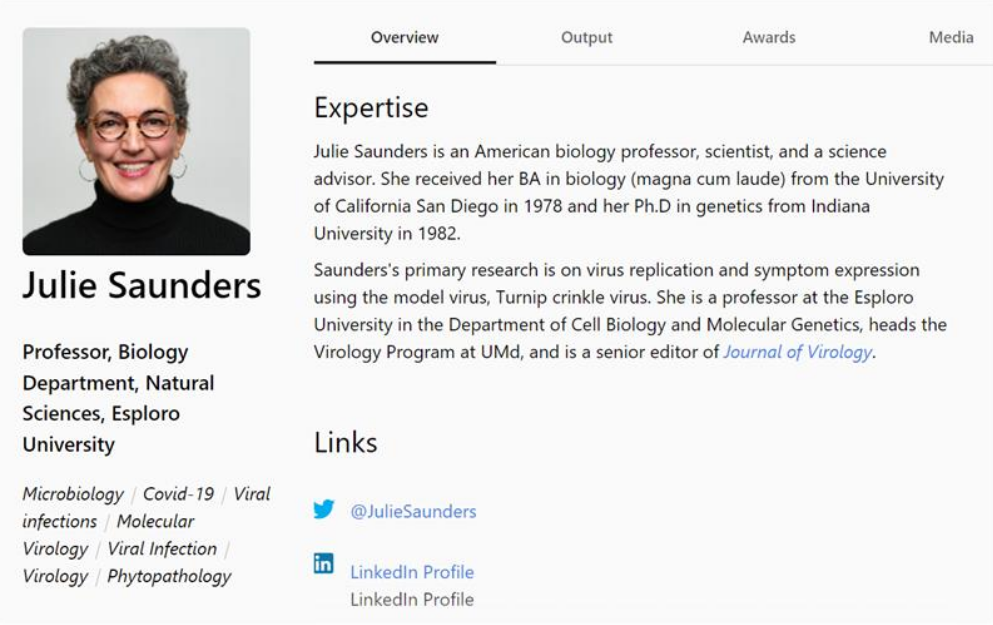
Adding Links to the Profile
The researcher can add links to the profile by navigating to Settings > About and selecting Add Link.
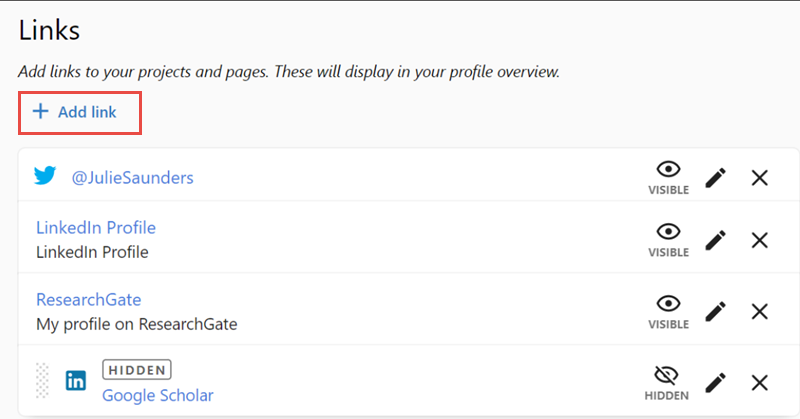
The link added here displays in the profile.
Password Management
The password management features are only for users with Alma authentication.
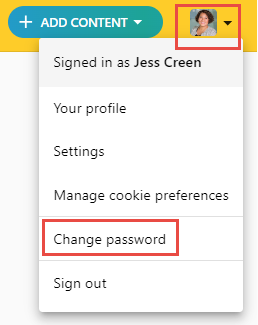
Change Password
Users can change their password from their profile when logged in.
Forgot Password Service
The password management features are only for users with Alma authentication.
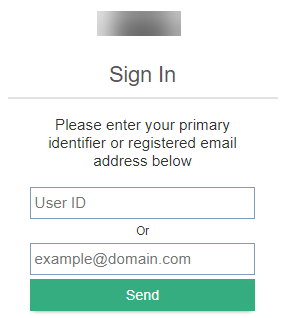
Users who forgot their password can reset it via the Forgot Password link.
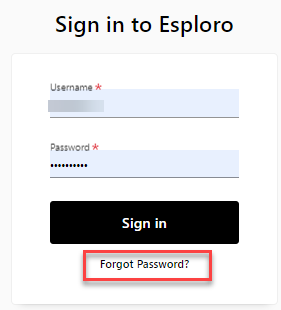
After selecting the link, the Sign In page will appear.
Editing and Depositing Research-Related Content in Profiles
For information on adding and editing output, projects, and activities, see Adding and Editing Content on a Profile.
Communicating with Admins from Profiles
The researcher can contact the admin regarding specific assets by selecting the Messages option from the actions menu. Once messages have been added, the message icon displays.
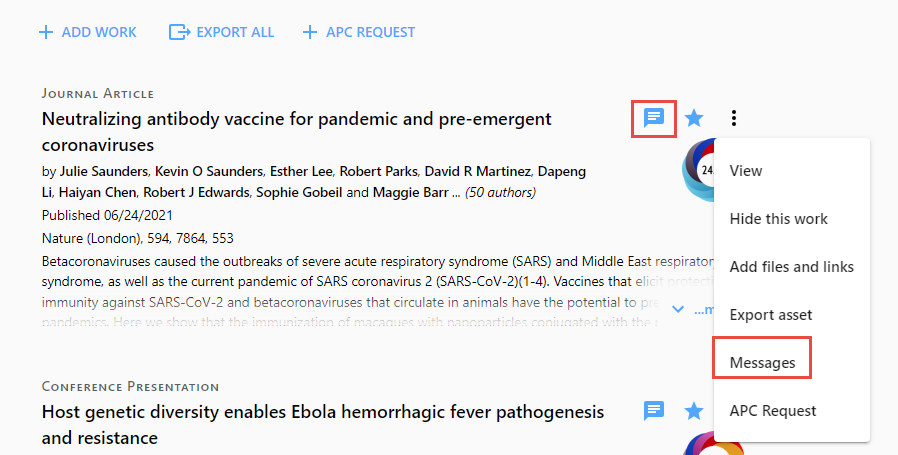
This will send a message to the admin for the currently selected asset. The admin will also receive an automated email to let them know that a message was sent. See here for details on configuring this letter.
This option is not available for drafts.
For a video showing how to communicate with a researcher about an asset see here.
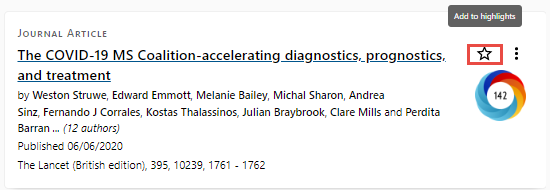
Highlighting Output
The researcher can highlight specific output by selecting the Highlights icon.

Searching for Funding
If your institution has a Pivot-RP account, your researchers can view Pivot-RP funding opportunities directly from their Esploro Researcher Profiles. When this integration is configured, each researcher will see opportunities targeted to their academic unit.
Once configured, a logged in researcher will see the Discover Funding button on the portal header.

To learn more, see:
APC Requests
An article processing charge (APC) is a fee charged to make a work available for open access in open-access or hybrid journals. This fee may be paid by the author, the author's institution, or their research funder.
Esploro profiles include an APC form that initiates an APC request in a system called OABLE. The form is available from the profile in the Output tab.
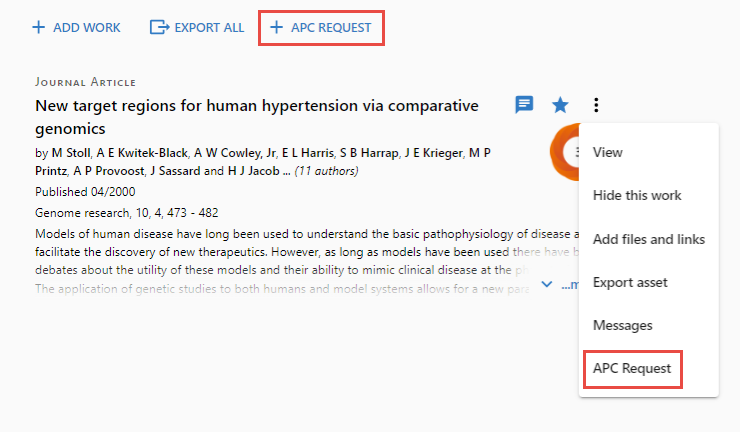
Selecting the APC REQUEST link at the top will open a blank form. Selecting the APC Request link from the actions menu will open a form with the asset details filled in.
For more information see here.