
Working with ETDs (Electronic Theses and Dissertations)
Overview
This page describes the asset details for staff mediated research deposits of ETDs (local and external).
For a video showing how to work with ETDs see here.
ETDs (Electronic Theses and Dissertations) showcase the activities and roles of research faculties (advisor, committee member) and students. For researchers early in their career, ETDs can help show early research activity. ETDs are managed in Esploro in a similar way to other research assets (see Working with Research Deposits).
Esploro has 2 categories for ETDs, i.e., internal (awarded by your institution) and external (awarded by another institution). The types of ETDs are Undergraduate, Masters and PhD.
Showcasing ETDs in the Portal and Profiles
You can showcase ETDs in the portal homepage.
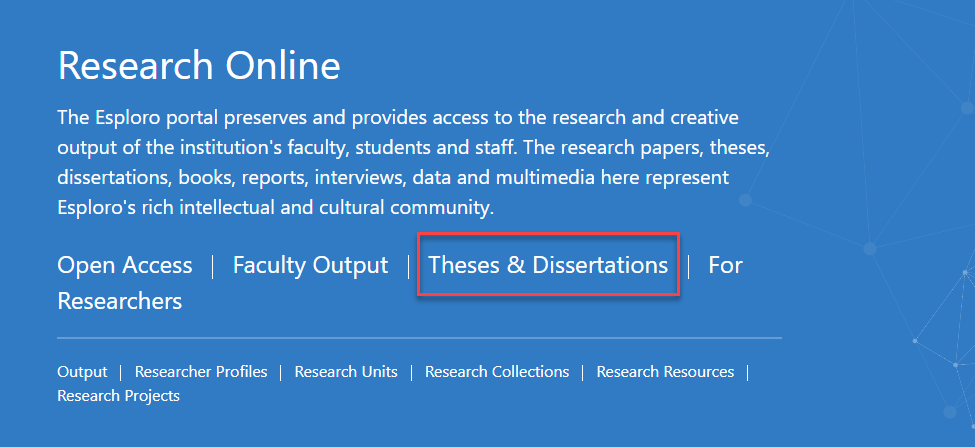
You can narrow the search scope for ETDs.
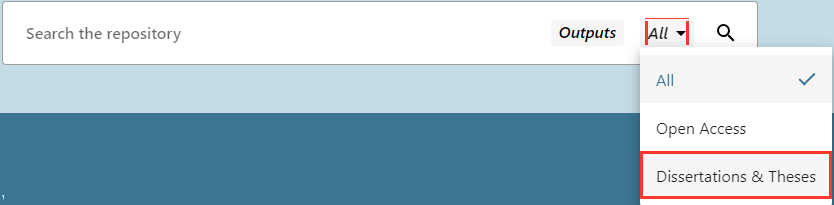
ETD Search Scope
.png?revision=1&size=bestfit&width=645&height=830)
See Homepage Configuration for more information.
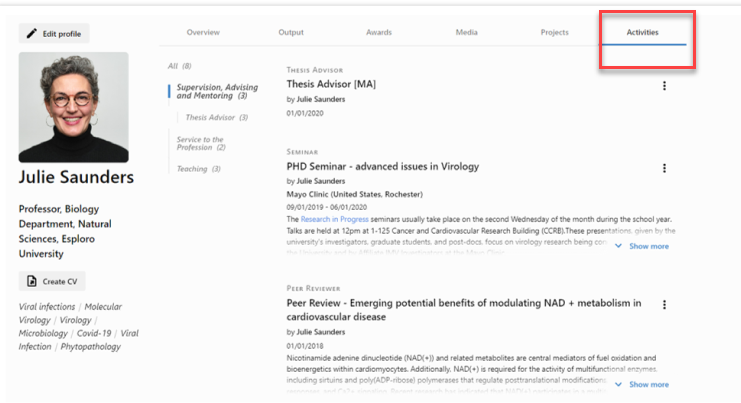
You can add your ETD related activities to the profile.
Adding ETDs
There are two types of ETDs — local and external. You can add a local ETD for an existing student or create the student in Esploro while adding the ETD. You can add an external ETD for researchers that created ETDs outside of the institution.
Adding ETDs using Import Profiles
For information on adding ETDs with import profiles, see Bulk Import of New Research Assets Using Import Profiles.
Adding ETDs using ETD Admin with SWORD
For information on adding ETDs with SWORD, see ETD Administrator Integration.
Adding ETDs using the Student Deposit Form
People other than researchers, such as students, can add their own ETDs using the student deposit form. For more information see Adding Non Researcher Deposits.
Adding ETDs Manually
This section describes how to add ETDs manually. For information on adding research deposits in general, including non researcher (for example student) deposits, see Adding and Working with Research Deposits.
- Navigate to Repository > Deposit ETD.
- Select ETD or External ETD and select Next.
If you selected ETD:

You can select an existing student or create a new one. New students created during this process do not become existing users in the institution; they are added as metadata to the ETD.
If you selected External ETD:

You can select a researcher from the list in Deposit for.- Select the ETD Asset Type. See Research Asset Categories and Types for more information.
- Select Next.
- Fill in the ETD details as described in ETD Sections.
- When you are done, select Approve to submit the deposit to the research repository or select Save Draft to save as a deposit.
Editing ETDs
Drafts can be managed on the Research Deposits page (see Managing Research Deposit Using the Research Deposits Page). You can search for approved assets in the persistent search bar. See Working with Research Assets to see the actions available for assets after being deposited.
Unlike other resource types, ETDs cannot be edited in the generic form.
ETD Sections
Deposit Section
Enter general information about the thesis or dissertation in this section. The fields are:
- ETD depositor (for ETDs only) – Prefilled from the previous page.
- ETD author (for external ETDs only) – Prefilled from the previous page.
- Degree grantor (mandatory) – Department that awarded the degree.
- Awarding academic unit (mandatory) – Department under which the asset was produced. Enter or select one or more organizational units from the institution.
- Degree in – Select a degree program. You can configure this list; see Configuring ETD Degree Programs.
- Title (mandatory)
- Subtitle
- Translated title – For a deposit in a language other than the original.
- Degree awarded (mandatory) – Select a degree from the pre-configured list. To configure this list, see Configuring ETD Degrees.
- Project type – Select a type from the pre-configured list. To configure this list, see Configuring ETD Project Types.
- Pages
- Language
- Format – The electronic format(s) in which the work is stored and/or delivered.
- Coverage – The extent or scope of the content of the resource. Used for time periods or spatial regions.
- Bibliography
- Illustrations
- Publisher
- Provenance
- DOI – If the asset has a DOI, enter it here. If the asset does not yet have a DOI, and the asset category has an associated DOI agency (see Configuring DOI Agencies), the action Reserve DOI appears beside the DOI field. Select this action to generate a DOI for the asset. To register the DOI, see Managing Research Deposits Using the Research Deposits Page.
You can register DOIs in bulk. For more information see Registering DOIs in Bulk.
- Handle - Add a handle identification number to the asset. You can add one manually or select the Generate Handle PID button to add an identifier automatically. For more information, see also Configuring Handle Server Integration.
- ISBN - The ISBN for mediated ETD deposits.
Files Section
Add any additional files, as required. You can assign access rights and/or licenses of one or more files. Note that it is also possible to assign access rights and/or licenses at the asset level, instead of for each file; for more information about this option and about access rights and licenses, see the Access Rights and Licenses section.
To configure access rights and licenses, see Configuring Esploro Access Rights and Configuring Esploro Licenses.
Adding a License to One or More Files
Select the files, select Manage license, select the relevant access license to apply to the selected files, and select Set License. You can also manage the license when editing the file information.
Editing File Information
You can edit file information as follows:
-
Select Edit File Information in the row actions list for a file. A pane to edit the file information appears.
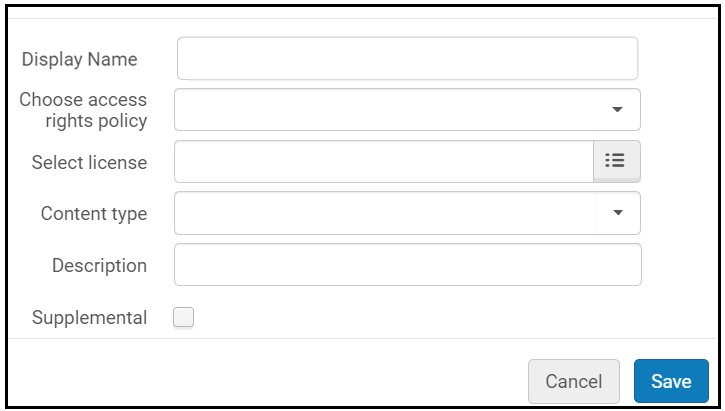 File Information Pane
 - Enter a display name if you want the name of the file displayed on the research portal to be different than the file name.
- Select the access rights policy for the file. See below for additional options that may appear.
- Select the license for the file.
- Optionally select the content type of the file's contents in Content Type. To configure these options, see Configuring Research Asset File and Link Types.
- Enter an optional description.
- Select the Supplemental checkbox to indicate that the file is supplemental, which prevents these files from being taken into consideration when determining the open access status of the asset. When this checkbox is selected, an icon
 appears next to the file.
 - Select Save.
Adding an Access Rights Policy to One or More Files
You can add an access rights policy to one or more files as follows:
- Select the files and select Manage access rights in the table actions list.
- Select the relevant access right policy to apply to the selected files. After selecting the policy, you may see additional fields to complete:
- Open – The file is immediately available.
- Open with Embargo – The file will be available after an embargo period. Select the end date for the embargo, or select a relative time period for the embargo, starting from the publication date. The date that the embargo expires is displayed in the Embargo Expiry Date column to help calculate the open access indicator and to help you determine until when the embargo is in force.
- Restricted – The file is visible to associated researchers but not available, except by request. Enter a reason for the restriction.
- Closed – The file is not available to researchers. Enter a reason for the restriction.
- Locally defined – Select a local access policy and enter a reason.
- Select Set Access Rights.
You can also manage the access rights when editing the file information.
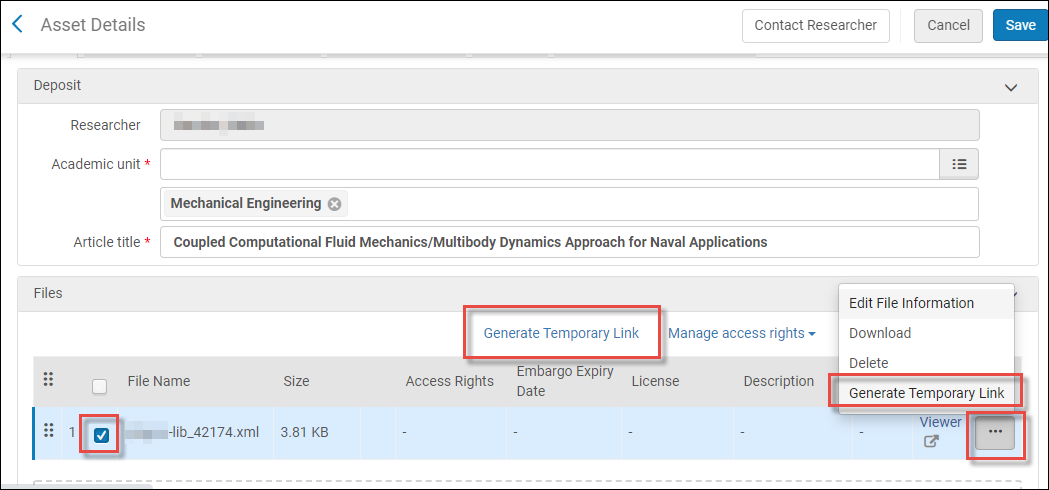
Generating a Temporary Link to a File
Repository managers can generate a temporary link to an access-restricted file, which grants access to the file for a certain period of time to the requester.
To create a temporary link, in the Asset Details > Files tab, select a file(s) and select Generate Temporary Link, or select the ellipsis menu of an individual file and select Generate Temporary Link. Then choose an expiry date and select Generate.
For a video showing how to generate a temporary access link to a file see here.
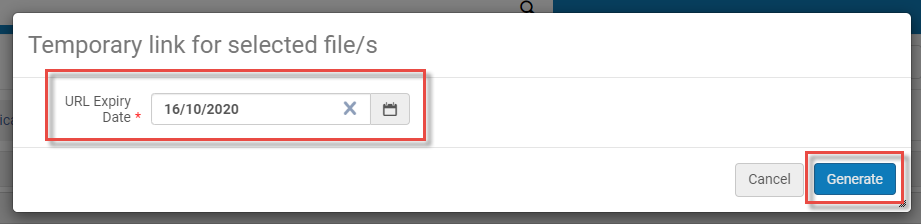
When the link is generated, it appears in a pop-up. If more than one file was selected, the link will be to a zip file containing the links to the individual files.
For a video showing how to generate a temporary link to restricted files see here.
Links for Remote Access Section
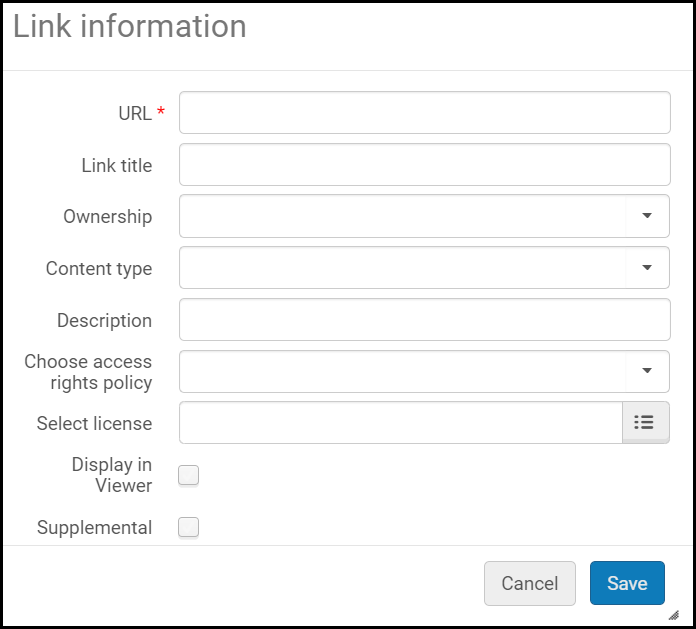
Add any links, as required. When adding a link, you can select a type for the link. To configure these options, see Configuring Research Asset File and Link Types.
When adding or editing a link, enter the following fields:
- URL – The link to the output.
- Link title – The text to display for the link.
- Ownership – Select Institution for a link to a local resource or External for a link to an external resource.
- Content type – Optionally select an output status. To configure these types, see Configuring Research Asset File and Link Types.
- Description – Optionally enter a description.
- Choose access right policy – Apply an asset right to the link.
- Open – The file is immediately available.
- Embargo – The file will be available after an embargo period. Select the end date for the embargo, or select a relative time period for the embargo, starting from the publication date. The date that the embargo expires is displayed in the Embargo Expiry Date column to help calculate the open access indicator and to help you determine until when the embargo is in force.
- Restricted – The file is visible to associated researchers but not available, except by request. Enter a reason for the restriction.
- Closed – The file is not available to researchers. Enter a reason for the restriction.
- Locally defined – Select a local access policy and enter a reason.
- Select license – Apply a license to the link. See Configuring Esploro Licenses.
- Display in Viewer – opens the link in a viewer. If cleared, the link displays in the browser.
- Supplemental – select to indicate that the link is supplemental, which prevents these links from being taken into consideration when determining the open access status of the asset. When this checkbox is selected, an icon appears next to the link.
Authors and Contributors Section
Adding Authors and Contributors
Add additional authors and contributors in the Authors and Contributors section.
- Select Add author. A pane appears.
- Enter or select the researcher in Choose author.
- To add and use a name variant for the researcher, select Update researcher name on asset and enter at least the last name.
- Select Add and close.
- Select Add author. A pane appears.
- Select the Add author not in user list button.
- Enter the user's first and last name (mandatory). Optionally add a middle name and/or a name suffix and email.
- Optionally select an external research organization in Affiliation.
- Select Add and close.
- Select Add contributor. A pane appears.
- Select Search existing.
- Enter or select the researcher in Choose researcher.
- To add and use a name variant for the researcher, select Update researcher name on asset and enter at least the last name.
- Select the type of contribution.
- Select Add and close.
- Select Add contributor. A pane appears.
- Select Create non-affiliated.
- Enter the user's first and last name (mandatory). Optionally add a middle name and/or a name suffix.
- Optionally select an external research organization in Affiliation.
- Optionally enter the person's ORCID number.
- Select the type of contribution.
- Select Add and close.
- Select Add group contributor. A pane appears.
- Enter the organization in Group / Organization Name.
- Select the type of contribution. This list can be configured by an administrator; see Configuring Contributor Types.
- Select Add and close.
A contributor with the same role can be associated only once with the asset.
Editing Authors and Contributors
- Select Edit in the row actions list of the person. The Edit author pane appears.
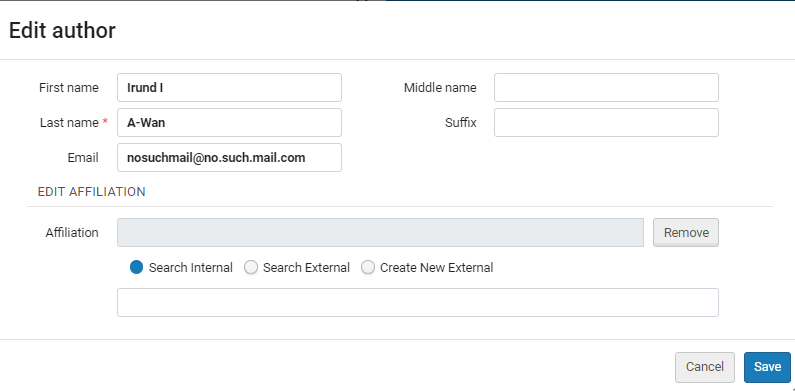 Edit author pane
 - Optionally enter the first name, middle name and suffix. The last name is mandatory.
- Optionally enter the email.
- Optionally select another internal or external affiliation, to display in the asset instead of the primary affiliation. You can also create a new external affiliation.
- Select Save.
- Select Edit in the row actions list of the person. The Edit contributor pane appears.
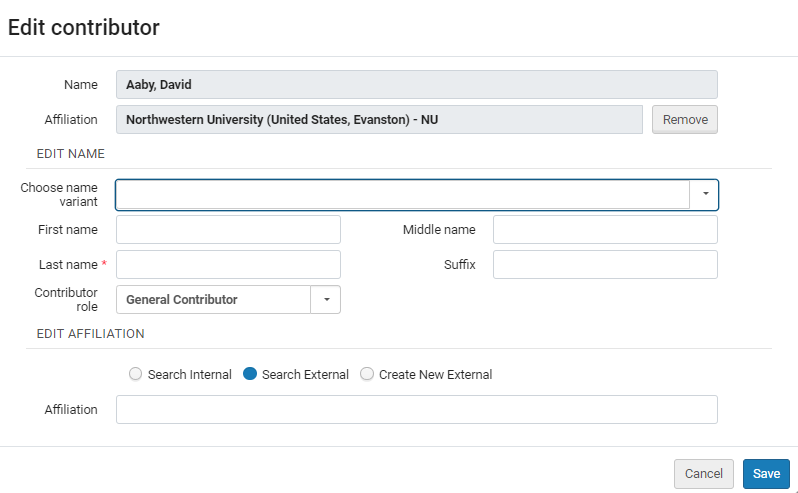 Edit Creator Pane
 - Optionally select from an existing name variant, or add a new name variant, to display in the asset instead of the primary name. When adding a name variant, last name is mandatory.
- Optionally select a new role.
- Optionally select another internal or external affiliation, to display in the asset instead of the primary affiliation. You can also create a new external affiliation.
- Select Save.
Once you have one row in the table, you can replace a researcher by selecting Replace in the row actions list for that researcher.
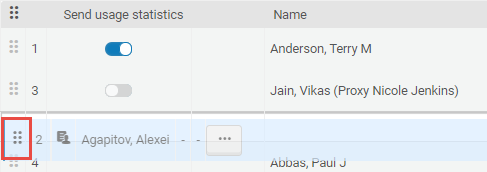
Once you have more than one row in a table, you can move one or more of them. Either drag and drop a row by selecting and dragging the drag and drop icon, or perform the following steps:
- Select one or more rows in the table
- Select Move selected. A pane appears.
- Select whether to move the selected rows to the top or bottom of the table, or before a specific other row in the table.
- Select Move Selected.
If this asset was imported, some of the authors and/or contributors may have been matched by the import process. In this case, these people are considered only tentatively matched until you approve them .Two columns related to this feature appear for each person : Match status, indicating the certainty of the match, and Approve match.
- To approve a single author/contributor match, indicate this in the Approve match column.
- To match all authors/contributors, select Approve all author / Approve all contributor matches.
Linking/Unlinking Authors to Researchers
You can only add (or link to) a researcher in the authors list once. In addition, you cannot add an author who is already a contributor to this asset.
From the row actions menu you can link the author to a researcher, meaning that this asset will appear in the list of researcher's assets, can appear in their profile, etc. This is useful for example for an author who was not a researcher at the time of writing, but later became a researcher.
Deleting Authors and Contributors
You can delete authors and contributors by selecting Delete from the row actions menu. Owners cannot be deleted.
Reordering Authors
You can reorder the position of authors by dragging them up or down.
Reordering Contributors
You can reorder the position of contributors by dragging them up or down.

You can also move a contributor to a new position by selecting the contributor and then selecting Move selected.
Match Status for Contributors
If this asset was imported (via Import Profiles or EDT Admin using SWORD), some of the contributors may have been matched by the import process. In this case, these people are considered only tentatively matched until you approve them. Two columns related to this feature appear for each person: Match status, indicating the certainty of the match, and Approve match.
- To approve a single contributor match, indicate this in the Approve OR Review column.
- To match all contributors, select Approve all contributor matches.
Match status is not available for manual deposits in which the contributors are selected.
A STRONG match is considered approved.
Statuses and Dates
Add any relevant dates: approval date, availability date, date manuscript completed, date of defense, degree award date, or submitted. For information on configuring dates in the system see Configuring Date Types.
Description and Research Topics
Add an abstract, as required.
You can select one primary, one secondary and multiple research topics to associate with the deposit in the Description and Research Topics section.
Access Rights and License (Asset Level)
Select the license and set the access rights policy for the asset.

Asset Grants and Funders Section
Select existing grants or add a new grant or funder to associate with this asset.
- Select Add Grant or Funder.
- Select Select Grant.
- Enter or select the grant in Researcher Grants (if the owner of the asset is not listed on a grant, there are no suggestions; see Managing Grant Information), or in All grants.
- Select Add and close.
If a grant does not exist, you can create a new one and associate it with the asset.
- Select Add Grant or Funder.
- Select Create Grant.
- Enter the grant ID (mandatory) and grant name (optional).
- Enter or select the funder (mandatory).
- Enter the grant URL (optional).
- Enter the grant type (optional) – see Working with Grant Information.
- Select Add and close.
To enter a funder only, select Add Grant or Funder, select Select Funder Only,
If you do not have specific grant information, you can associate the asset only to a funder. Select Add Grant or Funder, select Funder Only, select the funder (mandatory), and select Add and close.
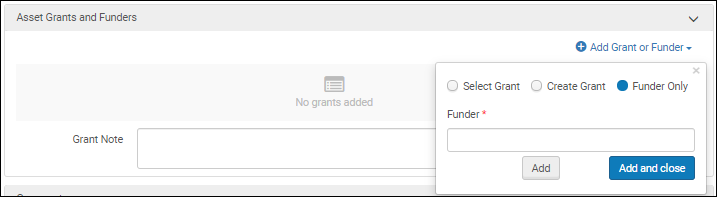
You can also optionally add a note relevant to all grants in Grant Note.
Researcher Acceptance of Deposit Policy
Ensure that the researcher agrees to the policy and select this field when creating the deposit.
When selected, additional fields appear.
- Policy accepted – The name of the policy that the researcher accepted. This value is pre-filled if the researcher accepted a policy when submitting the deposit.
- Date policy accepted – The date that the researcher accepted the policy. This is pre-filled if the researcher accepted the policy when creating the deposit.
- Note – After selecting a date, you can enter any additional notes in this field.
To configure this field, see Configuring Esploro Deposit Policies.
Reporting ETD Usage
The scheduled Research usage statistics email job sends email notifications to authors and affiliated researchers with outputs that have been either viewed or downloaded in the past month. Authors who don't have email addresses registered in Esploro, as well as authors who have opted out, will not receive email notifications.
You can configure the email notification and the job status (Active/Inactive/Run Now). See Configuring Opt-In Defaults for Researcher Letters.
For more information about configuring letters in Esploro see Configuring Esploro Letters.